174
11.
Turn the crankcase
to
a near a
...
enical
position.
Do not try this step with the
crankcase
horizontal
as
the gcars are loaded
by
their
own
weight. in an
abnormal way and will not shift easily.
or
in
some
cases not at
all.
This
may give a false impression
that something
is
installed incorrectly.
12.
Spin the transmission s
haf
ts and shift through
all 4 gears using the shifl
drum.
Make
sure you
can
shirt into all gears.
Thi
s is the lime
10
find that
someth
in
g may
be
installed
incorrectly-not
after
the crankcase
is
completely assembled.
13.
Reassemble the crank
case
as
described
under
Crankcase Assembly and install the engine as
described
in
Chapter Four.
Transmission
Preliminary
Inspection
After the transmission shaft
assemb
lies have
been removed from the crankcase, clean and
in
spect the assemblies before disassembling them.
Pla
ce
the assembled shaft into a large
Clln
or plastic
bucket and thoroughly clean with a petroleum-
based solve
nt
such
as
kerosene and a
stiff
brush.
Dry
with
comp
ressed
air
or
let it sit
on
rags to
drip
dry. Repeat for the
other
shaft assembly.
I.
After
they have been
cleaned.
visua
ll
y inspect
the
compone
nt
s
of
the
assemb
lies for excessive
wear. Any burrs, pitting
or
roughness
on
the teeth
ofa
gear
will cause wear
on
the mating gear. Minor
roughness can be cleaned up with an oilstone but
ther
e's lillie point in attempting to remove
deep
scars.
NOTE
Defective gears should be replaced.
I!
's
a good idea
to
replaCt!
the mating
gear on the
Olher
shaft even though
;1
may not show as much wear
or
damagt'.
2.
Caref
ully check the engagement dogs. If any are
chipped,
worn. rounded or mi ssing. the affected
gear
mU
St be repla
ce
d.
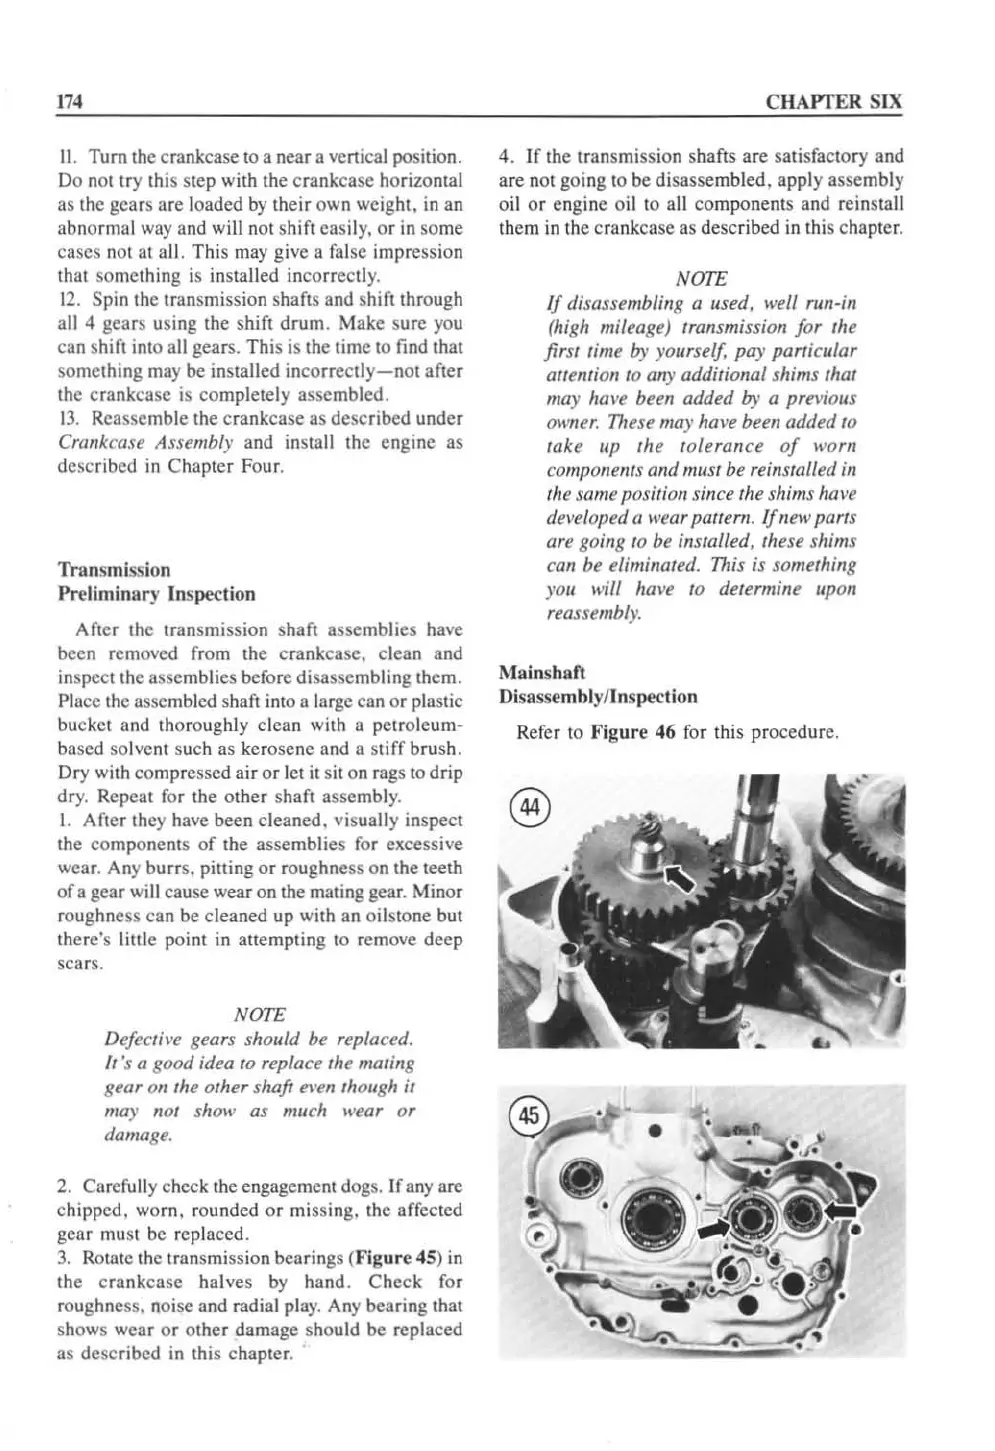
3.
Rotate the
tr
ansmission bearings (
Figure
45) in
the
cra
nk
case
halves by
hand
.
Check
for
roughness, noi
se
and radial play. Any bearing that
shows wear or
othe
r
damage
should be replaced
as
described
in this chapter.
C
HAPTER
SIX
4.
If
the transmissi
on
sh
af
ts
are
sa
tisfactory and
are not going
to
be
disassemb
l
ed,
apply
assemb
ly
oil
or
engine o
il
to all
co
mponents and reinstall
them
in
the crank
case
as
described
in
this chapter.
NOTE
If disasSt'mbling a used, well run-in
(high
mift'agt') transmission for
th
e
first rime
/7)'
yoursel/. pay particular
attemion to any additional shims that
may hal'e been addt'd
/7)'
a prt'I'ious
owner.
These may
ha~'e
been added
to
take up Ihe tOlerance
of
worn
components and must be reinstalled
ill
Ihe
same positio
ll
since the shims hal'e
developed a wear pattern. Ifnew parts
are going
10
be installed, these shims
can be eliminated. This is somelhing
you will have
10
determine upon
reassembly.
Main
s
haft
Disassembly/
In
spection
Ref
er
to
Figure
46 for this proced
ur
e.
®
 Loading...


