256
f. Tighten the bearing installer (
Figure
12
) and
pull the bearing
int
o the hub until
it
is
co
mpletely seated
(F
igure
14
).
g.
Re
move
the
bearing
in
staller.
3B.
If
spec
ial
tools
afC
nOi
used. perform the
fol
lowing:
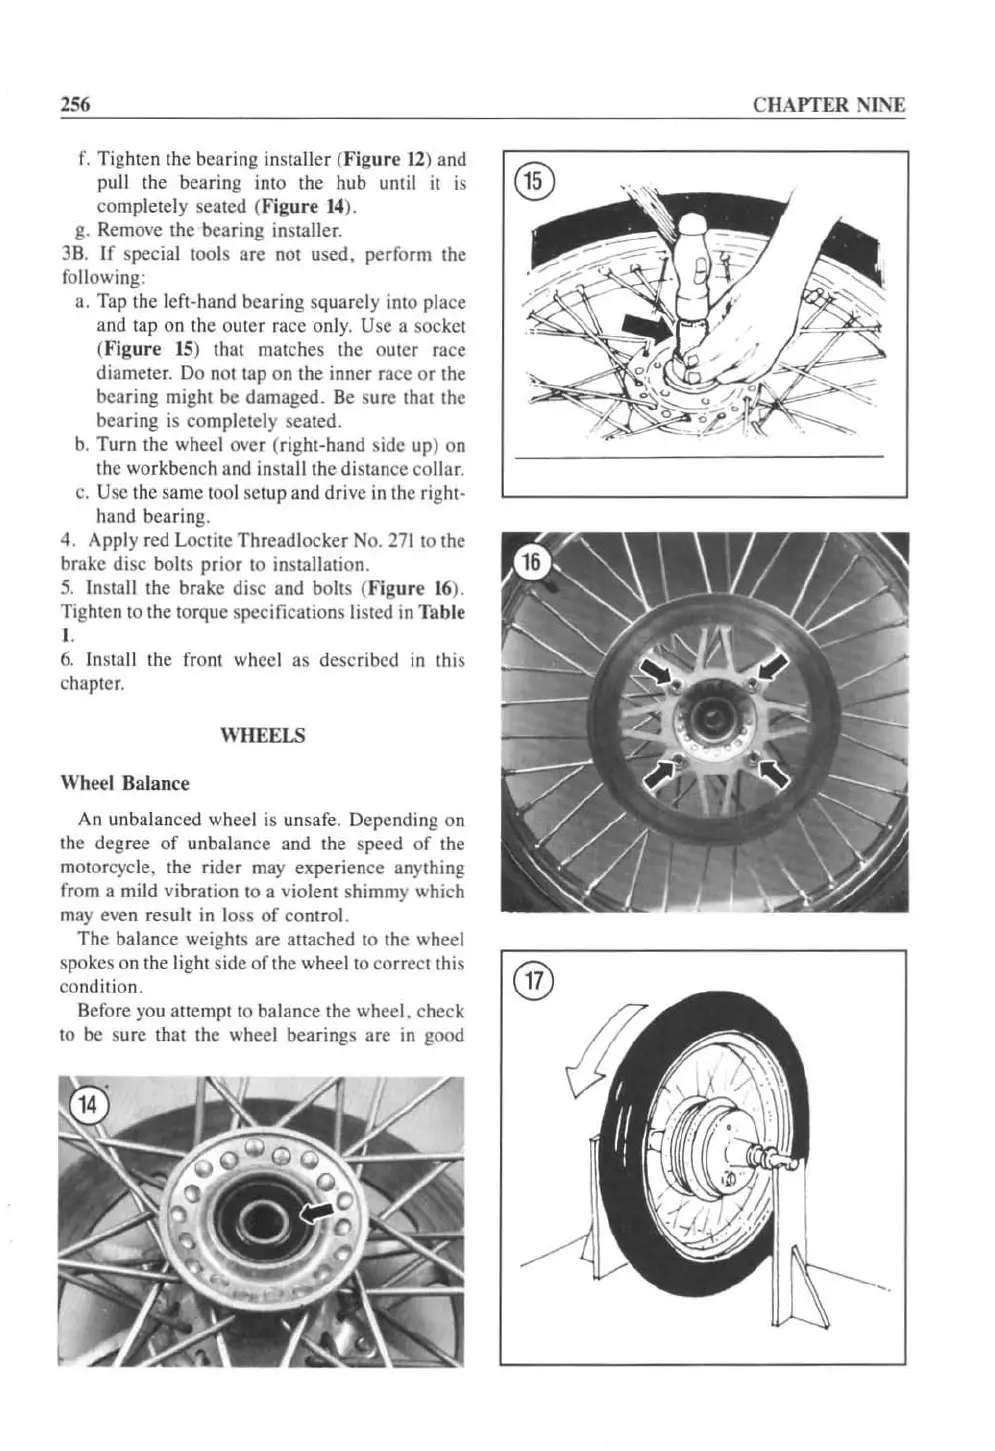
a. Tap the
left-hand bearing squarely into place
and tap on the outer race onl
y.
Usc a socket
(.'
igure
IS
) that matches the Quter race
diameter. Do not tap on the inner race
or
the
bearing might
be
damaged.
Be
sure that the
bearing is completely sea
ted
.
b. Turn the wheel over (right-hand s
id
e up) on
the workbench and install the distance
collar.
c.
Usc the same tool
se
tup and drive
in
the right-
hand bearing.
4. Apply red Loctite Thrcadlocker No.
27110
the
brake disc bolts prior
10
in
stallation.
5.
Install the brake disc and bolts (
Figure
16
).
Tighten to the torque specifications
li
sted
in
Table
I.
6.
Install the front wheel as described
in
this
chapter.
WHEELS
Wheel Balance
An unbalanced wheel
is
unsafe. Depending on
th
e degree
of
unbalance and the speed
of
the
motorcycle. the rider may experience anything
from a mild vibration to a violent shimmy which
may even result
in
loss
of
control.
The
balance weights are attached to the wheel
spo
kcs on the
li
ght side
of
the wheel t
oco
rrect this
condition.
Before you attcmpt to balance the wheel. check
to be sure that the wheel bearings are
in
good
CHAPTER NIl\
'E
®
 Loading...


