40
is sucked o
ut
until the /eI'el reaches Ihe
small
diameter hole. A precise
oil
Jerel
ca
n be achiel'ed with this simple
device.
10.
Allow the oil to settle completely and recheck
the oil level measuremenL Adjust the oil level
if
necessary.
II
. Install the fork spring with the wide pitch coils
(
Figure
35
) going
in
first.
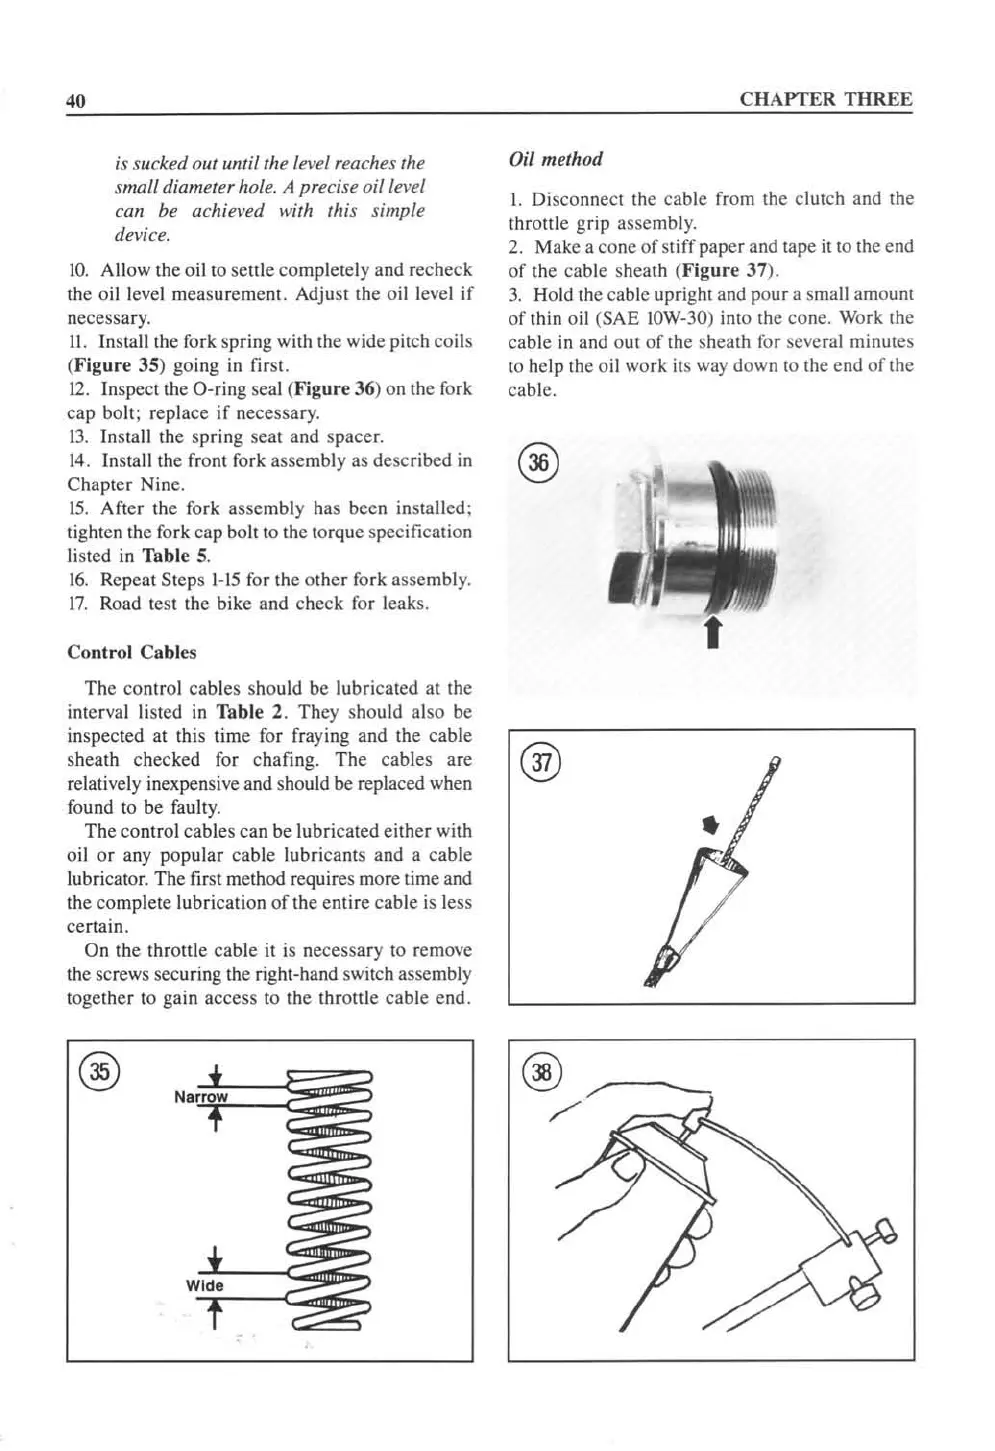
12.
In
spect the O-ring seal (Fi
gure
36
) on the fork
cap bolt; replace
if
necessary.
1
3.
Insta
ll
the spring seat and spacer.
14
.
In
sta
ll
the fro
nt
fork assembly as described
in
Chapter Nine.
1
5.
After the fork assembly has been installed:
ti
ghten the fork
cap
bolt to the torque specification
listed in Table
5.
1
6.
Repeat Steps
1-15
for the
other
fork assembly.
17
. Road test the bike and check f
or
l
ea
k
s.
Contro
l
Ca
bles
CHAPTER
THREE
Oil method
I. Disconnect the
cable
from the clutch and the
th
rottle grip assembly.
2.
Make a cone
of
stiff paper and tape it to the
end
of
the
cable
sheath (
Figure
37
).
3.
Hold the cable upright and pour a small amount
of
thin oil (SAE
IOW
-30) into the cone. Work the
cab
le
in
and out
of
the sheath
fo
r several minutes
to help the oil work its
way
down to the end
of
the
cable.
The control cables
sho
uld be lubricated at the
interval listed
in
Table 2. They should also
be
inspected at
th
is time for fraying and the cable
sheath checked for chafing. The cables are
@
relatively inexpensive and should be replaced when
found to be
faulty.
The
con
trol cables can
be
lubricated either with
oil
or
any popular
cable
lubri
ca
nts and a
cable
lubricator. The first method requires more time and
the
co
mplete lubrication
of
the entire
cab
le is less
certain.
On
the
throttle cable
it
is necessary to remove
th
e screws securing
th
e right-hand switch assembly
together
co
gain access
to
the Ihrallie cable end.
 Loading...


