44
Others may raporiz.e and
caust>
b
ra
ke
failure.
Do
nOl
imullli
x differe",
brands or types
of
brake fluid
as
they
may
/1
01
be compatibl
e.
Do no/
intermix a silicone based (DOT
5)
brake fluid as it can cause brake
co
mponelll damage leading
/0
brake
system failur
e.
CAUTION
Be careful when handling brakef1uid.
Do
nOI
spill it
on
paillled
or
plmed
surfaces
or
plastic parts as it will de-
s/r
oy
Ih
e surface. muh
th
e area
immediately with soapy waler and
thoroughly
,il/se it off.
5.
Re
install the diaphragm a
nd
the
tO
P cover.
Tighten the screws securel
y.
Disc Brake Lines
Check brake line between the master cyli
nd
er
and the brake caliper. If there
is
any leakage.
tighten the connections and bleed
th
e brakes as de-
scribed under Bleeding lhe System in Chapler
Eleven. If this docs not stop the leak or
if
a brake
line
is
obviously damaged. cracked
or
chafed, re-
place the brake line and bleed the system.
Disc Brake
Pad Wear
Inspect the brake pads for excessive or
un
even
wear.
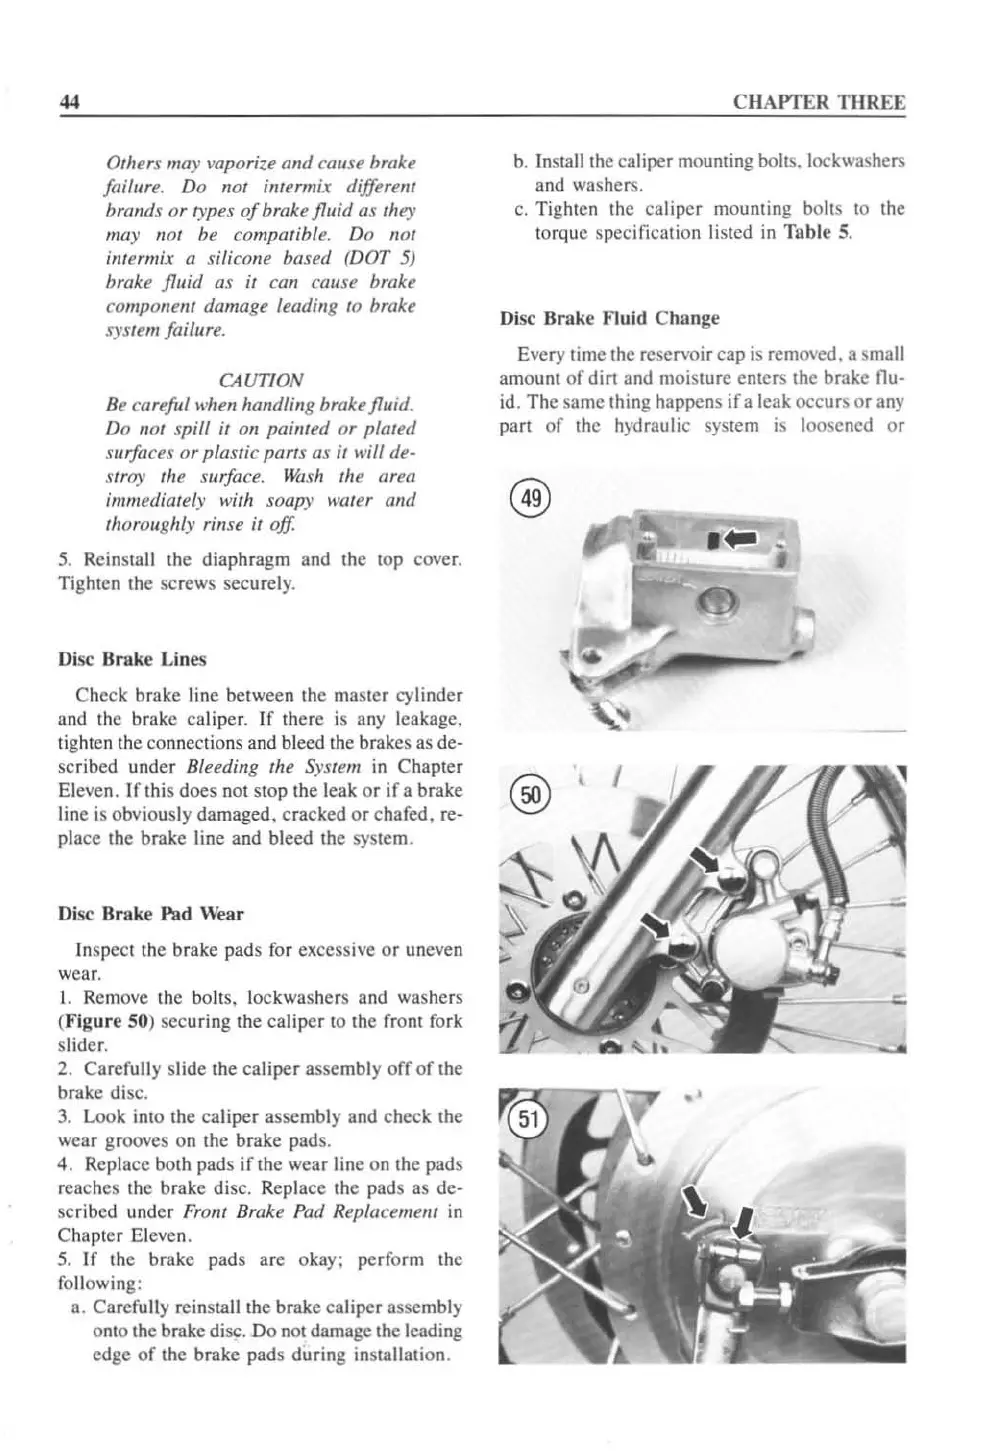
\. Remove the bo
lt
s. lockwashers and washers
(
Figure
50
) securing the caliper to the front fork
slider.
2. Carefu
ll
y slide the ca
li
per
assembly
off
of
the
brake disc.
3.
Look into the caliper assembly and check the
wear grooves on the brake pads.
4. Replace both pads
if
the wear line on
th
e pads
reac
he
s the brake disc. Replace the pads as de-
scribed under Front Brake Pad Replacement in
Chapter Eleven.
5.
If the brake pads are okay: perform the
foll
owing:
a. Carefully r
ei
nsta
ll
the brake caliper assembly
o
nt
o the brake disc.
Do
not damage the leading
edge of the brake pads during
in
stallation.
CHAPTER
THREE
b.
Install the caliper mounting bolts. lockwashers
and washer
s.
c.
Tighten the caliper mounting bolts to the
torque specification listed in
Tab
le 5.
Disc Brake Fluid
Change
Every time the reservoir cap
is
removed. a small
amount
of
dirt and moisture enters the brake flu-
id
.
Th
e same thing happens
if
a leak occurs or any
part
of
the hydraulic system is loosened
or
;
 Loading...


