LUBRICATION, MAINTENANCE AND TUNE-UP
31
Tire Inspection
The
tires take a lot
of
punishment so inspect them
periodically for
excessive wear, cuts, abrasions,
et
c.
If
yo
u
fi
nd
a nail
or
other object
in
the tire,
mark its location with a light crayon before
removing it. This
will help locate the hole for re-
pair. Refer
10
Chapter Nine for tire changing and
repair information .
Check local traffic regulations concerning
minimum tread depth. Measure the tread depth
(Figure 6)
of
the tire tread u
si
ng
a tread deplh
ga
uge (Fig
ur
e 7)
or
small
ru
ler. Suzuki
recommends that original equipment lires be
replaced when the tread depth has worn to the
fo
ll
owing dimension
or
less:
a.
Front tir
e:
1.6
mm
(0.06 in.).
b.
Rear tir
e:
2.0
mm
(0.08 in.).
Rim
In
spection
Frequently inspeclthe wheel rims.
If
a rim has
been damaged,
it
might
have
been enough
to
knock
it
out of alignment. Improper wheel alignment can
c
au
se severe vibration and
re
s
ult
in an unsafe riding
co
nd
ition.
BAlTERY
Removal, Installation and
Eledrolyte
Le,·el Check
The battery is the heart
of
the electrical system.
Check and service the battery
at
the
in
terval
indicated in Table 2. The majority
of
electrical
system troubles can
be
attributed
to
neglect
of
this
vital component.
I. Rem
ove
the seat as described
in
Chapter
Twelve.
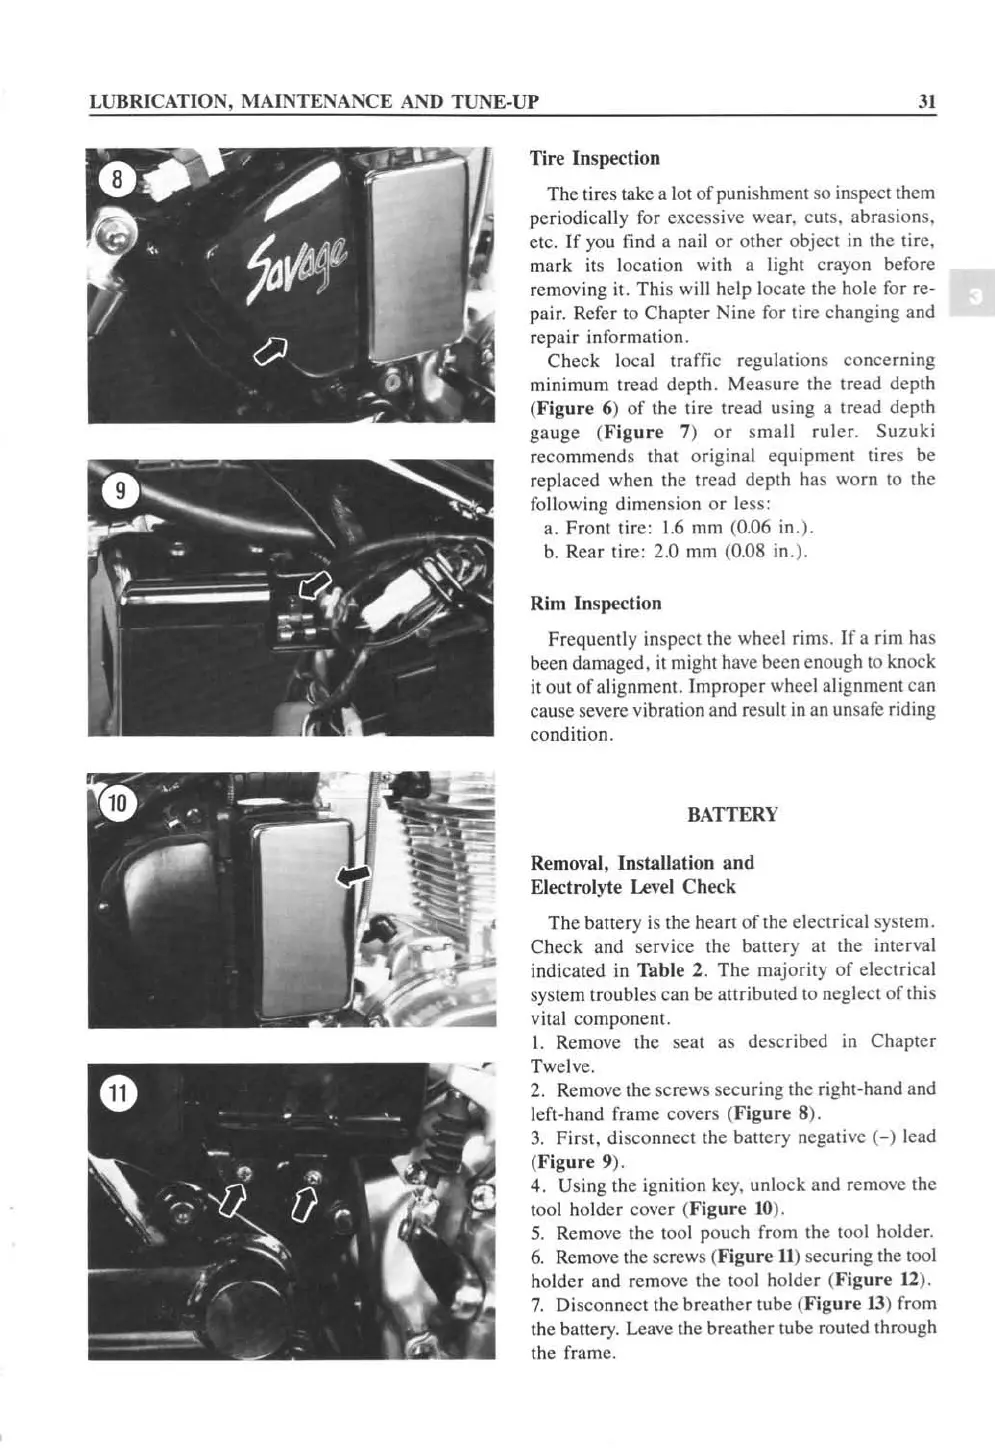
2.
Remove the screws securing the right-hand and
left-hand frame covers (
Figure
8).
3.
First, disconnect the battery negative (- ) lead
(Figure 9).
4.
Using the ignition
key,
unlock and rem
ove
the
tool holder cover (Fig
ur
e
10
).
5.
Remo
ve
th
e tool pouch from the tool holder.
6.
Rem
ove
the screws (Figure
11
) secu
ri
ng
th
e tool
ho
ld
er a
nd
rem
ove
the tool ho
ld
er
(Figure
12
).
7.
Di
sconnect the breather tube (
Figur
e
13
) from
the battery. Leave
th
e breather tube routed through
the frame.
 Loading...


