3U
26. Install the retainer (Figurt' 49) onto the caliper
bracket.
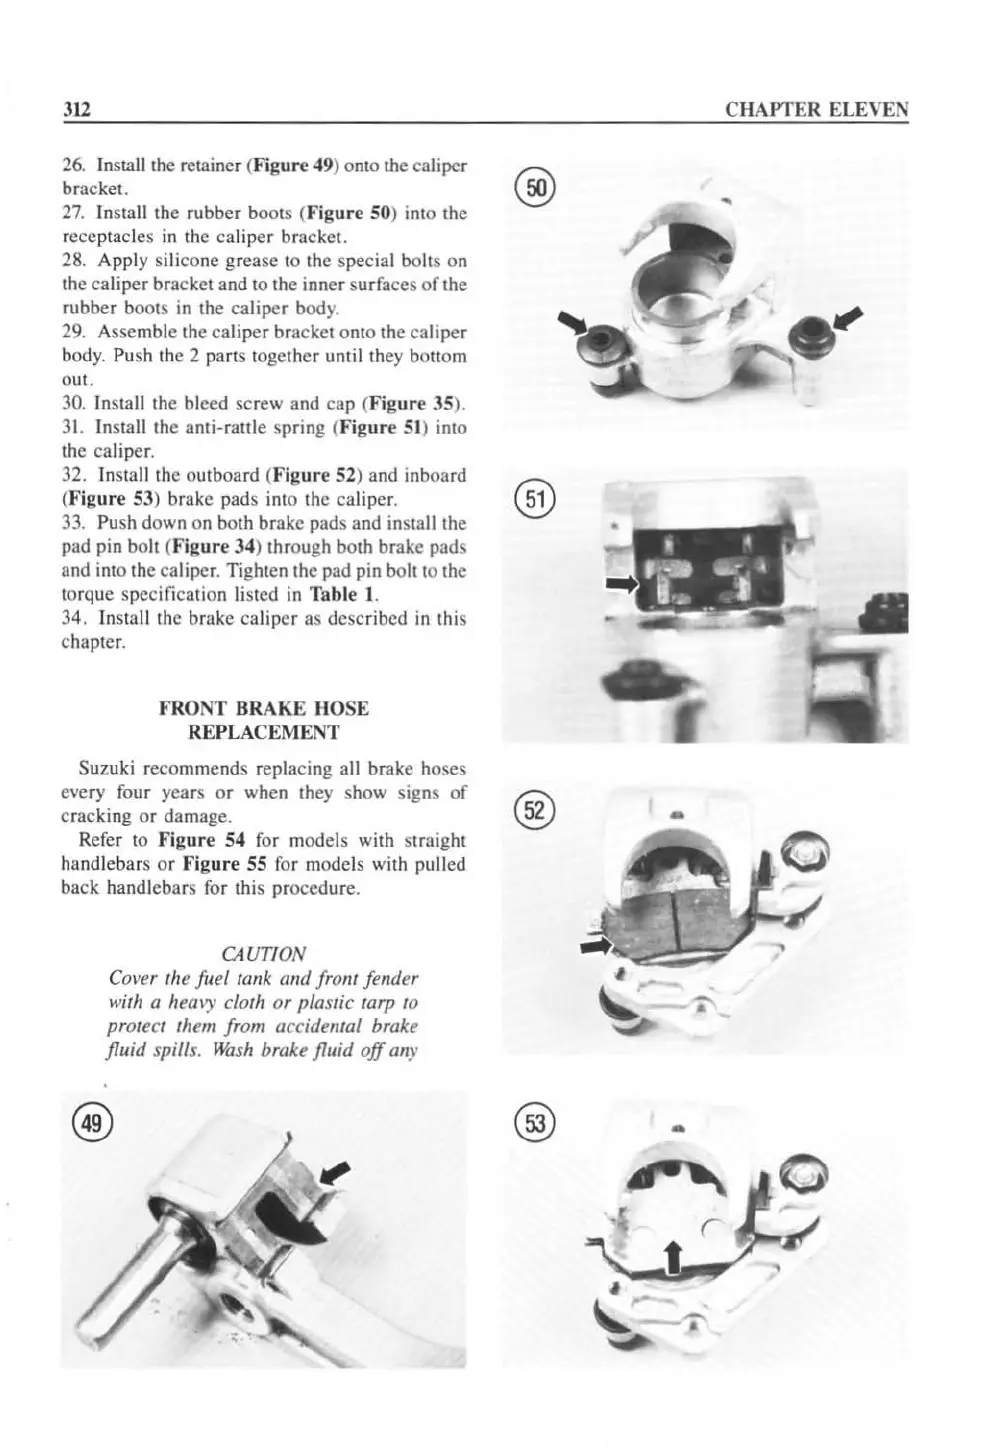
27
.
In
stall the rubb
er
boots (Figure 50) inlo the
receplacles
in
the caliper bracket.
28.
Apply s
il
icone
grease
to the special bolts on
the
caliper
bracket
and
to the
inner
surfaces
of
the
rubber
boots
in
the
caliper
body.
29. Assemble the
ca
liper bracket
onto
the
caliper
body. Push
th
e 2 parts together until they bOllom
out.
30.
In
stall the bleed screw and cap (
Figur
e 35),
31.
Install the anti-rattle spring (Figure
51
) into
the
ca
li
per.
32.
Install the outboard (
Figure
52) and inboard
(Figure 53) brake pads into the caliper.
33. Push down
on
both brake pads and install the
pad pin
boh
(
Figure
34
) through both brake pads
and into the
ca
liper. Tighten the pad pin bolt to the
torque speci
fi
ca
tion listed
in
Table
I.
34.
In
stall the brake caliper as
described
in this
chaptcr.
FRONT
BRAKE
HOSE
REPLACEMENT
Suzuki r
ecommends
replacing all
brake
hoses
every four
years
or
when they show signs
of
cracking
or
damage.
Refer
10
Figure
S4 for models with straight
handle
bar
s
or
Figure
55
for models with pulled
back handlebars for this
pr
ocedure.
CAUTION
Co~'er
the fuel
rank
and
from fender
with a heal
'}'
cloth
or
plastic tarp
to
prOtect them from accidental brake
fluid spills.
Wash
brake fluid
off
all)'
CHAPTER
ELEVEN
®
-
-
 Loading...


