1B-12 Emission Control Devices:
3) Reinstall the PAIR reed valves. Refer to “PAIR Reed
Valve Removal and Installation (Page 1B-10)”.
PAIR Control Solenoid Valve
1) Remove the PAIR control solenoid valve. Refer to
“PAIR Control Solenoid Valve Removal and
Installation (Page 1B-11)”.
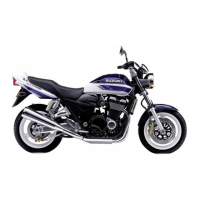
2) Check that air flows through the air inlet port to the
air outlet port. If air does not flow out, replace the
PAIR control solenoid valve with a new one.
3) Connect the 12 V battery to the PAIR control
solenoid valve terminals and check the air flow. If air
does not flow out, the solenoid valve is in normal
condition.
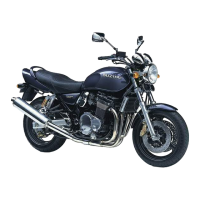
4) Check the resistance between the terminals of the
PAIR control solenoid valve.
Special tool
: 09900–25008 (Multi-circuit tester set)
Tester knob indication
Resistance (:)
PAIR control solenoid valve resistance
20 – 24 : at 20 – 30 qC (68 – 86 qF)
5) Reinstall the PAIR control solenoid valve. Refer to
“PAIR Control Solenoid Valve Removal and
Installation (Page 1B-11)”.
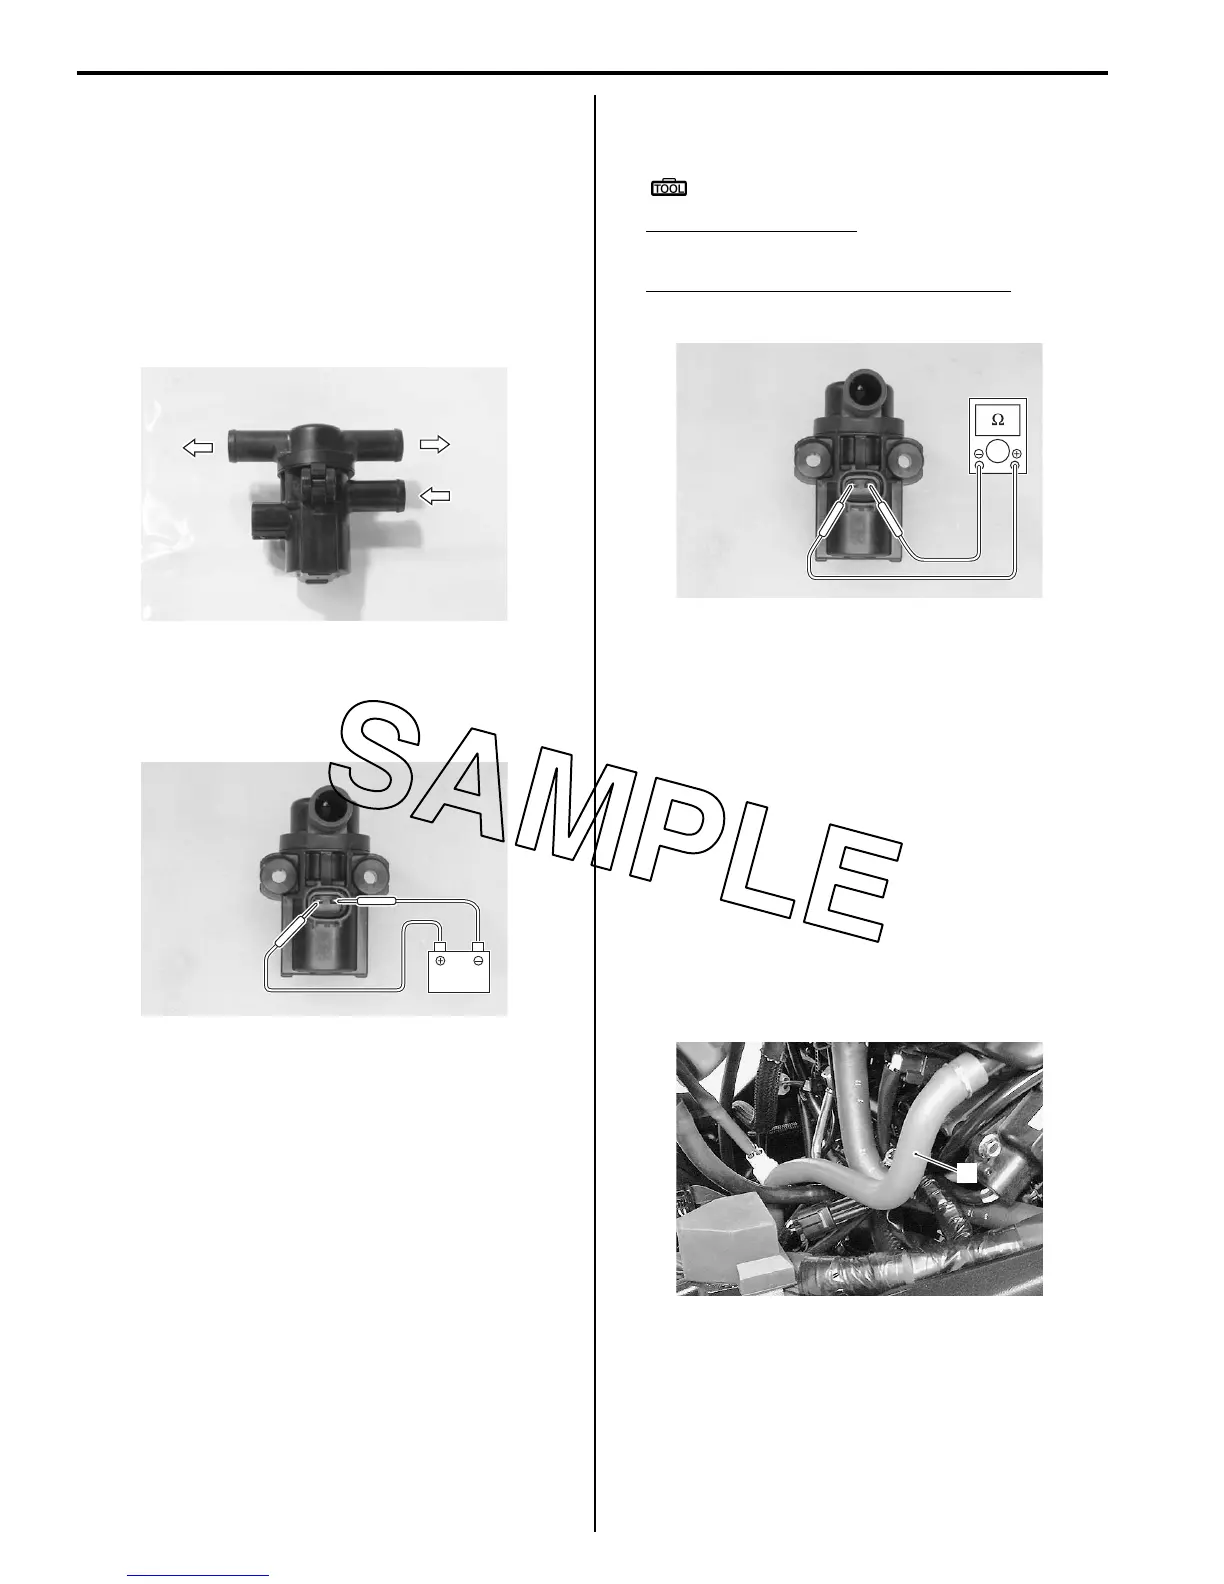
Crankcase Breather (PCV) Hose Inspection
B823H11206006
Inspect the crankcase breather (PCV) hose in the
following procedures:
1) Lift and support the fuel tank. Refer to “Fuel Tank
Removal and Installation in Section 1G (Page 1G-
10)”.
2) Inspect the PCV hose (1) for wear and damage.
If it is worn or damaged, replace the PCV hose with
a new one.
3) Check that the PCV hose (1) is securely connected.
4) Install the removed parts.
I823H1120014-01
12V
I823H1120015-01
I823H1120016-01
1
I823H1120017-02

 Loading...