BASIC REMOVAL PROCEDURES
SM 3-7 J001/J003
Replacement
Adjustment
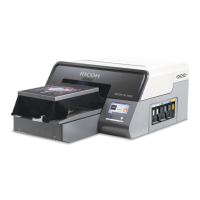
3.2.6 PRINT CARTRIDGE COVER, REAR COVER
1. Remove:
• Output tray (3.2.2)
• Paper cassette (3.2.3)
• Top cover (3.2.4)
• Right front door (3.2.5)
2. Pull out the Print cartridges (K, C, M, Y)
3. Remove the screws of the Print cartridge
cover [A] ( x 2).
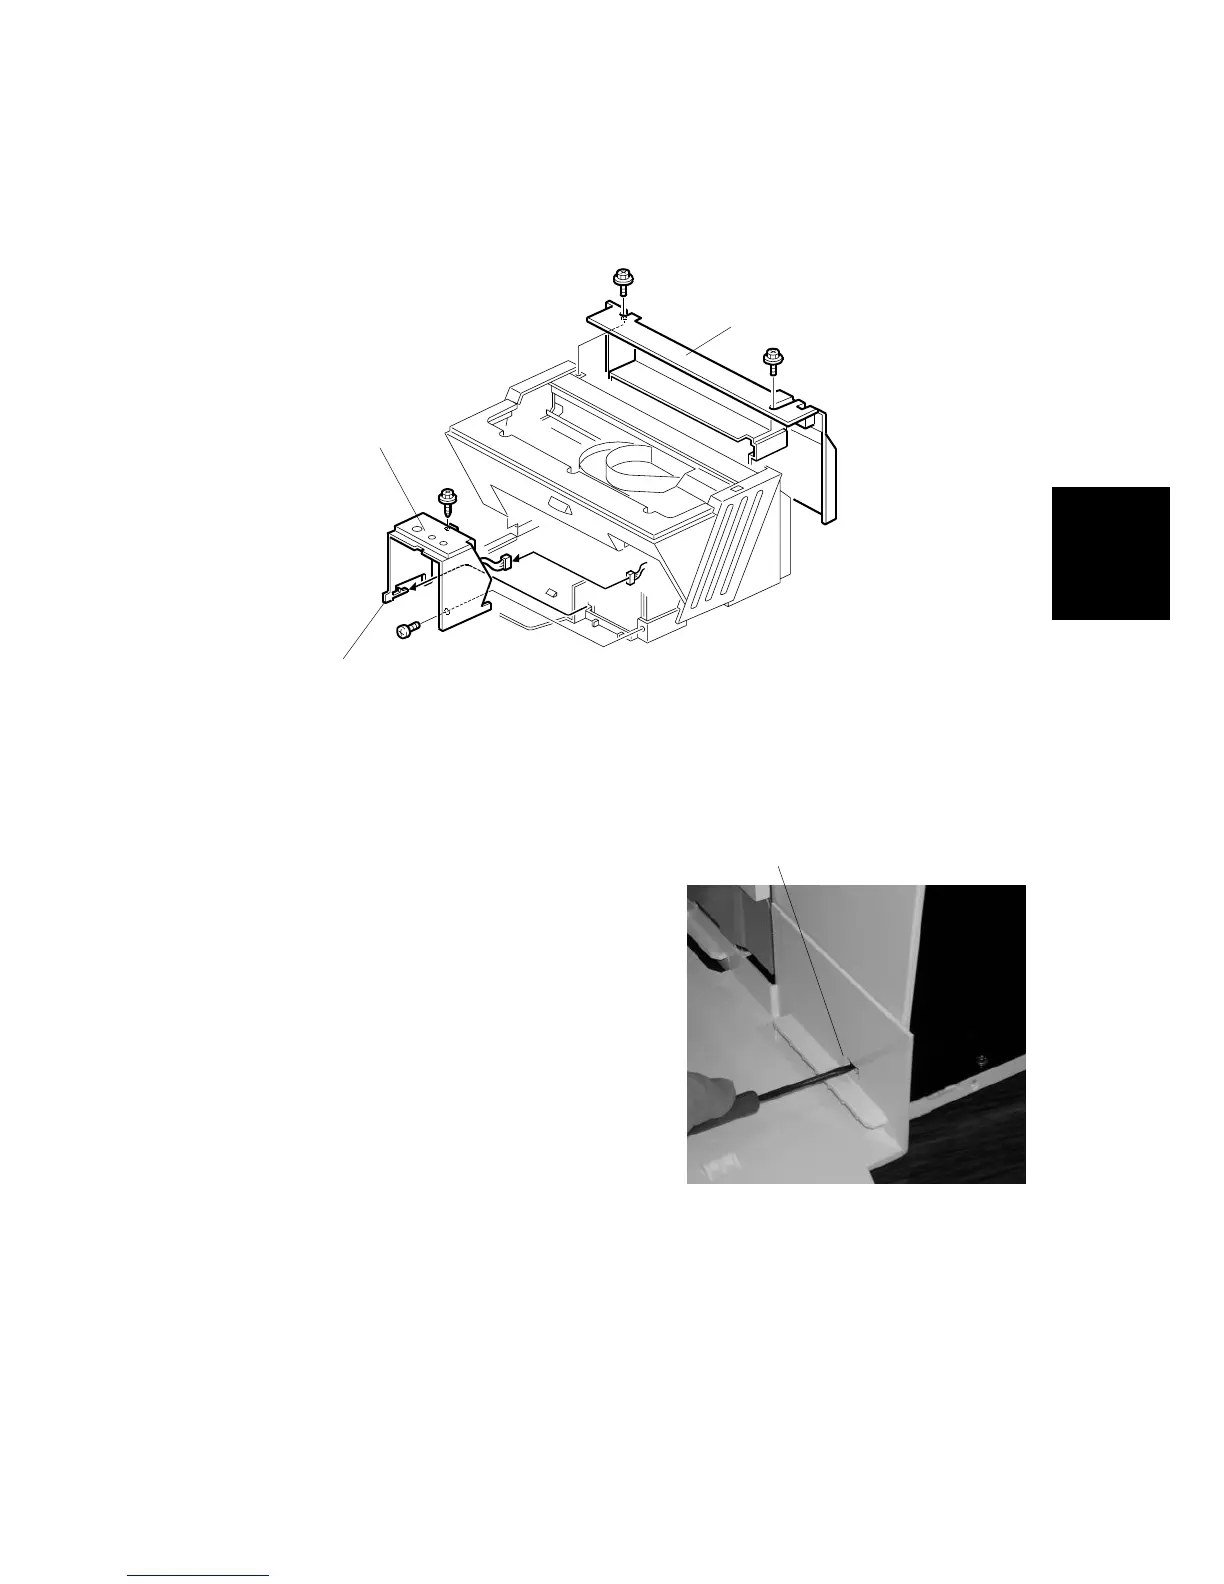
4. Use a small screwdriver to press down
pawl [B] to release it. Then remove the
Print cartridge cover ( x 1).
5. Remove the screws of the rear cover [C]
( x 2).
6. Pull from the top and slowly rotate the
cover away from the back of the printer.
NOTE: Jog the cover left and right at the
time you lower it if the rear cover
is difficult to remove.
G707R907.WMF
G707R908.BMP
[A]
[B]
[C]
[B]
 Loading...