488
Overall Control Panel Settings (Config Menu)
Chapter 19 Control Panel Setup (Panel)
The Bank selection here indicates the physical position
on the control panel, numbering from the top as the 1st
Row, 2nd Row, 3rd Row, and 4th Row.
On the MKS-9011 1M/E Control Panel only the 1st
Row is valid. On the MKS-9012 2M/E Control Panel,
only the 1st Row and 2nd Row are valid.
2
Select the bank that you want to assign to the selected
Bank number in the <M/E Assign> group.
The status area shows the interchanged state of the
banks.
• It is not possible to assign the same M/E logical bank
to more than one physical bank. Be sure to make
different M/E assignments.
• When the bank order is changed, the state of region
selection button assignment in the numeric keypad
control block also changes correspondingly.
3
For the selected Bank number, in the <M/E
Operation> group, select one of the following.
Enable: Enable panel display and operation of the
bank.
Disable: Enable only panel display, and disable
operation of the bank.
Inhibit: Disable both the panel display and operation
of the bank.
When this is set to Inhibit, snapshots of the bank are
not recalled.
Assigning Two M/E Banks to One M/
E Bank
1
In the Panel >Config menu, select the M/E bank for
which you want to make the setting.
• Press directly on the list in the status area.
• Press the arrow keys to scroll the reverse video
cursor.
• Turn the knob.
a) Depends on the center control panel configuration. When 7 (Ext 3) is
selected, or a switcher bank is selected which is immediately above
a switcher bank to which nothing is assigned, then [Dual M/E
Assign] is invalid.
For example, if the furthest bank from you is assigned
to M/E-1, and you want no shift button operation for
the bank, select 1 (1st Row) for Bank.
2
Press [Dual M/E Assign].
This assigns the furthest M/E bank from you to the
unshifted (shifted) cross-points and the M/E bank in
front of it to the shifted (unshifted) cross-points. For
fader lever operations, only the M/E bank closer to you
is enabled.
The shift/non-shift assignment is set by [Dual M/E Xpt
Swap].
For more details, see the next section, “Interchanging
shifted and non-shifted operations for a dual M/E.”
To return to the original assignment
Interchange the bank order (see page 487).
Interchanging shifted and non-shifted
operations for a dual M/E
1
In the Panel >Config menu, select the M/E bank for
which the dual M/E setting is made.
• Press directly on the list in the status area.
• Press the arrow keys to scroll the reverse video
cursor.
• Turn the knob.
2
Press [Dual M/E Xpt Swap], toggling it on or off.
On: The lower M/E bank is non-shifted, and the
higher M/E bank is shifted.
Off: The lower M/E bank is shifted, and the higher M/
E bank is non-shifted.
Assigning the Key Delegation in the
Downstream Key Control Block
(MKS-8032 DSK Fader Module,
Option)
As an example, to assign key 4 of the M/E-1 bank to key
delegation button 1 of the downstream key control block 1,
use the following procedure.
1
In the Panel >Config menu, press the [DSK Fader
Assign].
The DSK Fader Assign menu appears.
Notes
Notes
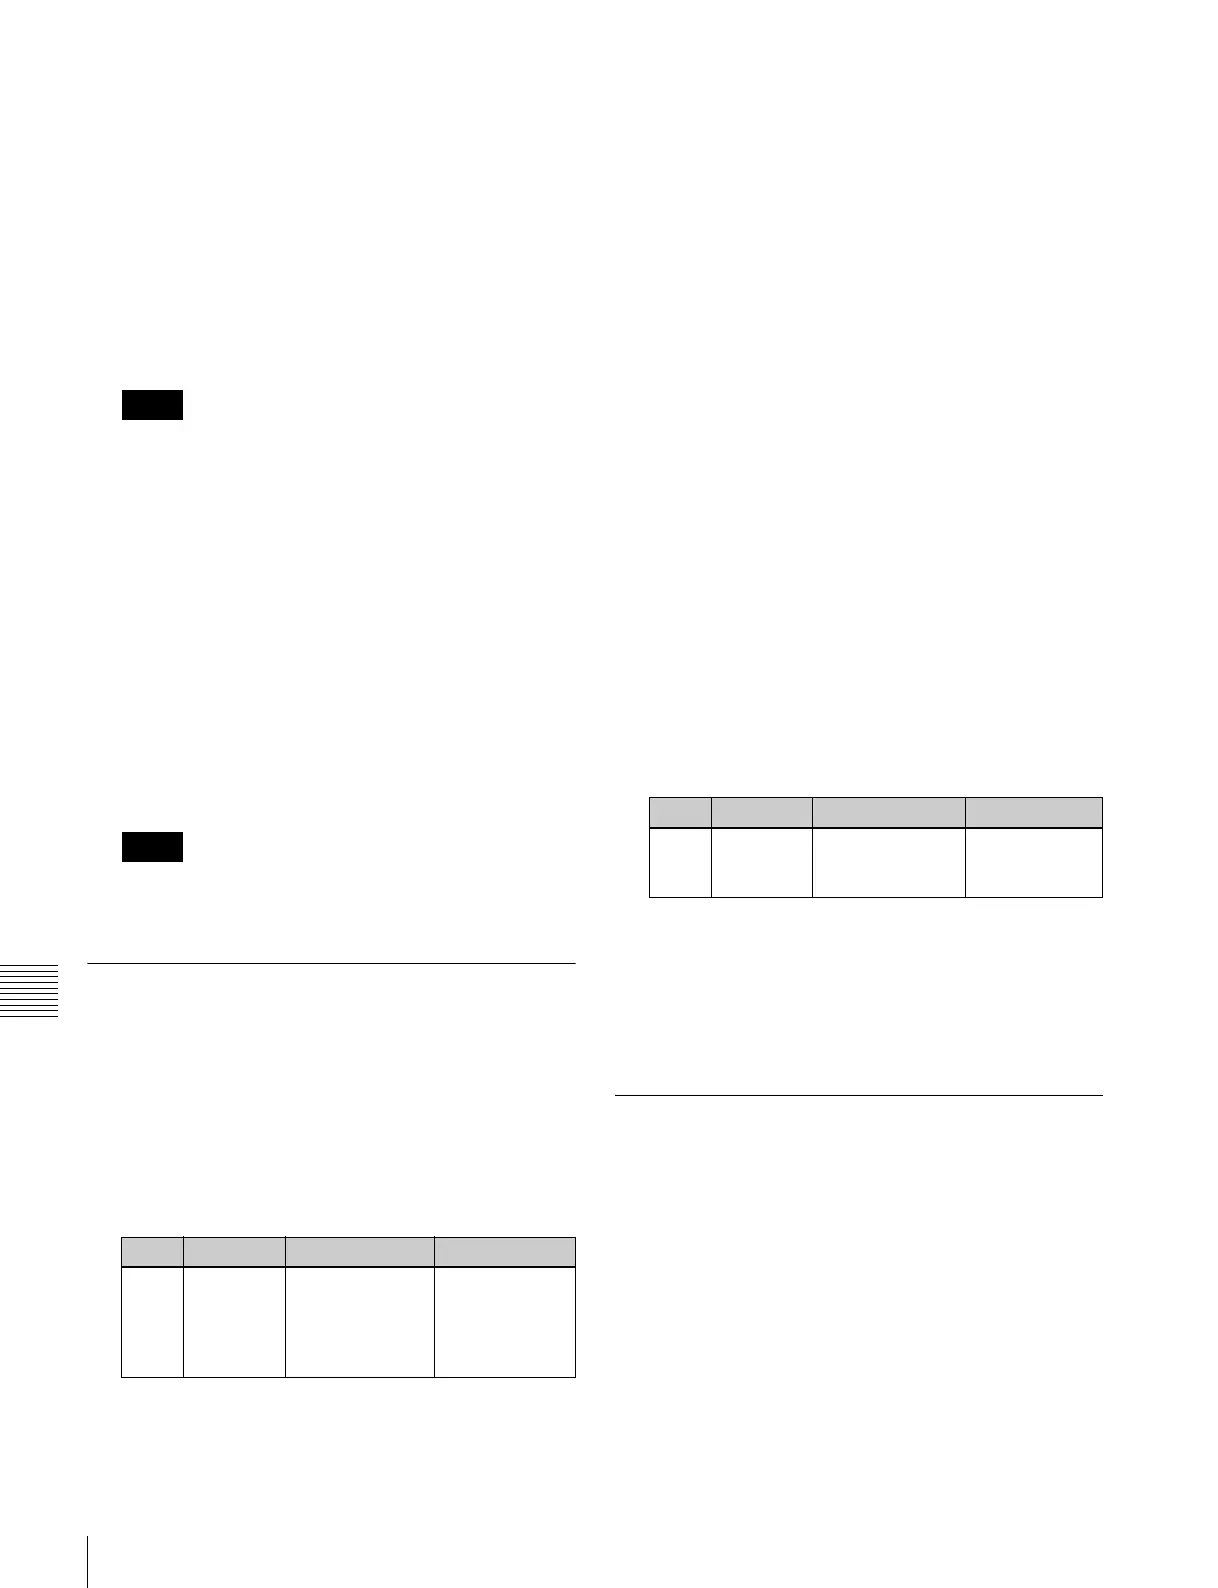
Knob Parameter Adjustment Setting values
1 Bank Selection of
position of bank
for which you
want to make the
setting
1 to 7
a)
Knob Parameter Adjustment Setting values
1 Bank Bank to be
selected for dual
M/E setting
1 to 7
 Loading...