501
Cross-Point Settings (Xpt Assign Menu)
Chapter 19 Control Panel Setup (Panel)
To assign sequential names to source signal 2 through
source signal 4
1. In step 2 above, set knob 1 to “2,” and set knob 2 to
“3.”
2. Set the name of source signal 2 to “CAM2.”
The name “CAM3” is assigned automatically to
source signal 3, and the name “CAM4” is assigned
automatically to source signal 4.
Setting the source name display color
1
In the Panel >Xpt Assign >Table Button Assign >Src
Name/LCD Color menu, turn the knobs to select the
setting target.
2
In the <LCD Color> group, select the color (Orange/
Green/Yellow).
Copying Cross-Point Assign Tables
The contents of a cross-point assign table can be copied to
another cross-point assign table, and vice versa.
The contents of a sub table cannot be copied to the main
table.
1
In the Panel >Xpt Assign menu, press [Table Copy].
The Table Copy menu appears.
The status area shows a list of copy sources and a list
of copy destinations.
2
Using any of the following methods, select the number
of the table to use as the copy source and the number
of the table you want to be the copy destination.
• Press directly on the list of copy sources (left-side
list) or the list of copy destinations (right-side list) in
the status area.
• Press the arrow keys to scroll the reverse video
cursor.
• Turn the knob.
3
Press [Copy].
A confirmation message appears, asking whether or
not to execute the copy.
4
To execute the copy, press [Yes], and to cancel the
operation, press [No].
Selecting Cross-Point Assign Tables
For the M/E-1 bank or PGM/PST bank, you can select the
cross-point assign table to be used.
When the AUX delegation buttons of the AUX control
block in the control panel are selected, the table set for the
M/E or P/P bank is used as the cross-point assign table in
the cross-point control block.
When manipulating the switcher buses with the MKS-
8080/8082 AUX bus remote panel, you can assign a
different cross-point table for each bus. However, it is not
possible to assign cross-point tables 5 to 14.
1
In the Panel >Xpt Assign menu, use any of the
following methods to select the switcher bank.
• Press directly on the list on the left of the status area.
• Press the arrow keys on the list on the left to scroll
the reverse video cursor.
• Turn the knobs.
2
Using any of the following methods, select the table.
• Press directly on the list on the right of the status
area.
• Press the arrow keys on the list on the right to scroll
the reverse video cursor.
• Turn the knob.
3
Press [Table Assign Set].
This sets the table for the selected switcher bank.
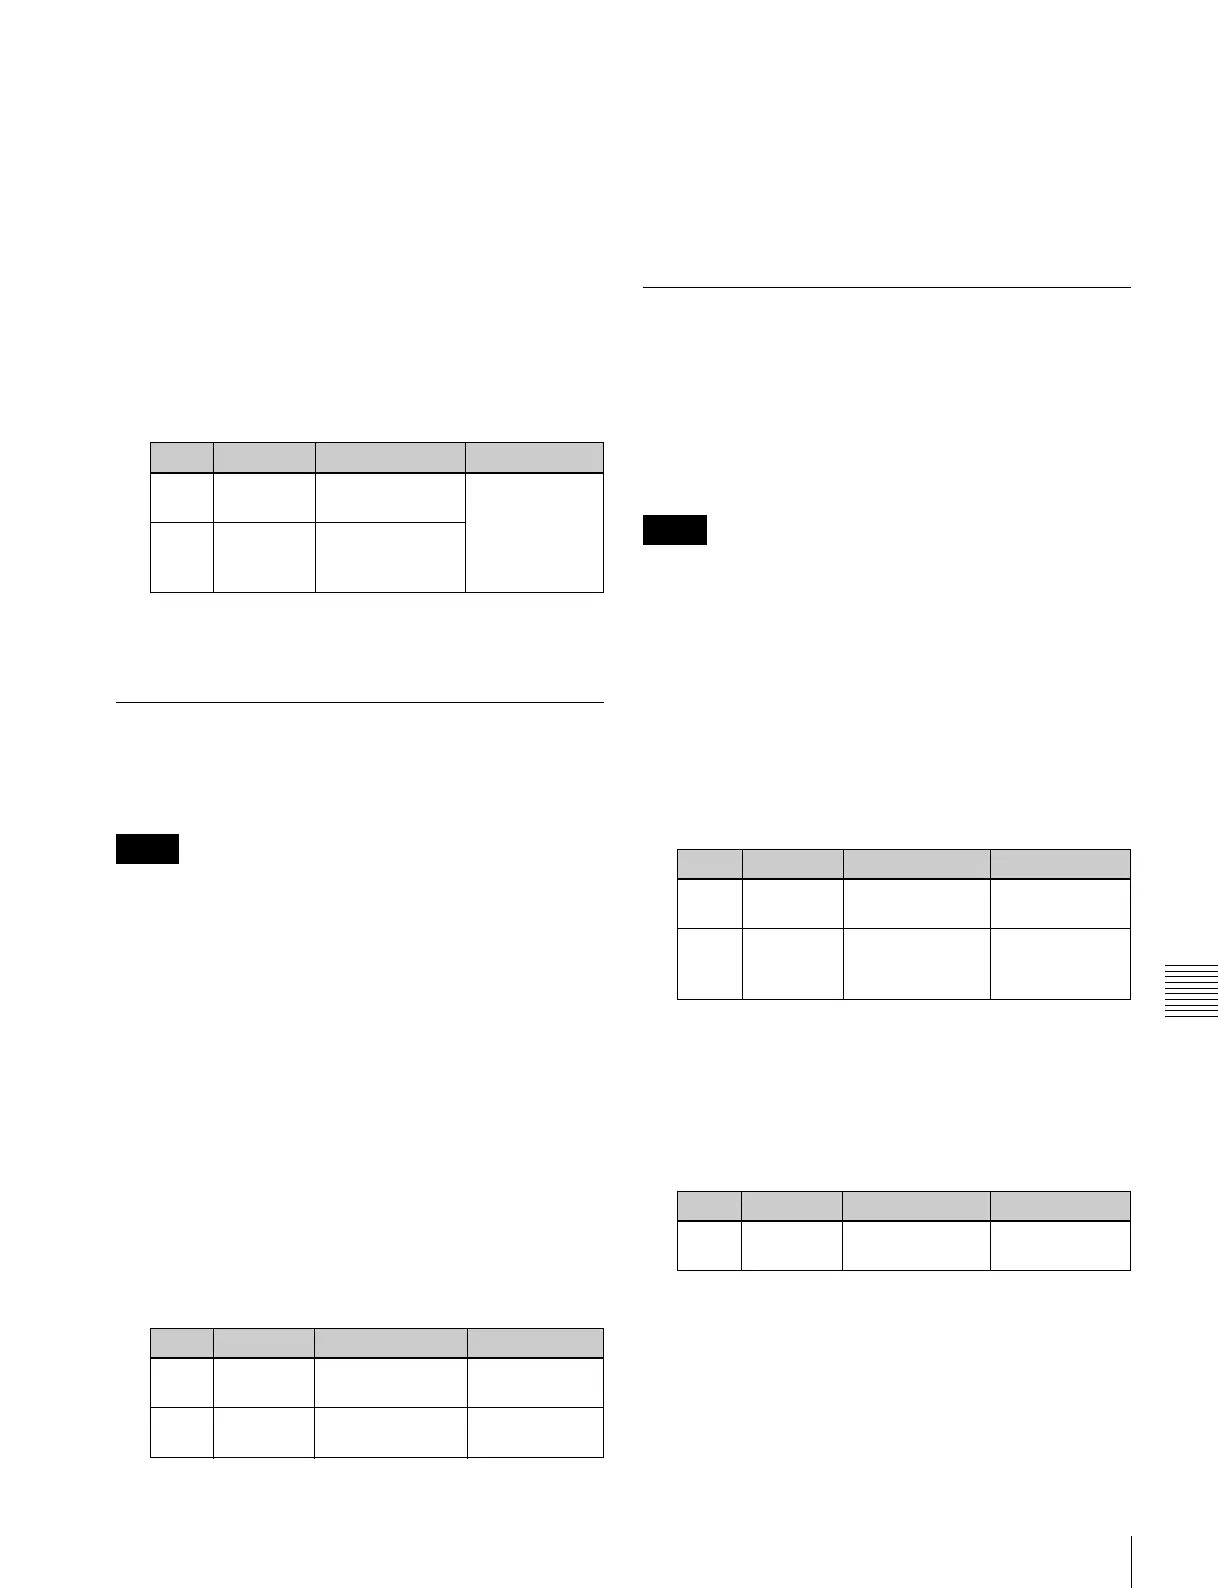
Knob Parameter Adjustment Setting values
1 Source No Source signal
selection
1 to 236 (MVS-
8000X)
1 to 162 (MVS-
7000X)
2 Num Number of
source signals to
be selected
Notes
Knob Parameter Adjustment Setting values
1 Left No Selection of copy
source
1 to 15
2 Right No Selection of copy
destination
1 to 14
Notes
Knob Parameter Adjustment Setting values
1 Bank/Bus
No
Switcher bank
selection
1 and upwards
2 Num Number of
selected
switcher banks
1 and upwards
Knob Parameter Adjustment Values
3 Table No Selection of table
to be assigned
1 to 15

 Loading...


