Engine Mechanical: 1D-38
Valve Seat Sealing Condition
1) Clean and assemble the cylinder head and valve
components.
2) Fill the intake and exhaust ports with gasoline to
check for leaks. If any leaks occur, inspect the valve
seat and face for burrs or other things that could
prevent the valve from sealing. Refer to “Valve Seat
Repair (Page 1D-40)”.
WARNING
!
Always use extreme caution when handling
gasoline.
NOTE
After servicing the valve seats, be sure to
check the valve clearance after the cylinder
head has been reinstalled. Refer to “Valve
Clearance Inspection and Adjustment in
Section 0B (Page 0B-4)”.
Valve Guide Replacement
B831G21406026
1) Remove the cylinder head. Refer to “Engine Top
Side Disassembly (Page 1D-17)”.
2) Remove the valves. Refer to “Cylinder Head
Disassembly and Assembly (Page 1D-31)”.
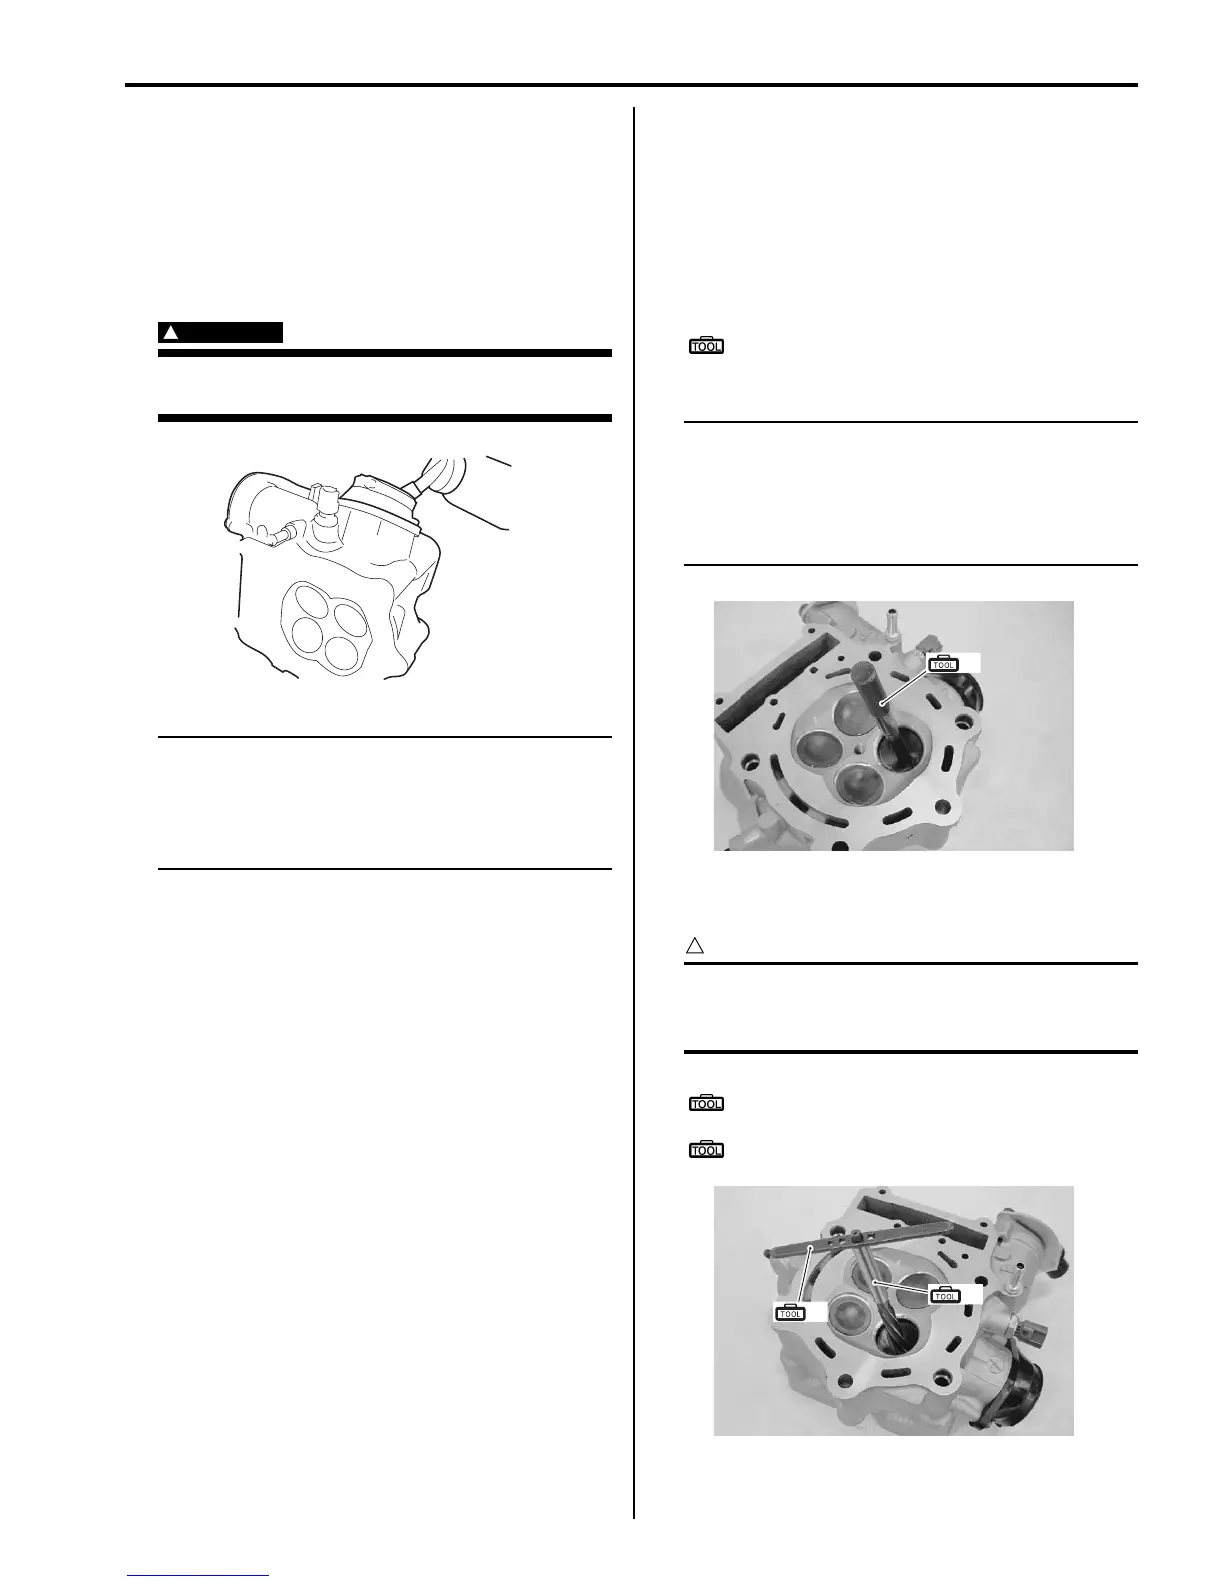
3) Using the valve guide remover, drive the valve guide
out toward the intake or exhaust camshaft side.
Special tool
(A): 09916–44910 (Valve guide remover/
installer)
NOTE
• Discard the removed valve guide sub-
assemblies.
• Only oversized valve guides are available
as replacement parts. (Part No. 11115-
32E70)
4) Refinish the valve guide holes in the cylinder head
using the reamer and handle.
CAUTION
!
When refinishing or removing the reamer
from the valve guide hole, always turn it
clockwise.
Special tool
(B): 09916–34580 (Valve guide reamer (10.8
mm))
(C): 09916–34542 (Reamer handle)
I831G1140334-02
(A)
I831G1140166-01
(B)
(C)
I831G1140167-01

 Loading...