e-STUDIO556/656/756/856(Ver03) © 2012 TOSHIBA TEC CORPORATION All rights reserved
DISASSEMBLY AND REPLACEMENT
4 - 44
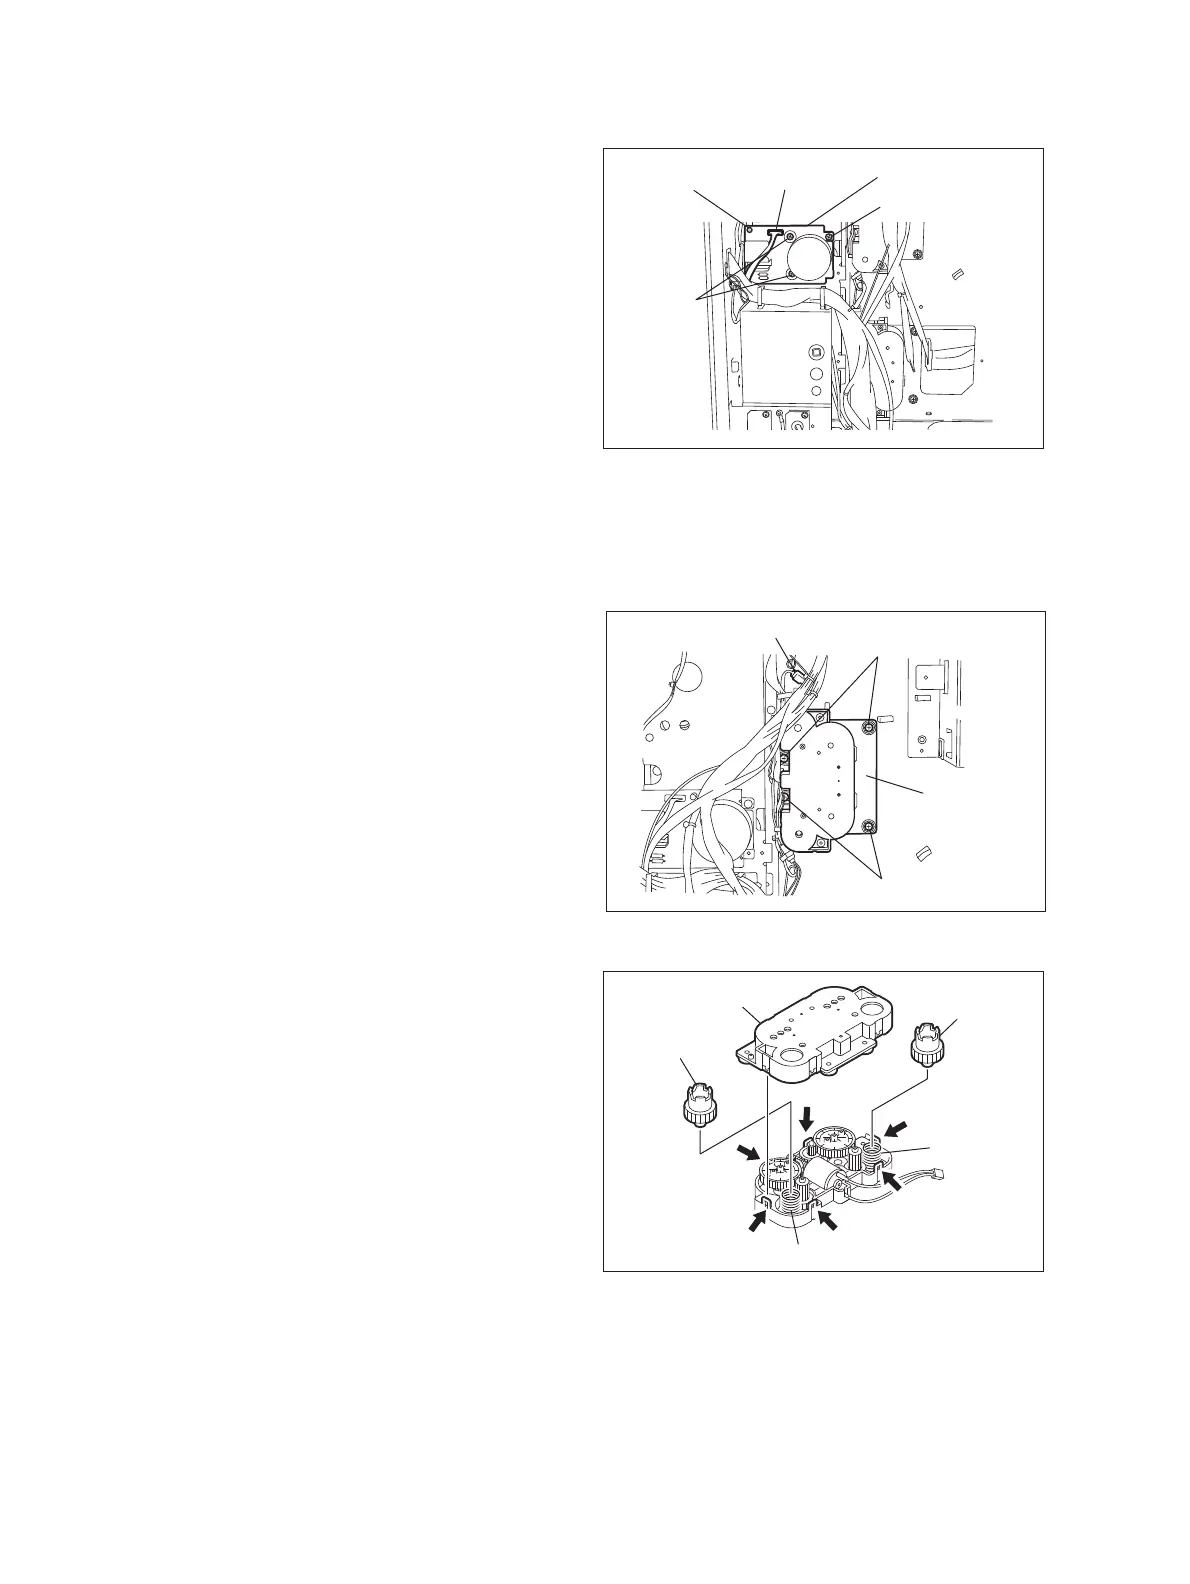
4.5.4 Feed motor (M20)
4.5.5 Tray driving unit (upper/lower) / Tray-up motor (M21, M22)
(1) Take off the rear cover.
( P.4-5 "4.1.13 Rear cover")
(2) Disconnect 1 connector, release 1 lock
support and then remove 3 screws to take off
the feed motor.
Fig. 4-124
(1) Take off the switching regulator.
( P.9-6 "9.1.8 Switching regulator (PS)")
(2) Remove 4 screws to take off the tray driving
unit (upper).
Both the upper and lower sides have the
same tray driving units.
Fig. 4-125
(3) Reverse the tray driving unit and release 6
latches to take off the cover.
The spring which pushes open the cover is
inside the tray driving unit, so be careful
when you remove the cover.
Fig. 4-126
Feed motorLocking
support
Screw
Screw
Connector
Screw
Screw
Tray drive unit
Connector
Cover
Coupling
Coupling
Spring
Spring

 Loading...


