6
© 2012 TOSHIBA TEC CORPORATION All rights reserved e-STUDIO556/656/756/856(Ver03)
ADJUSTMENT
6 - 77
6.14.5 RADF horizontal position adjustment
First check if the image adjustment has been performed properly and then start this adjustment
for the RADF. Also, the RADF position and height shall be adjusted correctly.
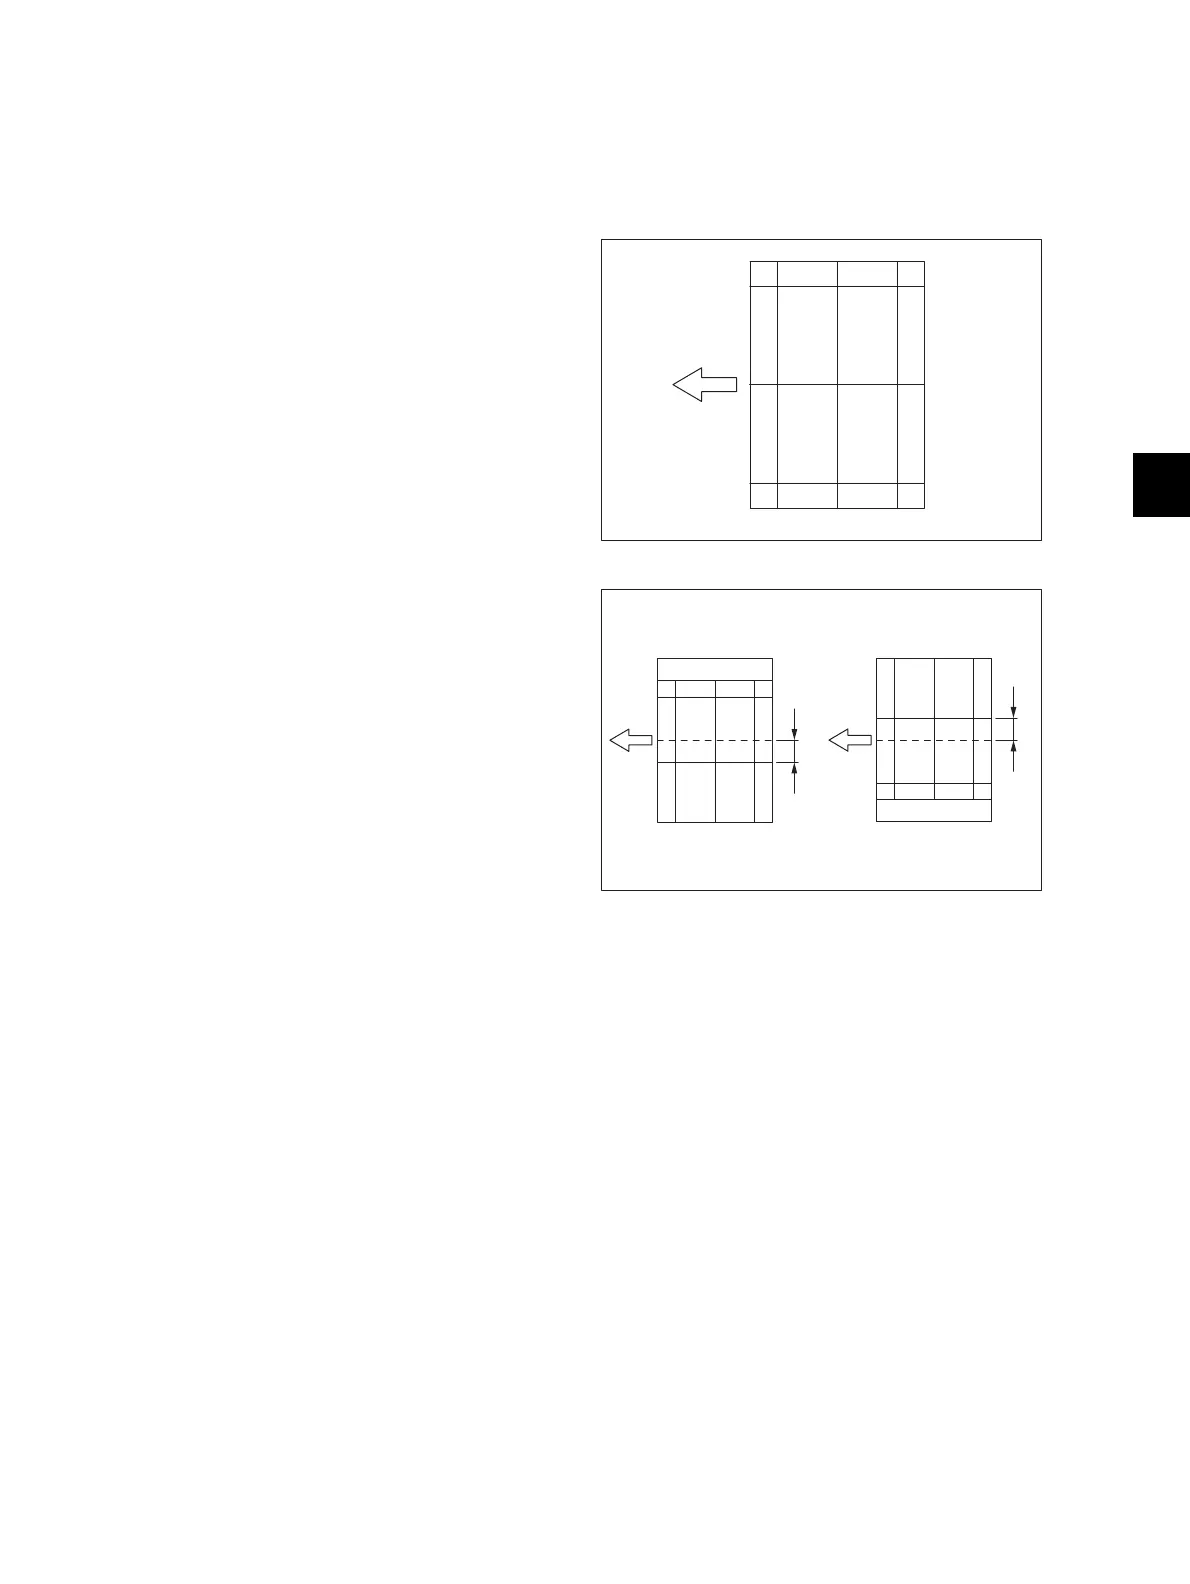
(1) Check the image using the chart (original)
with a center line in the following procedure.
Place the chart provided as an original with
its face up on the original tray of the RADF,
and then make copies.
Fig. 6-87
(2) Fold the copy in half and check if the center
line is misaligned.
(3) If the adjustment is necessary, shut down the
equipment and turn the power ON while
pressing [0] and [5] simultaneously.
(4) Key in [3043] and then press the [START]
button.
(5) If the center line of the copy image is shifted
to the front side of the equipment (G), enter a
value larger than the current one.
Changing one value shifts the copy image by
0.08 mm.
(6) If the center line of the copy image is shifted
to the rear side of the equipment (H), enter a
value smaller than the current one.
(7) Press the [OK] button.
Fig. 6-88
Chart
G
H

 Loading...


