e-STUDIO556/656/756/856(Ver03) © 2012 TOSHIBA TEC CORPORATION All rights reserved
ADJUSTMENT
6 - 40
6.7 Image Quality Adjustment (FAX Function)
6.7.1 Density adjustment
Adjusts the center density and the variation of density adjustment buttons.
< Adjustment Mode (05) >
<Procedure>
(1) While pressing [0] and [5] simultaneously, turn the power ON.
(2) Key in a code and press the [START] button.
(3) Key in an adjustment value.
(To correct the keyed-in value, press the [C] button.)
(4) Press the [OK] or [INTERRUPT] button to store the value. The equipment goes back to the ready
state.
(5) o set it again, repeat step (2) to (4).
(6) Turn the power OFF.
<Confirmation>
If possible, perform a Fax transmission and check the adjusted density with the image on the
recipient's side.
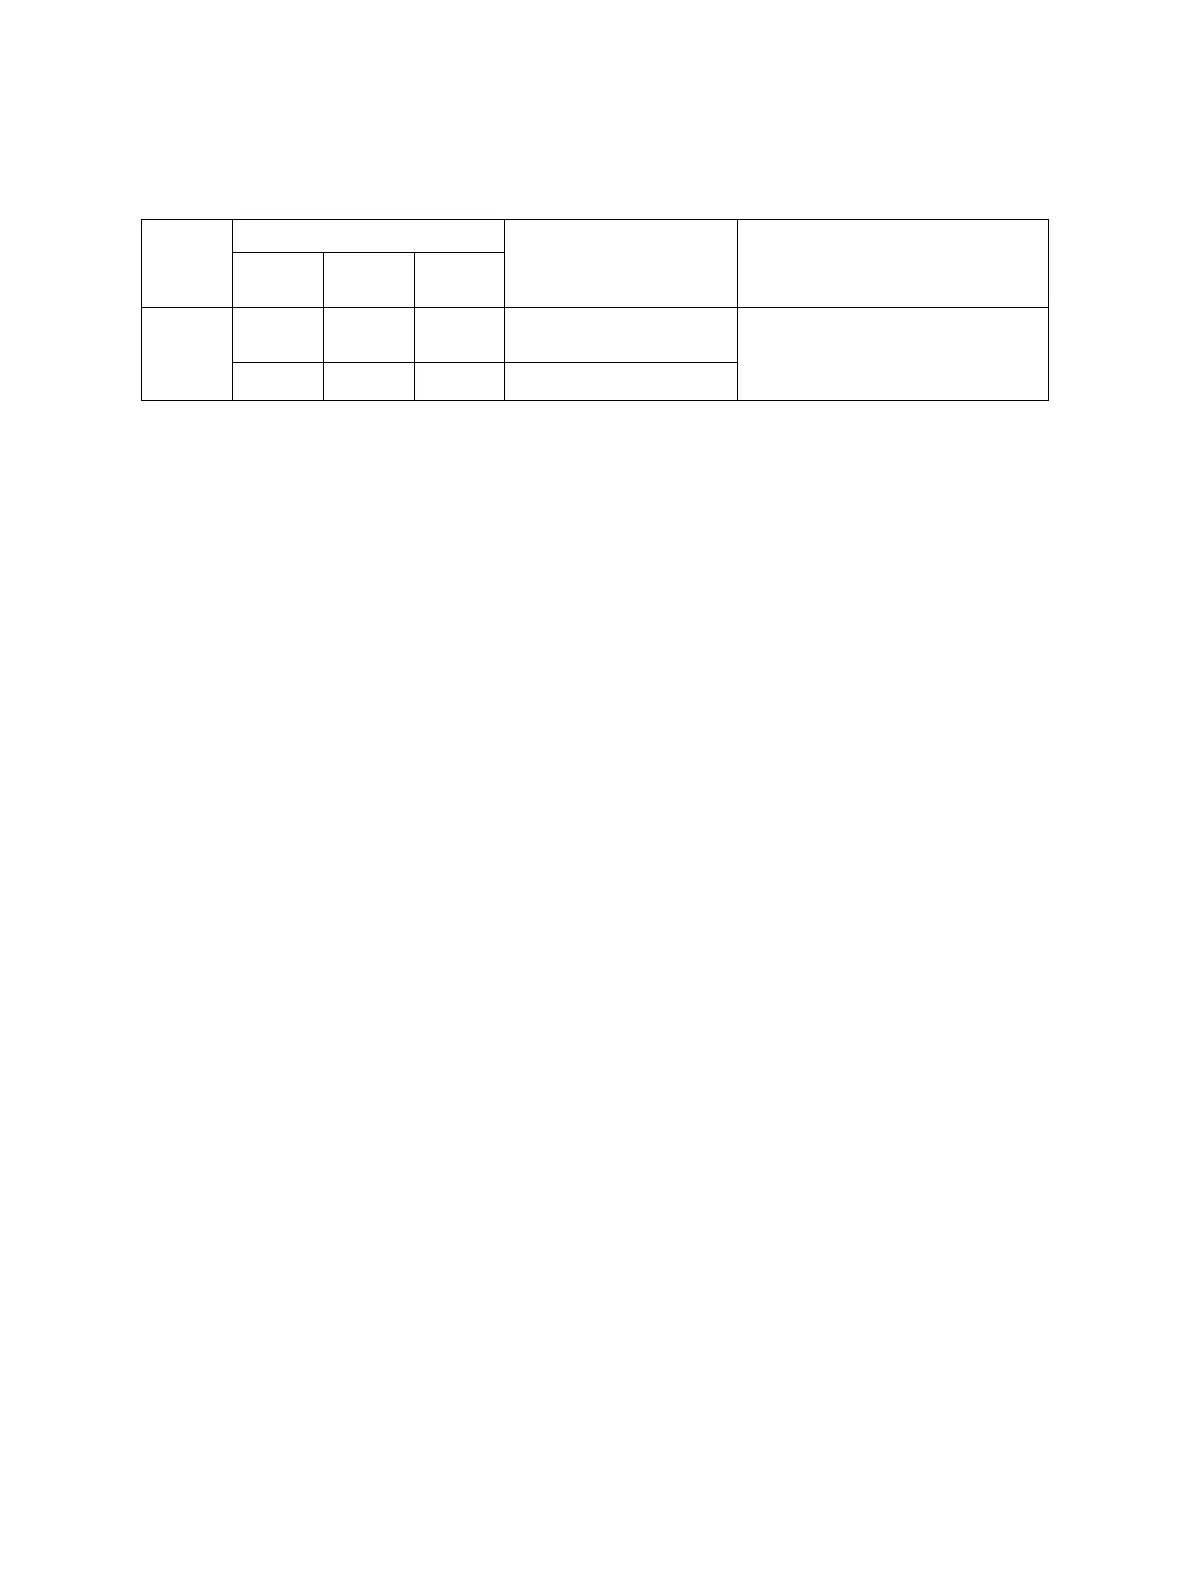
Color
Mode
Original mode
Item to be adjusted Remarks
Text/
Photo
Text Photo
Black 7533 7534 7535 Manual density center
value
The larger the value is, the darker the
image becomes.
Acceptable values: 0 to 255
(Default: 128)
7542 - 7543 Automatic density mode

 Loading...


