4
© 2012 TOSHIBA TEC CORPORATION All rights reserved e-STUDIO556/656/756/856(Ver03)
DISASSEMBLY AND REPLACEMENT
4 - 59
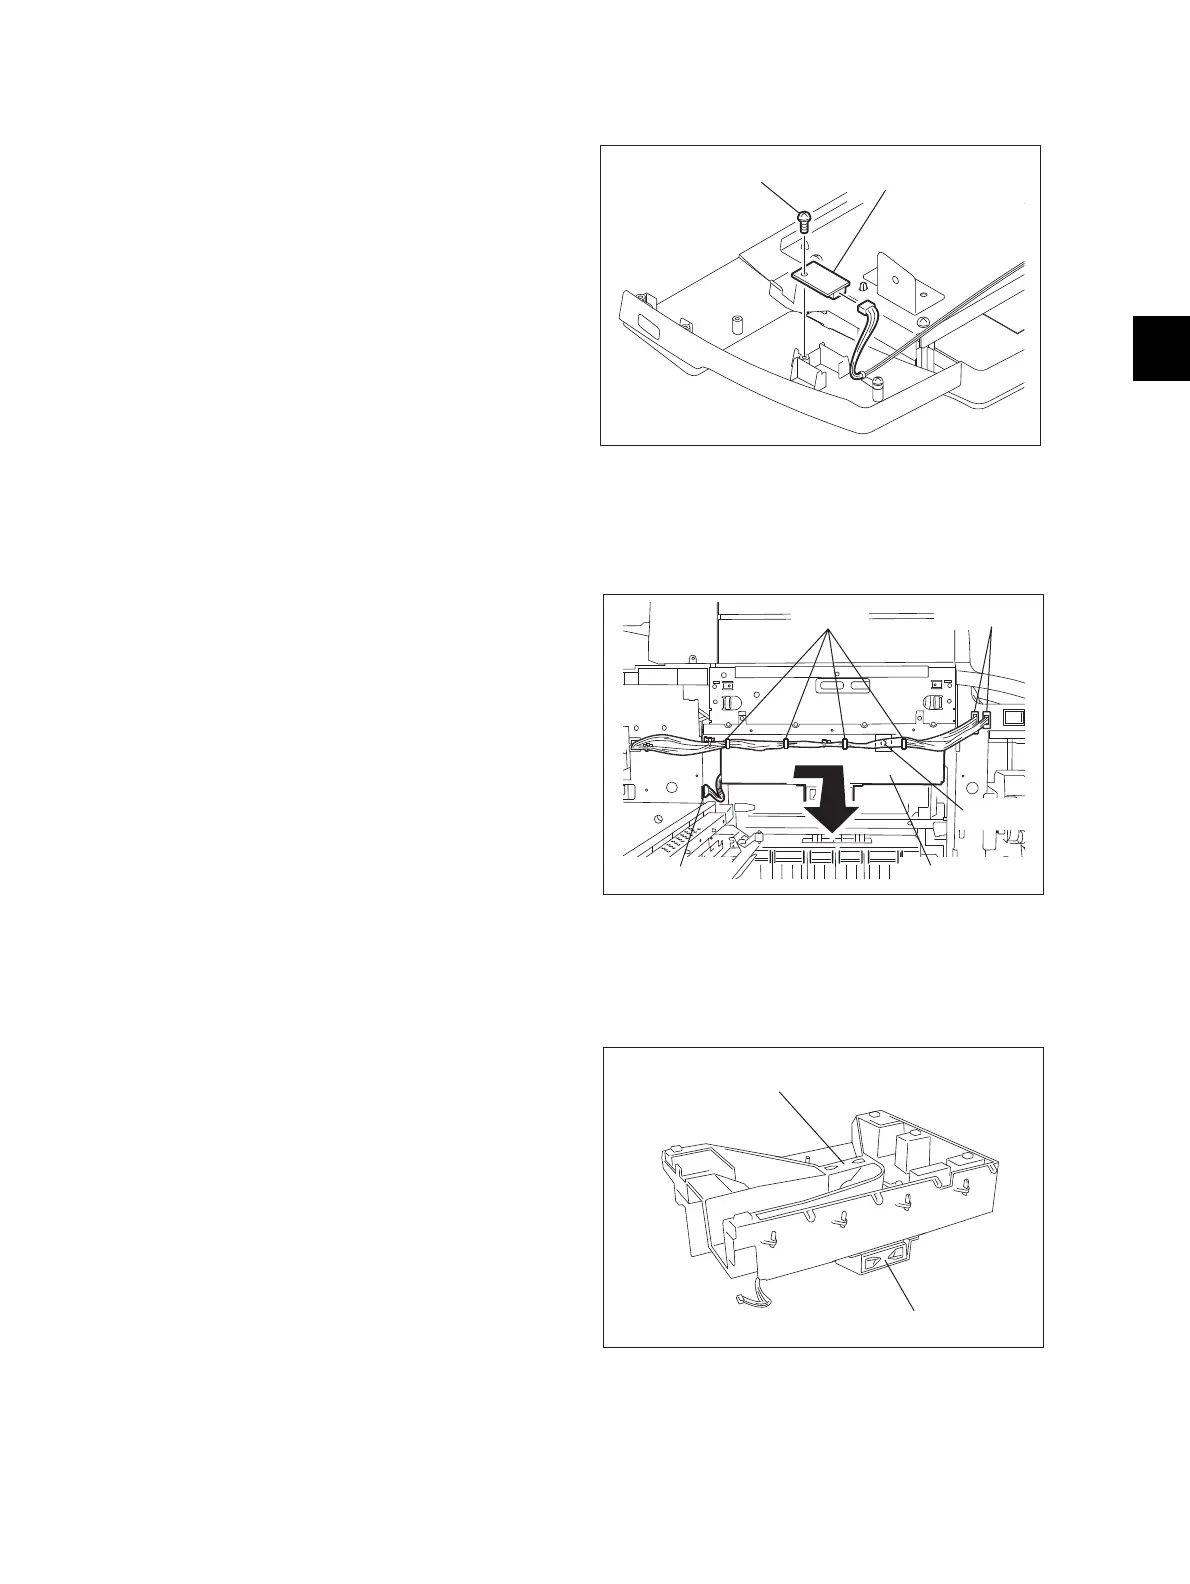
4.6.5 Temperature/humidity sensor (S7)
4.6.6 Exhaust duct
4.6.7 Duct out fan (M27) / Exit section cooling fan (M29)
(1) Take off the control panel unit.
( P.4-6 "4.2.1 Control panel unit")
(2) Disconnect 1 connector, remove 1 screw,
and then take off the temperature/humidity
sensor.
Fig. 4-167
(1) Take off the wire cleaner drive unit.
( P.4-56 "4.6.2 Wire cleaner drive unit /
Wire cleaner drive motor (M12)")
(2) Pull out the transfer/transport unit.
(3) Take off the left upper cover.
( P.4-4 "4.1.10 Left upper cover")
(4) Open the left lower cover (exit cover).
(5) Disconnect 3 connectors and release the
harness from 4 clamps.
(6) Remove 1 screw, slide the exhaust duct to
the front side to release the hook, and then
pull it out toward you.
Fig. 4-168
(1) Take off the exhaust duct.
( P.4-59 "4.6.6 Exhaust duct")
(2) Disconnect 1 connector and pull out the duct
out fan.
(3) Disconnect 1 connector, remove 2 screws,
and then take off the exit section cooling fan
with the bracket.
(4) Remove 2 screws and take off the exit
section cooling fan from the bracket.
Fig. 4-169
Screw
Temperature/humidity sensor
Screw
Clamp
Connector
Connector
Exhoust duct
Duct out fan
Exit section cooling fan

 Loading...


