e-STUDIO556/656/756/856(Ver03) © 2012 TOSHIBA TEC CORPORATION All rights reserved
ADJUSTMENT
6 - 44
[ 4 ] Operation
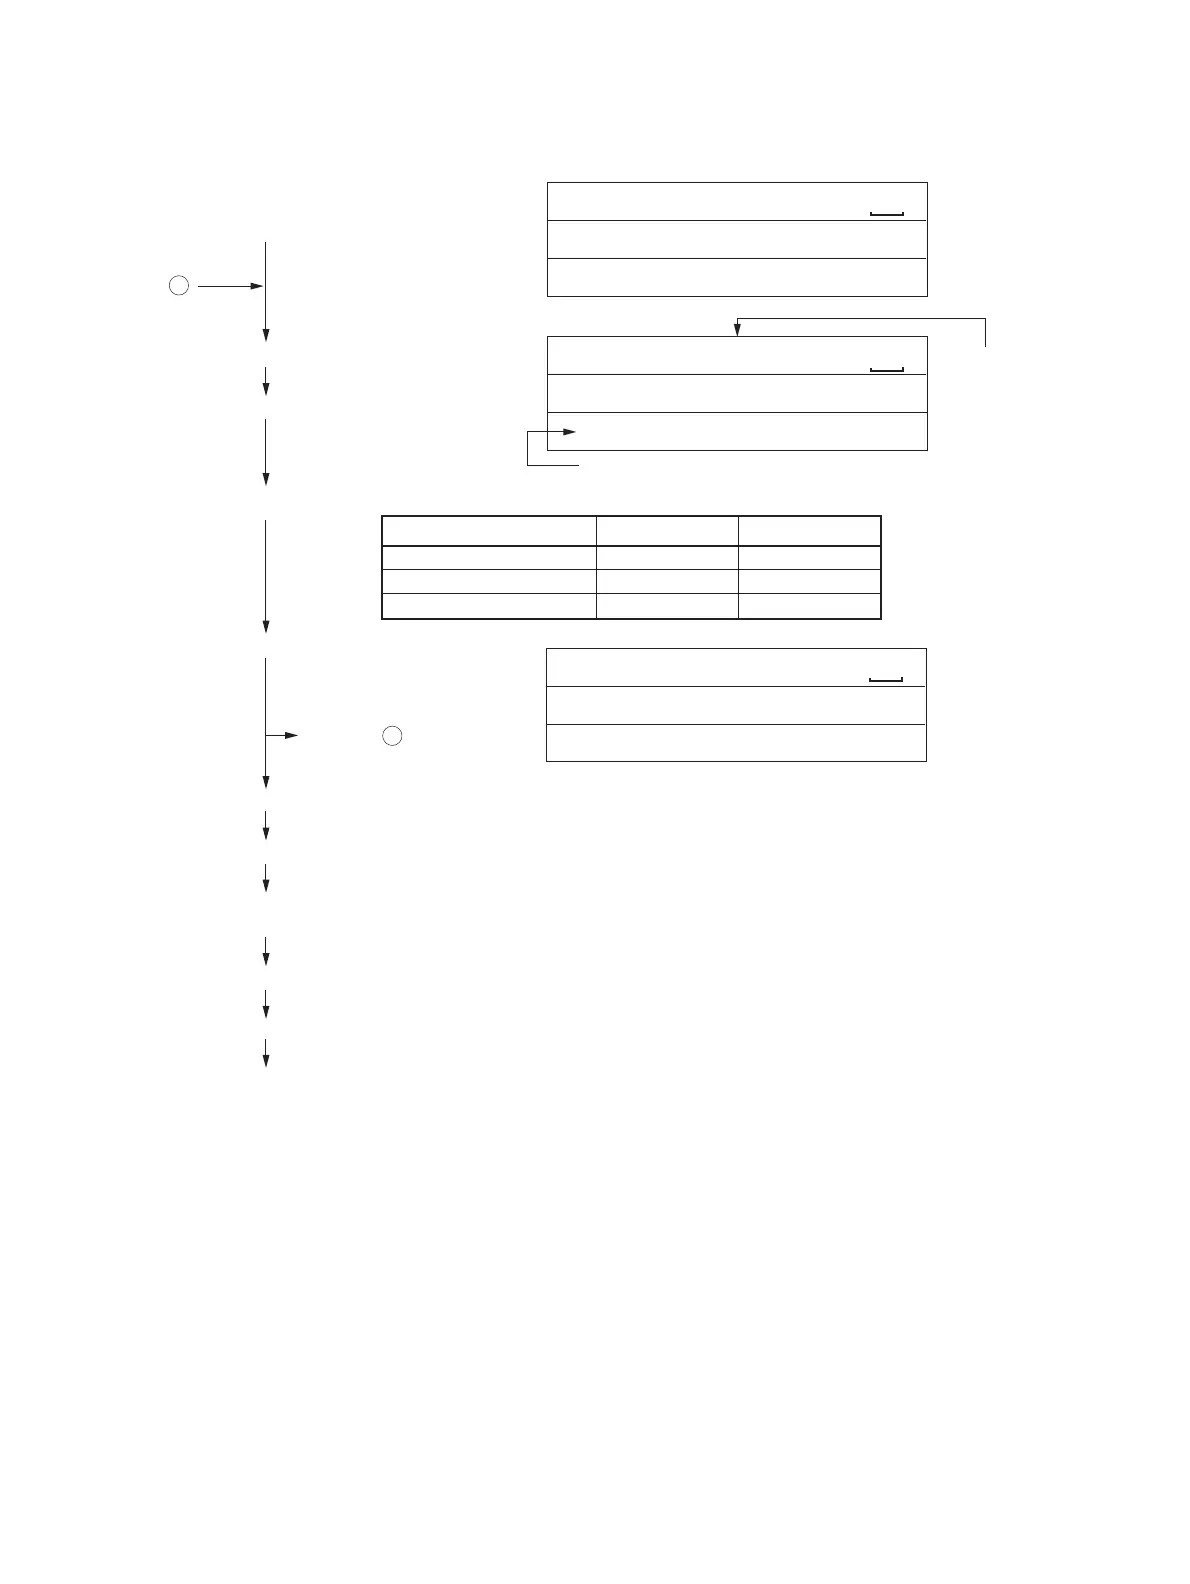
Connect the digital testers as described in “[3] Connection”, and follow the procedure on the next
page to measure the output from the main charger and developer bias charger.
Fig. 6-27
If the output value does not reach a specified level, replace the high-voltage transformer.
100%
A3
A
TEST MODE
100%
XXXX
YYY
A3
TEST MODE
100%
A3
A
TEST MODE
[0][5]
[POWER]
[0][5]
[POWER]
Check that the measured value satisfies the following table.
Disconnect the digital testers and return the equipment to its original state.
[Digital keys]
[START]
: Enter the code.
[POWER] : OFF
[Digital keys]
[START]
: 2120
[POWER] : After the message "WAIT" has disappeared, turn the power OFF and then back ON.
Code 2040
Default value 102 (bit)
Code No.
Current set value
<Keys to press>
<Display>
[CANCEL]
1
Developer bias Main charger
2020
113 (bit)
Output value -500±22V-394±22V
Return to 1 to enter the
other adjustment code.

 Loading...


