4
© 2012 TOSHIBA TEC CORPORATION All rights reserved e-STUDIO556/656/756/856(Ver03)
DISASSEMBLY AND REPLACEMENT
4 - 75
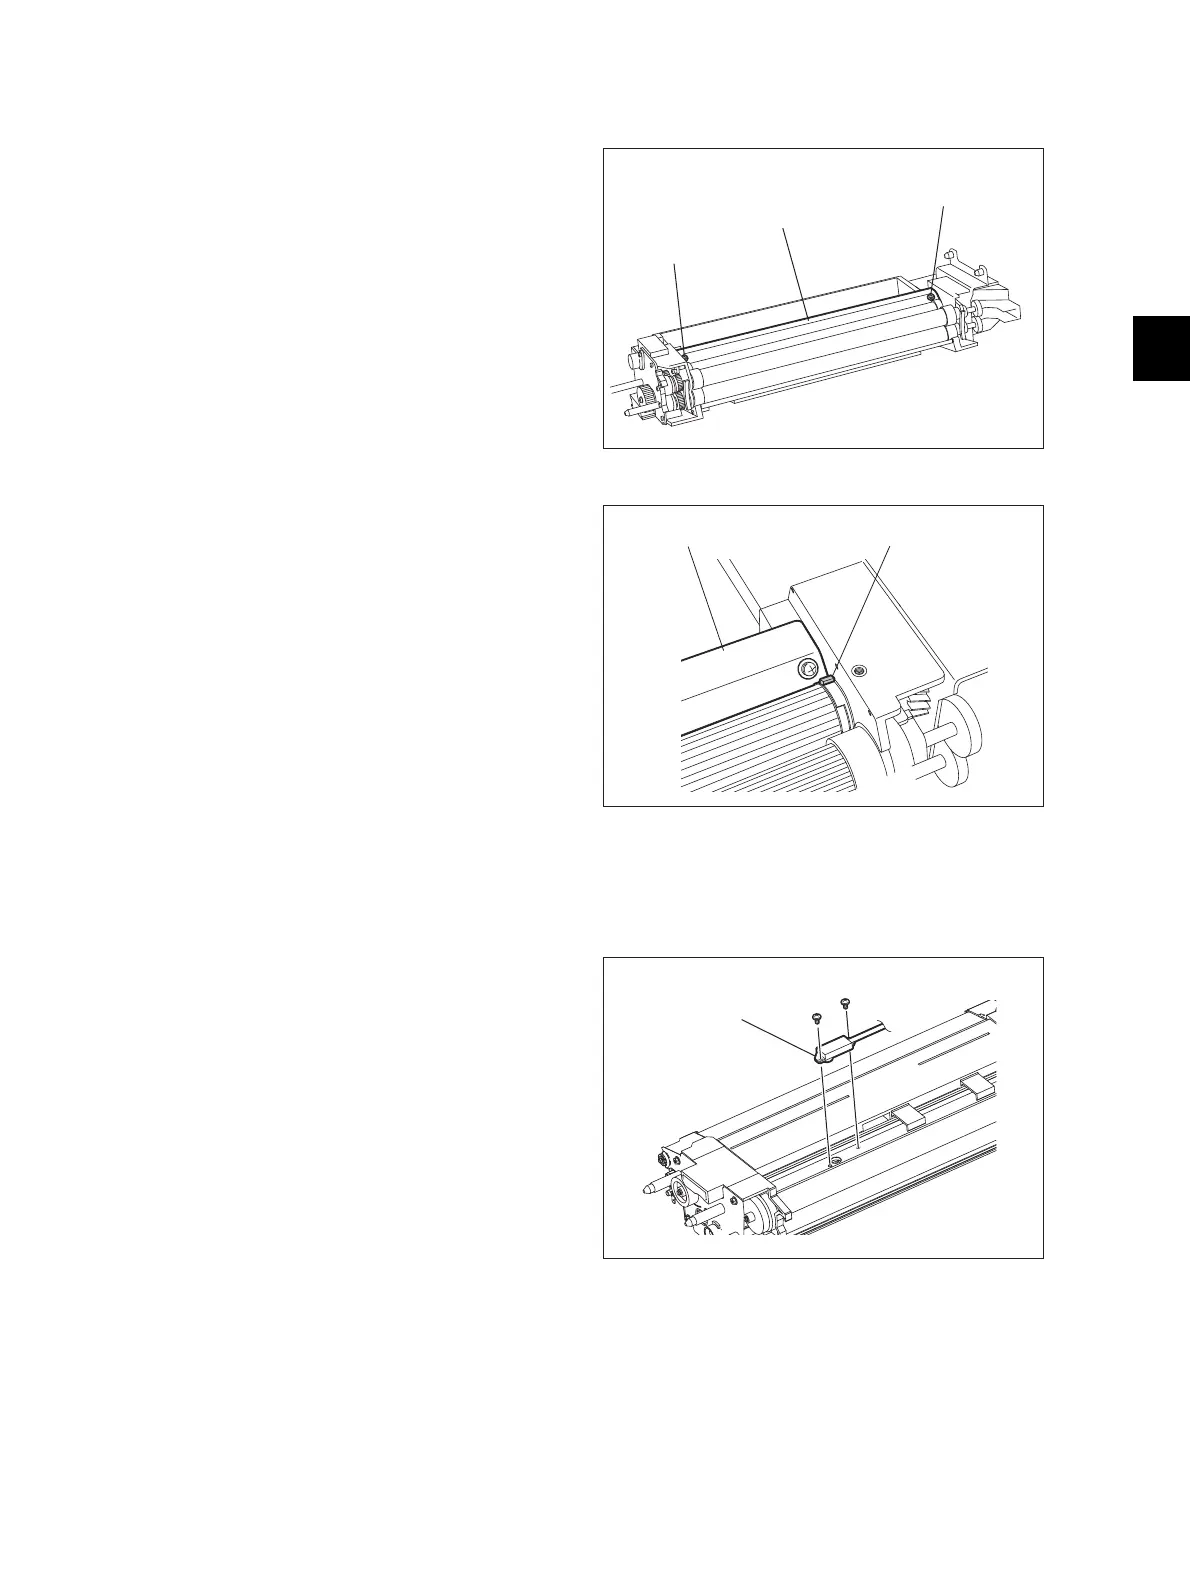
4.8.10 Doctor blade
4.8.11 Auto-toner sensor (S12)
(1) Take out the developer material.
( P.4-73 "4.8.9 Developer material")
(2) Remove 2 screws and take off the doctor
blade.
Fig. 4-212
When installing the doctor blade, butt both
edges to the protrusion on the front and rear
side frame and tighten the screw. (The
doctor sleeve gap does not need to be
adjusted.)
Fig. 4-213
(1) Take out the developer material.
( P.4-73 "4.8.9 Developer material")
(2) Release the harness from the clamp and pull
out the harness.
(3) Remove 2 screws to take off the auto-toner
sensor.
Fig. 4-214
Doctor blade
Screw
Screw
Doctor blade Protrusion
Auto-toner sensor

 Loading...


