6
© 2012 TOSHIBA TEC CORPORATION All rights reserved e-STUDIO556/656/756/856(Ver03)
ADJUSTMENT
6 - 97
6.18 Adjustment of Inserter
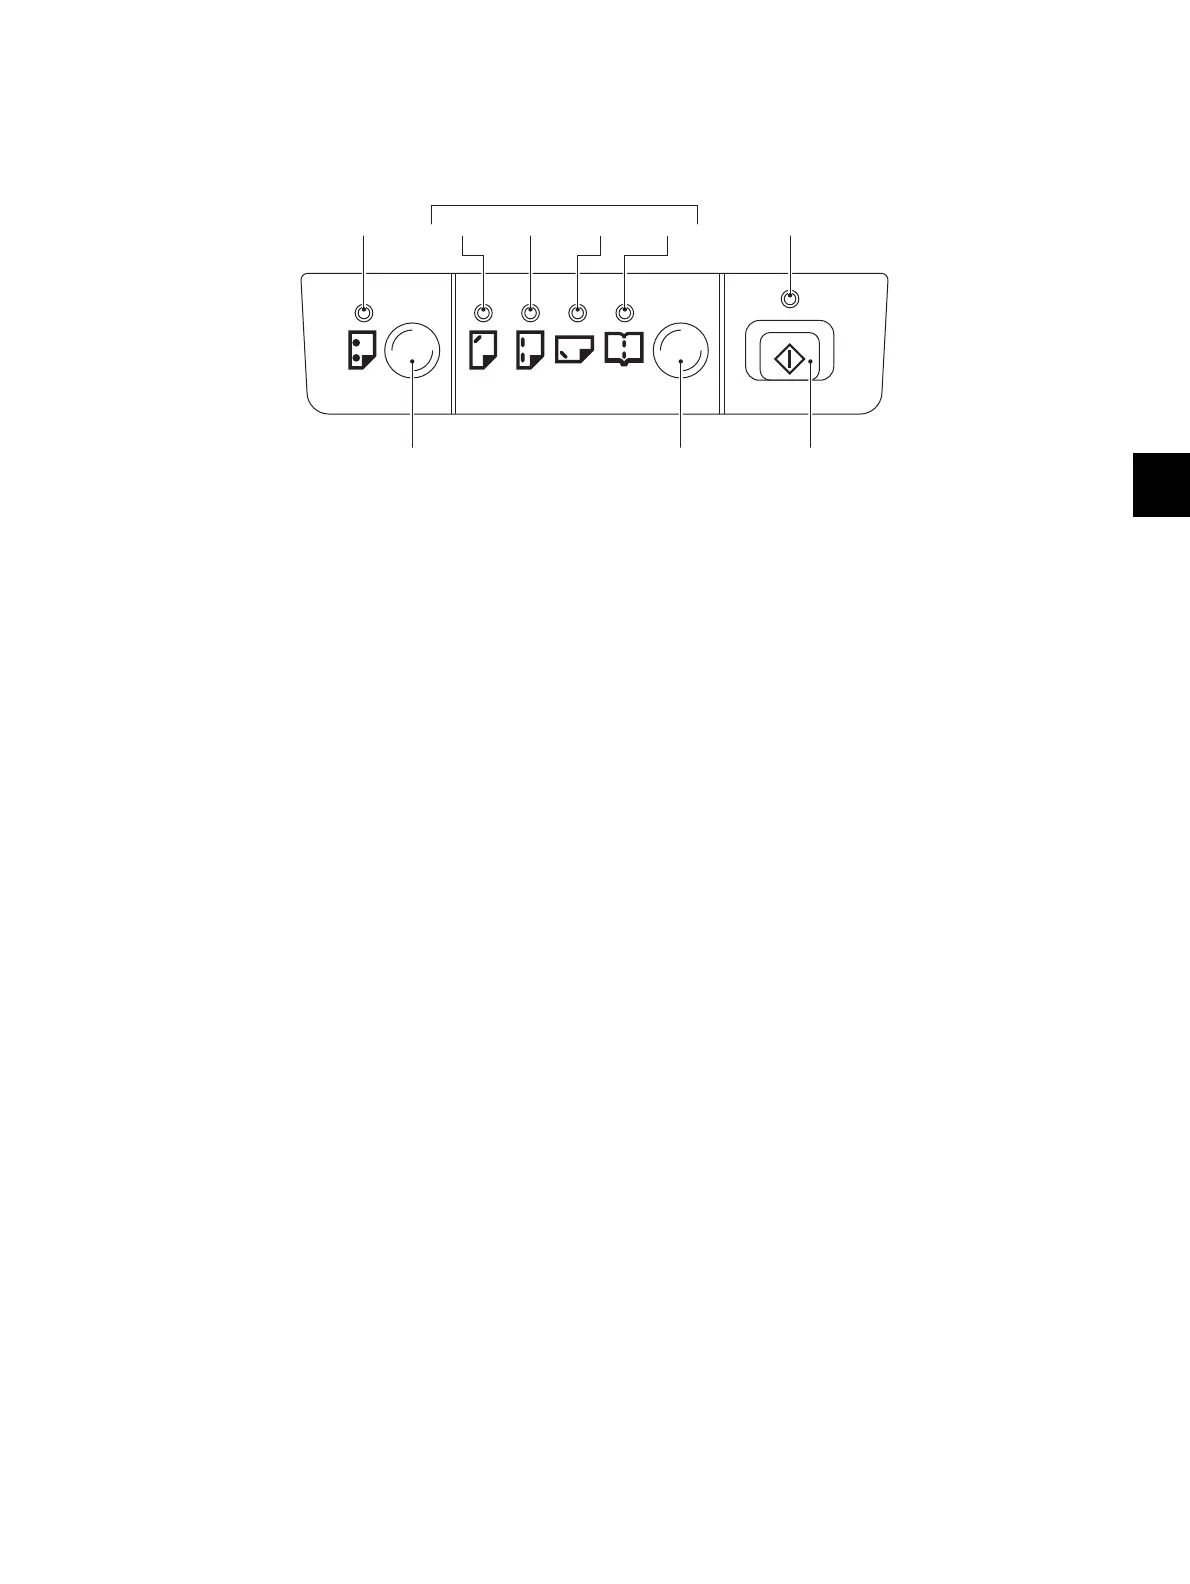
Each adjustment condition and such at the inserter can be checked through the LEDs on the inserter
control panel.
Fig. 6-119
6.18.1 Tray guide width adjustment
When replacing boards and volumes and disassembling or installing the tray unit, make sure to follow
these adjustments.
(1) Turn ON the power with pressing the control panel mode key and start key. (The start LED blinks
in green.)
(2) Press the mode key and set up only the mode LED3 to light ON, and press the start key. (The
start LED lights ON in green.)
* With pressing the mode key for more than 1 sec., all the mode LEDs light OFF and become
able to be reset.
(3) Press the start key. (The mode LED2, 3 blink.)
(4) Move the tray guide to the position where its width becomes the narrowest, and press the start
key.
(5) The mode LED display switches. (The mode LED1, 4 blink.)
(6) Move the tray guide to the position where its width becomes the broadest.
Punch key
Mode key
Start key
LED1 LED2 LED3 LED4 Start LED
Mode LED
Punch LED

 Loading...


