DRUM UNIT
3-E-4
3 DIS./ASSEMBLY
[4] Removing and Reinstalling the
Separation Claws and Separation
Claw Solenoid
Caution:
Be sure the power cord has been
unplugged from the wall outlet.
Caution1: Take care not to damage the drum
when removing the separation
claws.
Caution2: Note the orientation and position of
the separation claws when reinstall-
ing them.
Caution3: Do not touch the cleaning blade and
drum with bare hands.
a. Procedure
(1) Remove the drum unit from the main body.
(2) Remove the drum.
(3) Remove the connector (CN363) and separation
swing spring.
(4) Remove two screws and detach the separation
guide plate assembly.
(5) Remove the stop ring, slide the shaft, and
remove the three separation claws.
Caution1: Clean the shaft with drum cleaner
and a cleaning pad when installing.
The separator claws cannot move
smoothly if they are installed with
toner remaining on the shaft.
Caution2: When installing, insert the retaining
ring between the ribs.
Caution3: After installing the separation claws,
check that they move smoothly.
(6) Remove two screws and remove the separator
claw solenoid assembly.
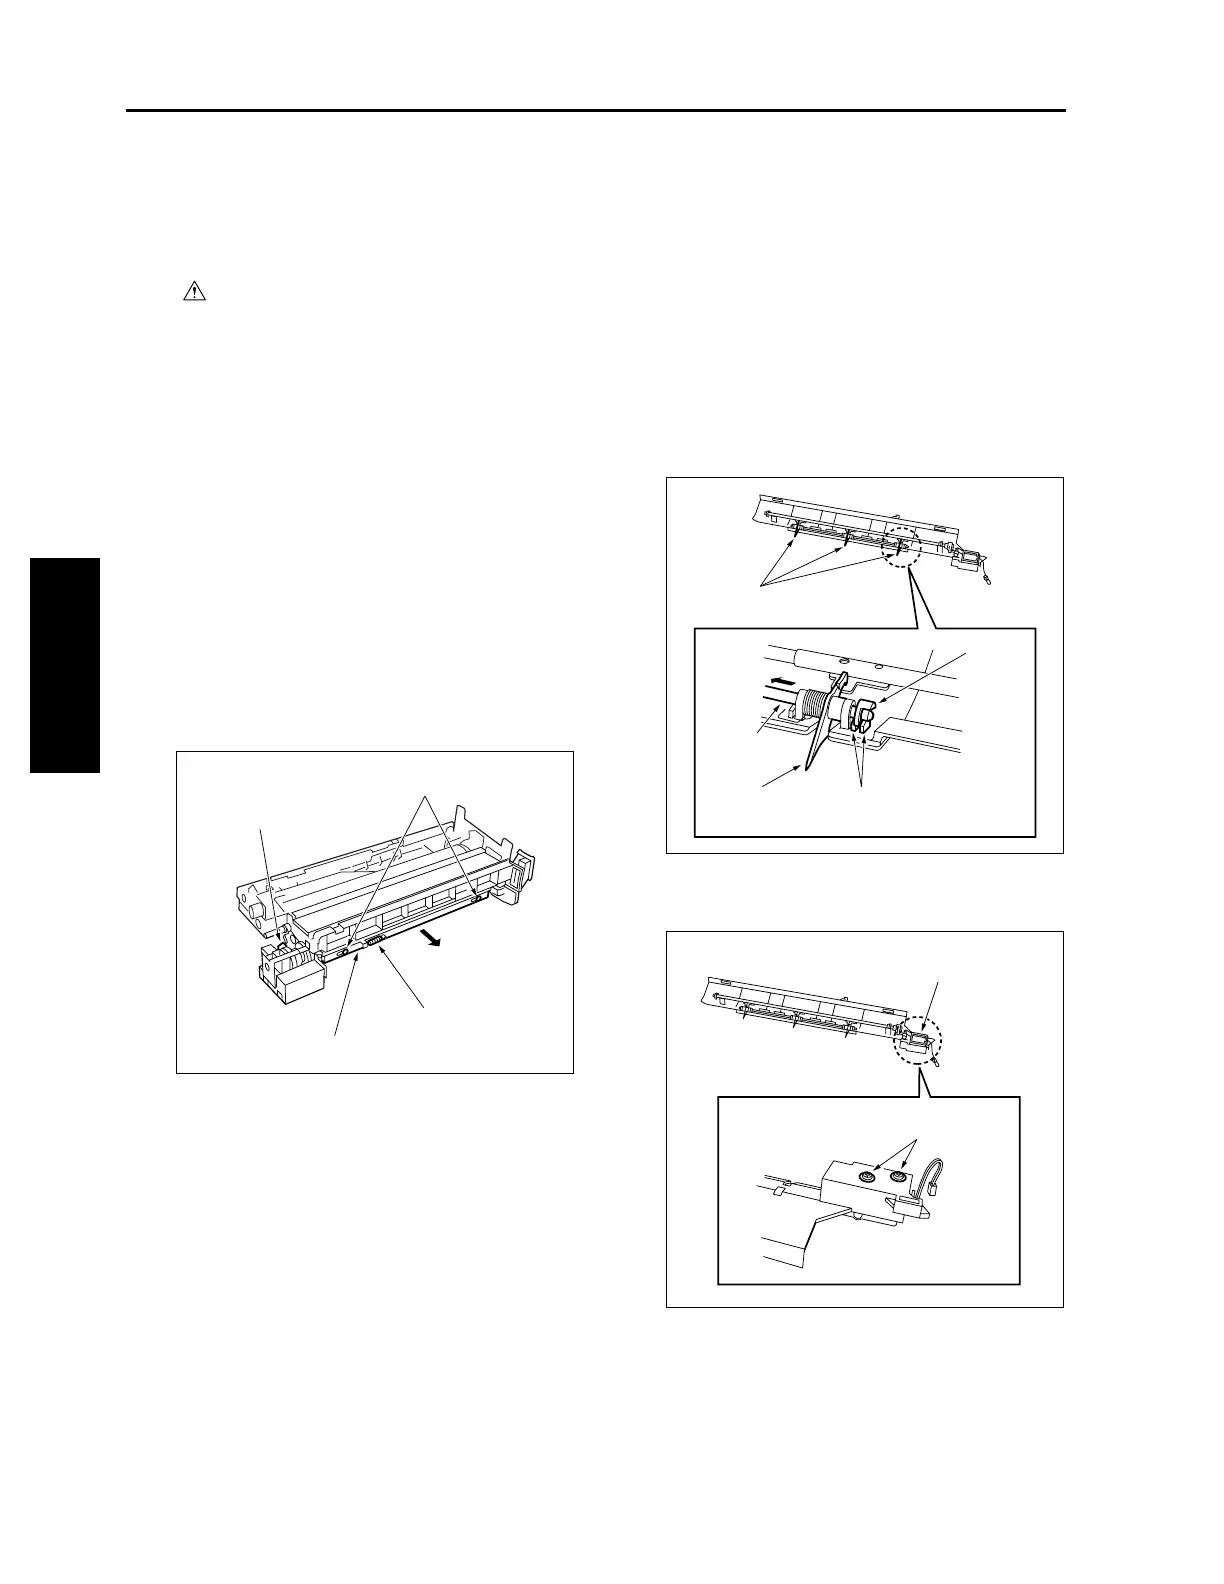
Connector (CN363)
Screws
Separation guide plate assembly
Separation swing spring
Separation claws
Stop ring
Shaft
Separation claw Rib
Separation claw solenoid assembly
Screws

 Loading...


