CORONA UNIT
3-F-2
3 DIS./ASSEMBLY
[3] Removing and Reinstalling the
Charge Control Plate
Caution:
Be sure the power cord has been
unplugged from the wall outlet.
a. Procedure
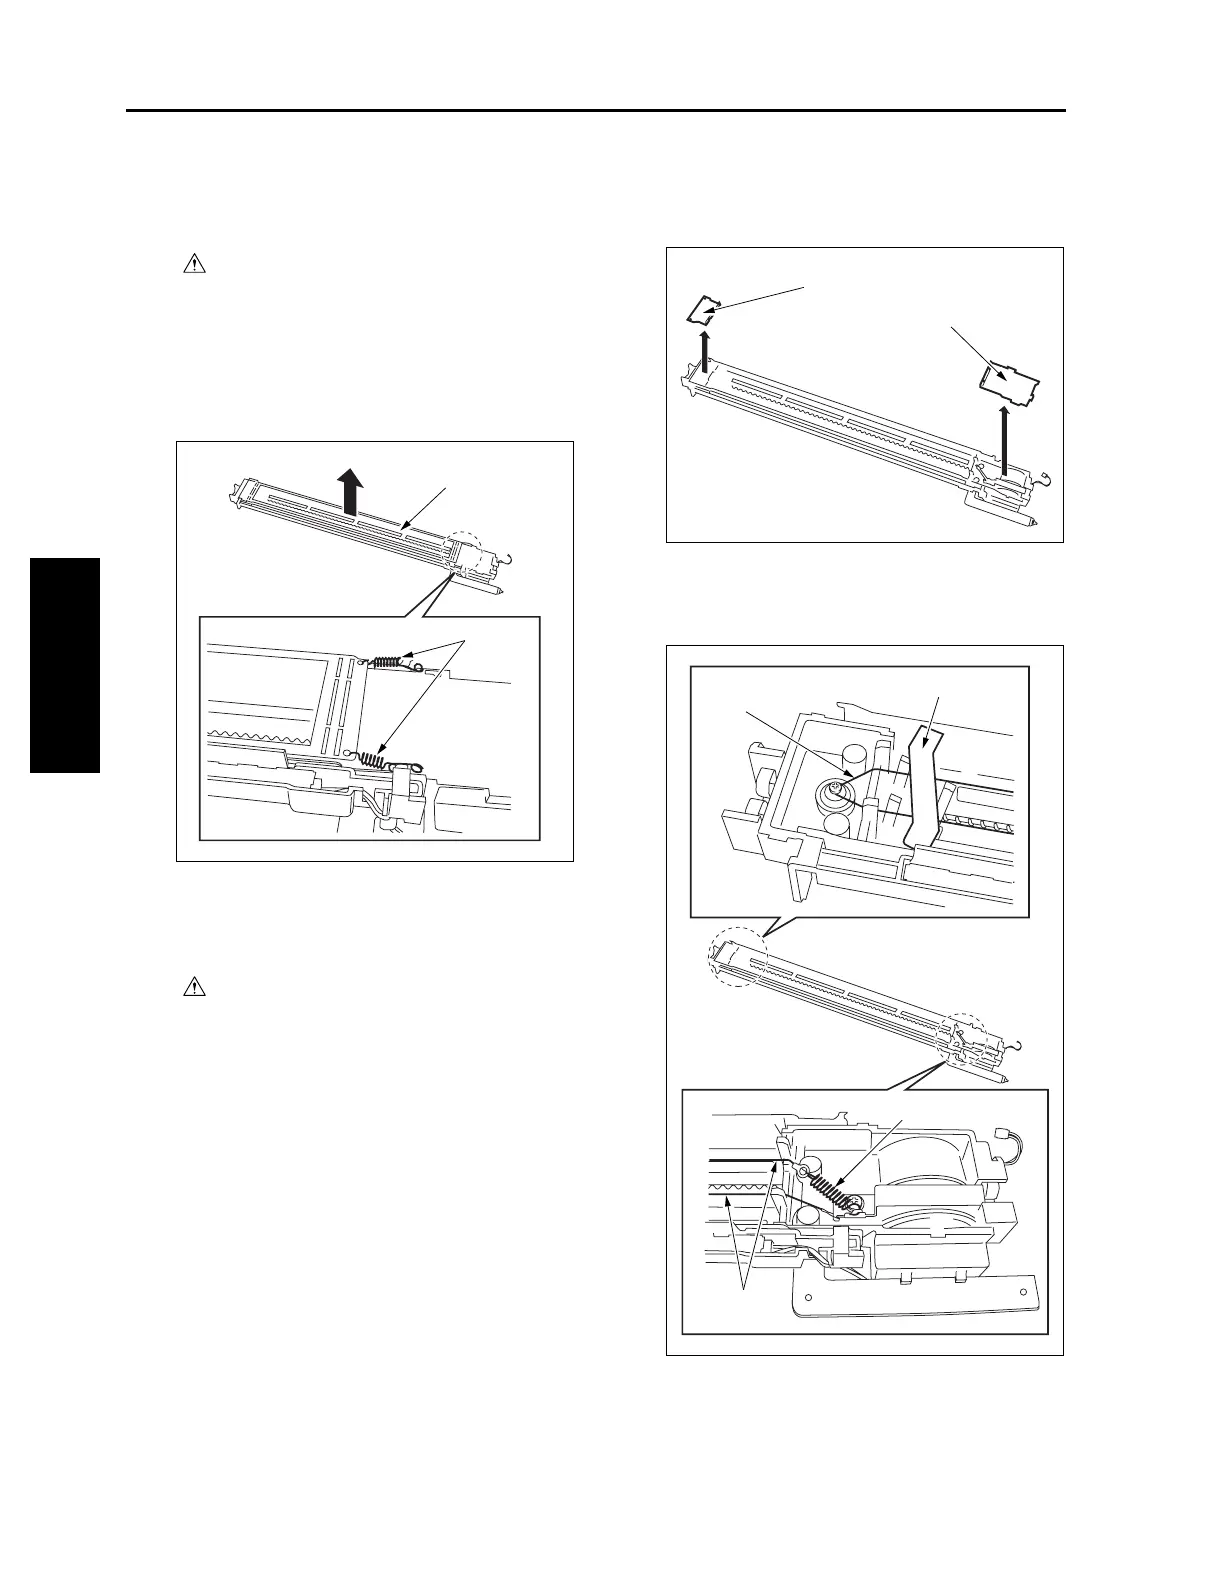
(1) Remove the charging corona unit.
(2) Remove the two springs and remove the charge
control plate.
(3) Reinstall the above parts following the removal
steps in reverse.
[4] Replacing the Charging Wires
Caution:
Be sure the power cord has been
unplugged from the wall outlet.
a. Procedure
(1) Remove the charging corona unit.
(2) Remove the charge control plate.
(3) Remove the spark arrester plates (front and
rear).
(4) Remove the charge control plate cleaner.
(5) Remove the spring and remove the charging
wire.
(6) Reinstall the above parts following the removal
steps in reverse.
Charge control plate
Springs
Spark arrester plate (front)
Spark arrester plate (rear)
Charging wire
Charge control plate cleaner
Spring
Charging
wire

 Loading...


