FIXING UNIT
3-O-5
3 DIS./ASSEMBLY
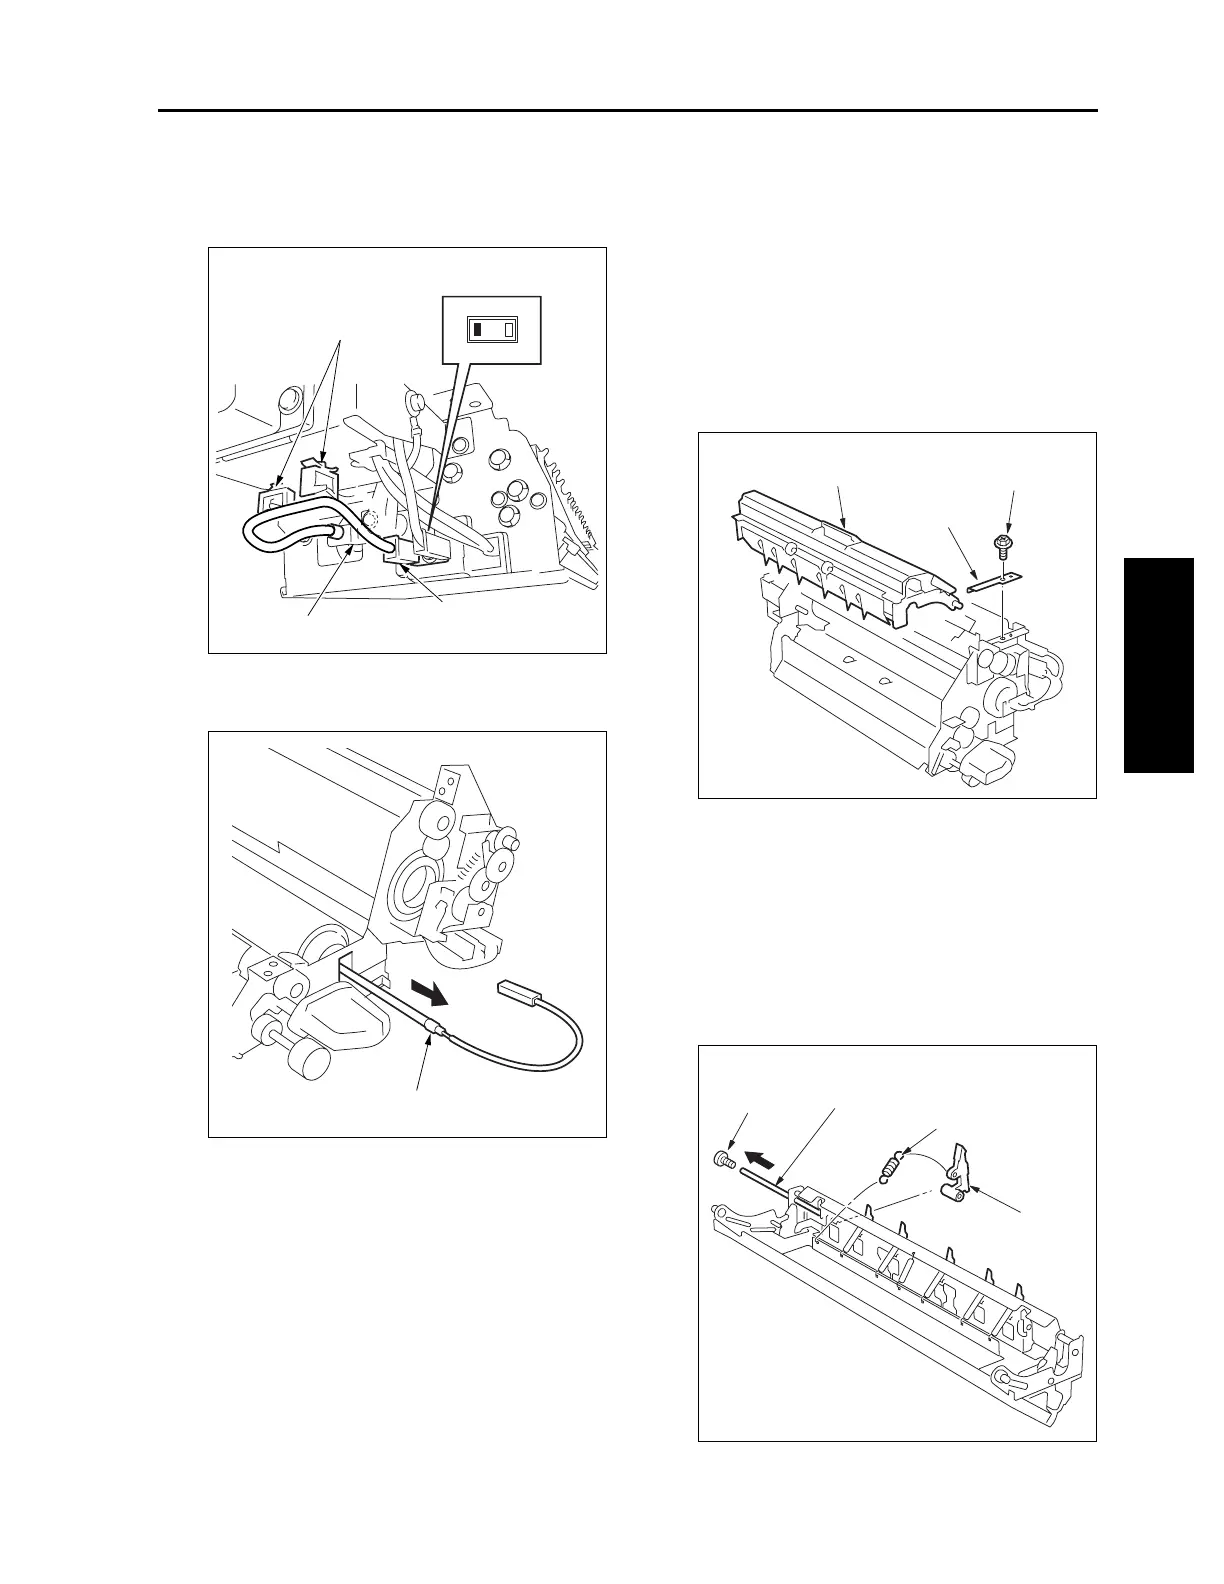
(4) Remove the rear lamp harness from the two har-
ness guide to remove the Faston terminal.
(5) Pull out the fixing heater lamp (L4) from the front
side of the fixing lower roller.
(6) Reinstall the above parts following the removal
steps in reverse.
Caution: When installing the lamp, pay atten-
tion to its orientation. The lamp cannot
be installed properly if it is facing the
opposite direction.
[7] Removing and Reinstalling the Fixing
Separation Claw (Upper) Unit and
Fixing Separation Claws (Upper)
a. Procedure
(1) Remove the fixing unit.
(2) Remove the fixing unit front cover.
(3) Remove the web cover.
(4) Remove the screw to detach the fixture.
(5) Remove the fixing separation claw (upper) unit
(6) Remove the screw to remove the upper separa-
tion claw support shaft from the fixing separation
claw (upper) unit.
Caution: Be careful when removing the shaft
because it bends easily.
(7) Remove six springs attached to the fixing sepa-
ration claw (upper) unit.
(8) Remove six fixing separation claws (upper).
Harness guides
Faston terminal
Lamp fixing plate (rear)
Fixing heater lamp (L4)
Fixing separation claw
(upper) unit
Fixture
Screw
Screw
Separation claw
(upper) support shaft
Spring
Fixing separation
claw (upper) (6)

 Loading...


