36 MODE
1 ADJUSTMENT
[13] Distortion adjustment (Copier)
This is to correct distortion during platen/RADF copy-
ing. There are four adjustment items as follows:
• Scanner (platen) distortion (main scan)
• Scanner (platen) distortion (sub-scan)
• Scanner (RADF) distortion (main scan)
• Scanner (RADF) distortion (sub-scan)
[14] Non-image area erase check
When this machine is installed in a place or is moved
to another location, research should be conducted on
the conditions under which the machine is placed.
Preparation: RADF must be opened.
Nothing should be put on the orig-
inal glass. The original glass must
be clean and transparent.
Reference 1:
Here are measures to be taken when the fol-
lowing error messages are indicated.
<Error message 1>
Adjust for Extreme Brightness. In many cases,
the Non-image-area-erase function will not
operate correctly. Please confirm "adjustment"
- "36 mode" columns of the Service Hand
book.
<Countermeasure1>
If you use the non-original erasure function, or
copy originals that have a dark background
using the non-original erasure method, rela-
tively infrequently, use the machine in its
present installation environment.
If, however, you copy originals that have a dark
background fairly frequently, re-install the
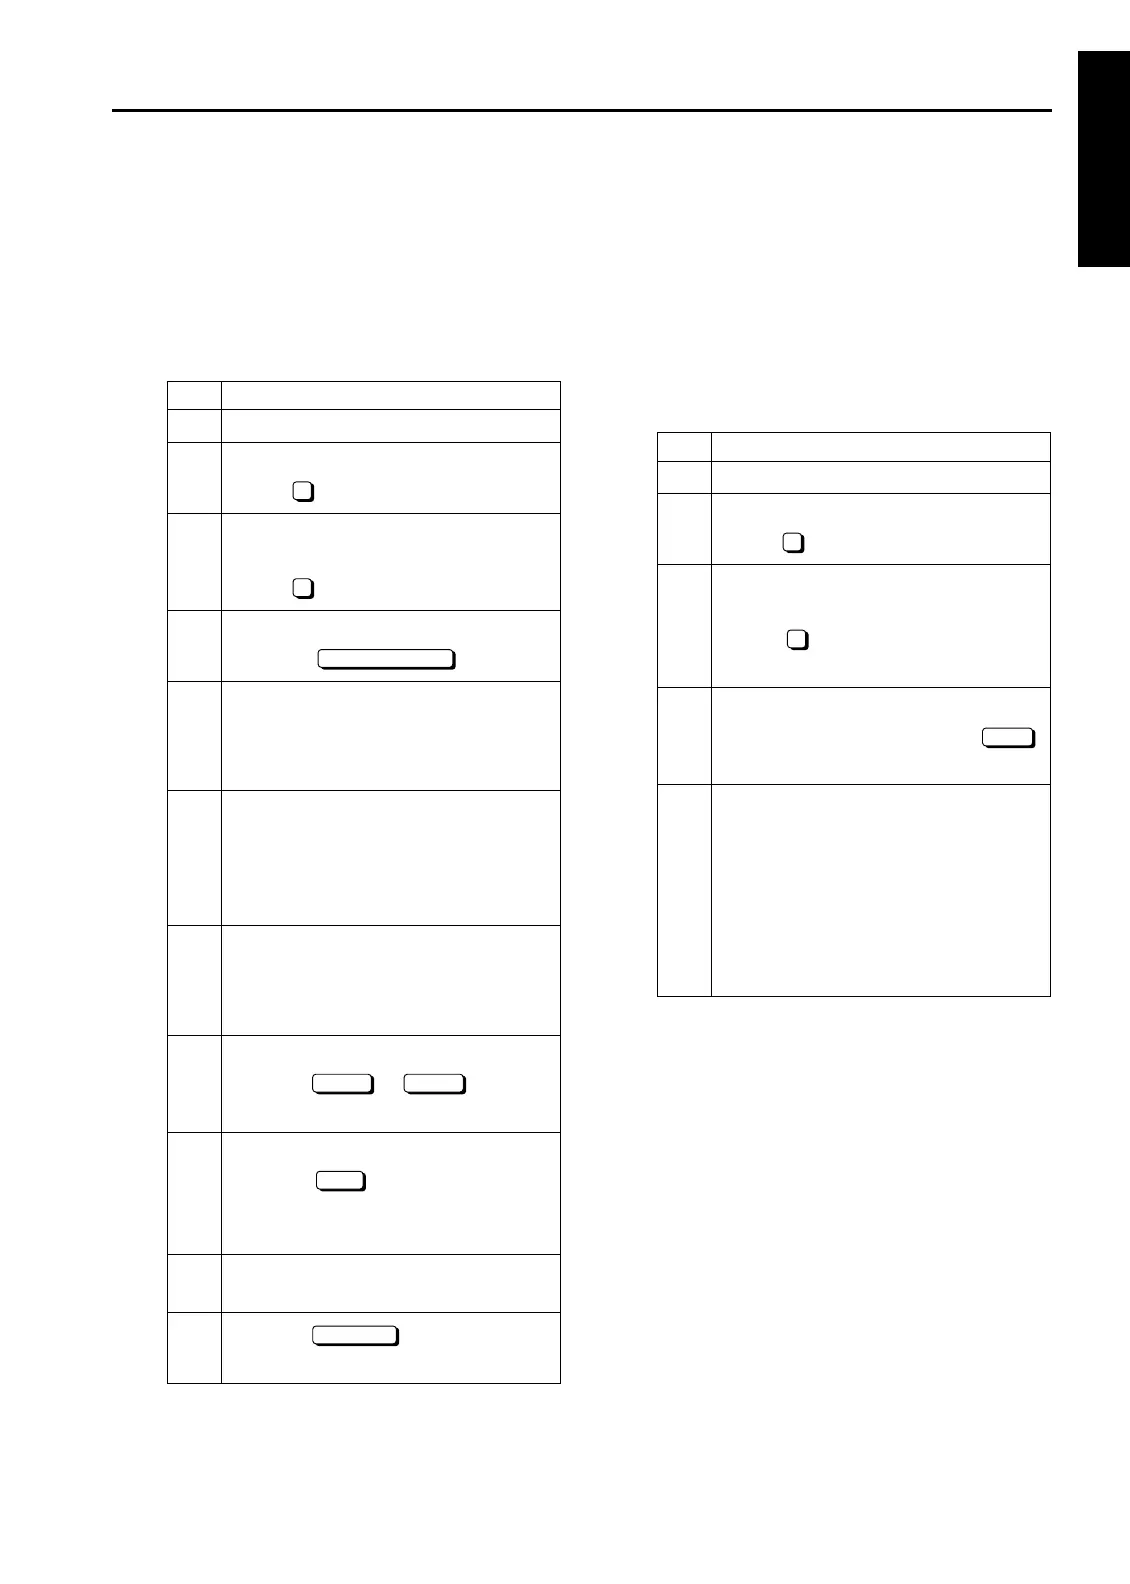
Step Operation
1
Enter the 36 mode.
2
[Adjustment mode menu Screen]
Press " Image adjustment".
3
[Image adjustment mode menu
Screen]
Press " Warp adjustment (Copier)".
4
[Scanner warp adj. Screen]
Press the key.
5
Select 11x17 size paper. To check the
platen, set an adjustment chart on the
original glass. To check RADF, set it on
RADF.
6
Check for platen copy distortion or
RADF copy distortion.
Specification: The difference in lengths
of two diagonals of a 200mm square
must be within 1.4mm.
7
If the platen copy distortion or RADF
copy distortion is not within specification,
press the P button while pressing the P
button.
8
[Scanner warp Adj. Screen]
Press the or key to
select the desired adjustment item.
9
Enter a value with the numeric keys and
press the key.
Range of setting: -50 to +50
1 step=0.05%
10
Repeat steps 6 to 9 until the distortion is
within specification.
11
Press the key to return to the
Image adjustment mode menu Screen.
2
6
COPY SCREEN
NEXT BACK
SET
RETURN
Step Operation
1
Enter the 36 mode.
2
[Adjustment mode menu Screen]
Press " Image adjustment".
3
[Image adjustment mode menu
Screen]
Select " Non-image area erase
check".
4
[Non-image area erase check Screen]
Open the RADF, and press the
key.
5
Confirm that a message indicating that it
operated normally is displayed in the
message display. When a message
indicating it did not operate properly is
displayed, refer to Reference 1 shown
below. Then, perform the non-original
automatic erasure installation research
again.
2
7
Start
1-69

 Loading...


