36 MODE
1 ADJUSTMENT
[18] Test pattern density setting
Setting the test pattern density.
Select “ Test pattern density setting” in the Adjust-
ment mode menu Screen to display the Test pattern
density setting Screen.
[19] Finisher adjustment
Adjusting the finisher, cover sheet tray, and puncher.
1. Select “ Finisher adjustment” on the Adjust-
ment mode menu Screen to display the Finisher
adjustment mode menu Screen.
2. Finisher adjustment items are as follows:
Stitch & Fold stopper adj.
Fold stopper adjustment
Cover sheet tray size adj.
Punch adjustment
(in the case of the 7255/7272)
Punch adjustment
(in the case of the 7155/7165)
Z-fold position adjustment
(in the case of the 7255/7272)
Z-fold position adjustment
(in the case of the 7155/7165)
Three-Fold position adjustment
(in the case of the 7255/7272)
Three-Fold position adjustment
(in the case of the 7155/7165)
2 positions staple pitch adjustment
(in the case of the 7255/7272)
2 positions staple pitch adjustment
(in the case of the 7155/7165)
3. Press the number key corresponding to the item
to be adjusted.
4. The adjustment screen for the selected adjust-
ment item appears.
5. After adjustment completes, return to the Fin-
isher adjustment mode menu Screen.
6. Press the key of the Finisher adjust-
ment menu to return to the Adjustment mode
menu Screen.
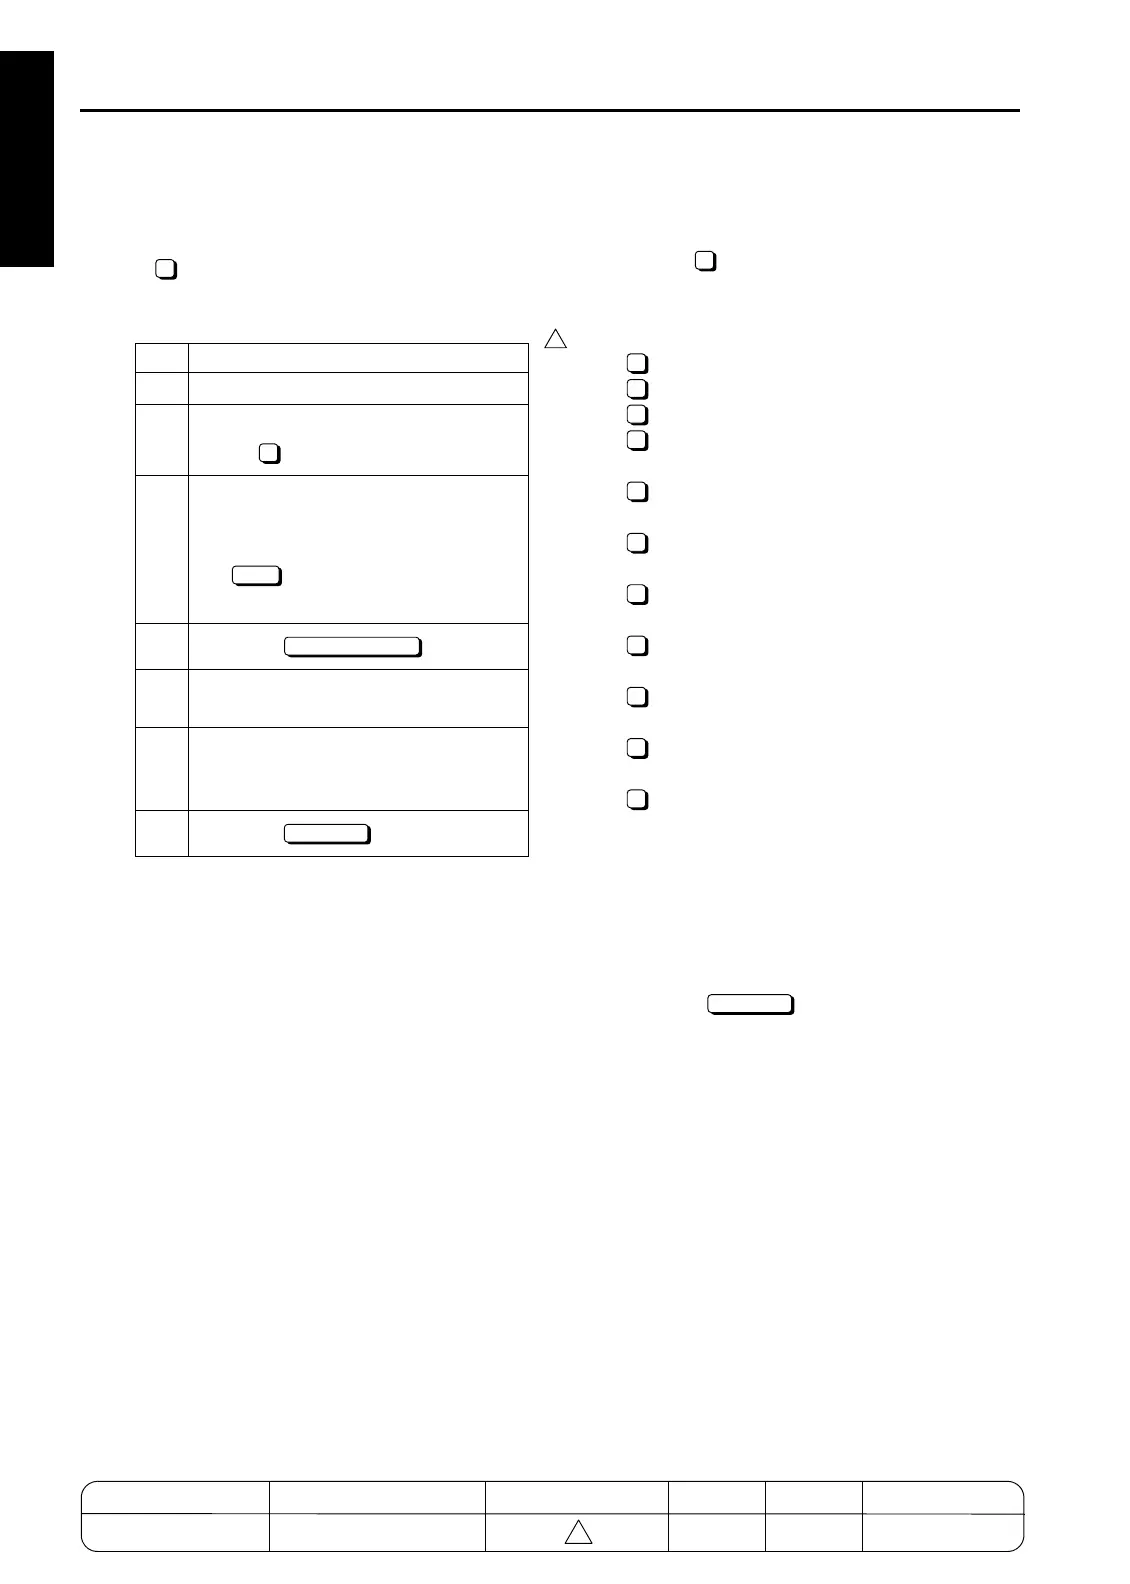
Step Operation
1
Enter the 36 mode.
2
[Adjustment mode menu Screen]
Press " Test pattern density setting".
3
[Test pattern density Screen]
Use the numeric keys to enter the num-
ber of the test pattern to output and press
the key.
Setting range: 0 to 255
4
Press the key.
5
Press the START button to output a test
pattern.
6
To output another test pattern, press the
C button while pressing the P button and
repeat steps 3 to 5.
7
Press the key to end.
5
5
SET
COPY SCREEN
RETURN
6
1
2
3
4
5
5
6
6
7
7
8
RETURN
4
MODEL MANUAL REVISED EDITION DATE PAGE METHOD
SERVICE MANUAL Dec. 2003
7155/7165/7255/7272
1-78 REPLACEMENT
4

 Loading...


