DRUM UNIT
3-E-6
3 DIS./ASSEMBLY
[5] Removing and Reinstalling the Toner
Control Sensor Board
Caution:
Be sure the power cord has been
unplugged from the wall outlet.
a. Procedure
(1) Remove the drum unit from the main body.
(2) Remove the drum.
(3) Remove the separator claw solenoid assembly.
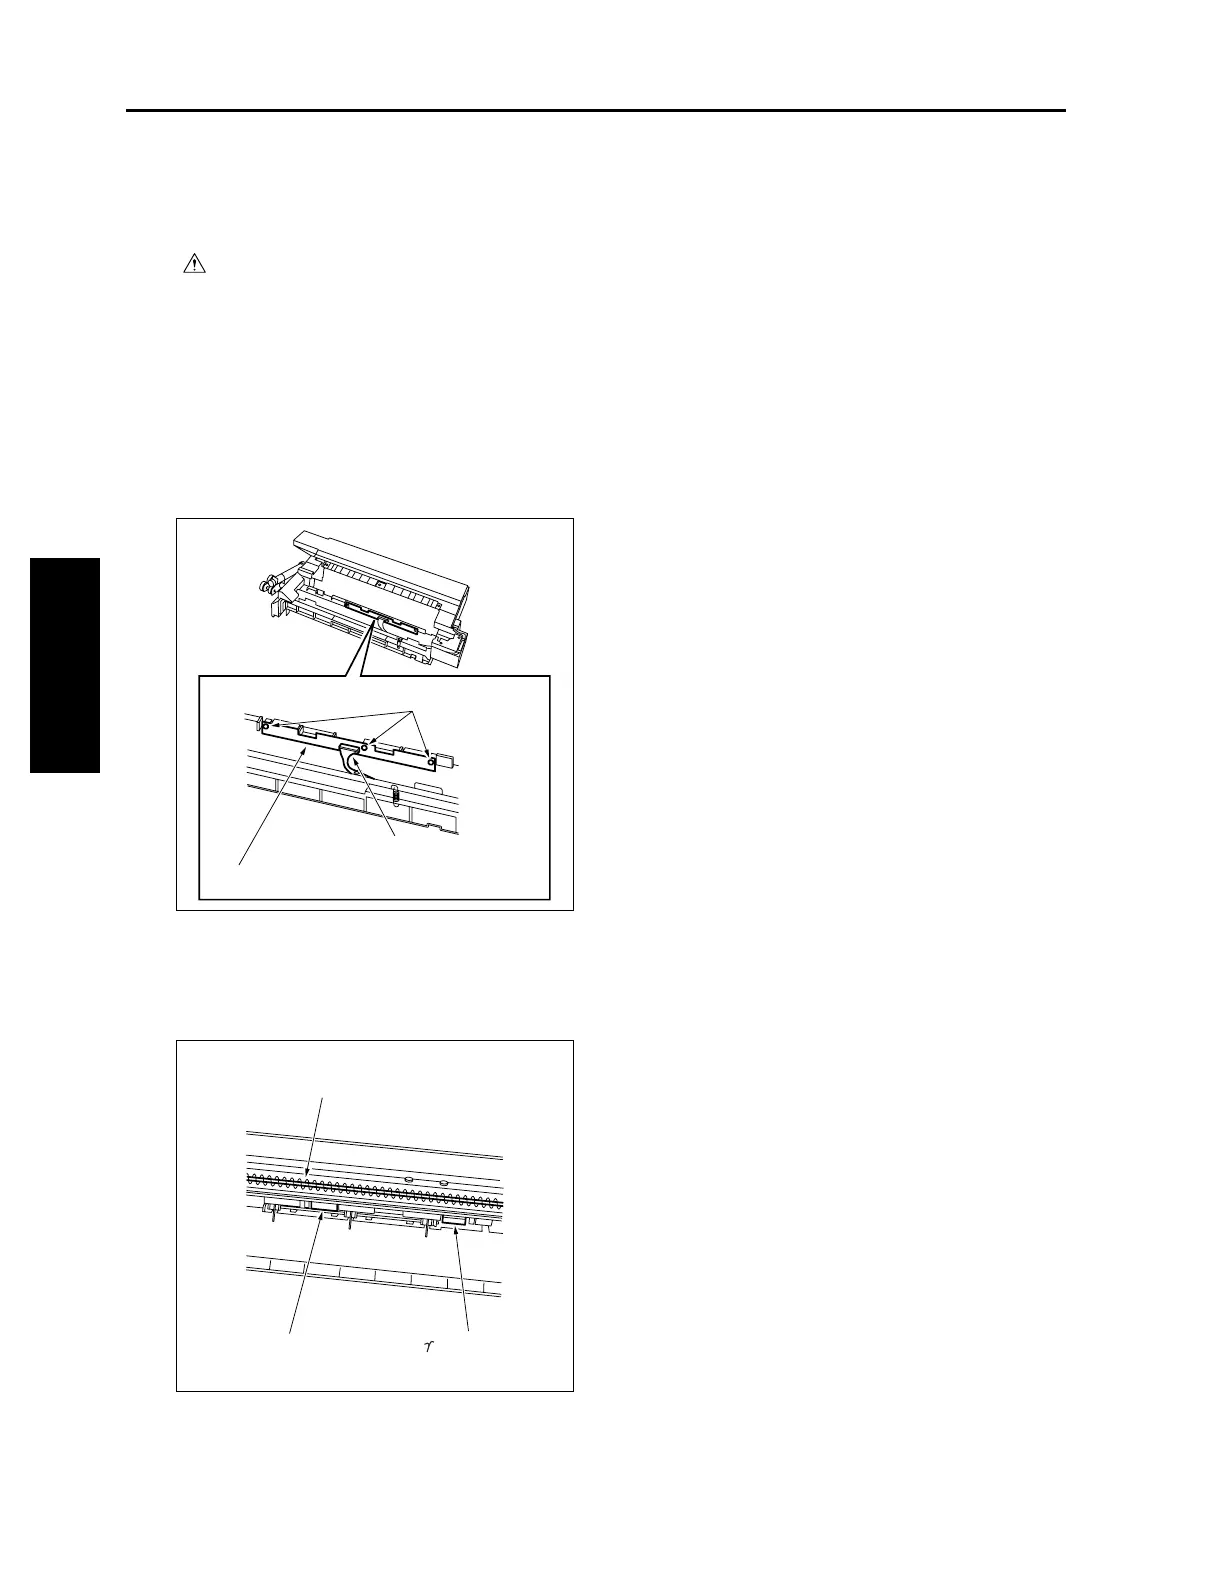
(4) Remove the connector (CN362).
(5) Remove three screws and remove the toner con-
trol sensor board.
(6) Clean the sensors of the toner control sensor
board (the Dmax/jam sensor at the front and the
γ
sensor at the back) using a blower brush, drum
cleaner, and cleaning pad.
(7) Reinstall the above parts following the removal
steps in reverse.
Caution: When installing the toner control sen-
sor board, tighten the screws pulling it
up until stoppers.
Screws
Connector (CN362)
Toner control sensor board (TCSB)
Toner conveyance screw
Dmax/jam sensor
sensor

 Loading...


