DEVELOPING UNIT
3-G-1
3 DIS./ASSEMBLY
DEVELOPING UNIT
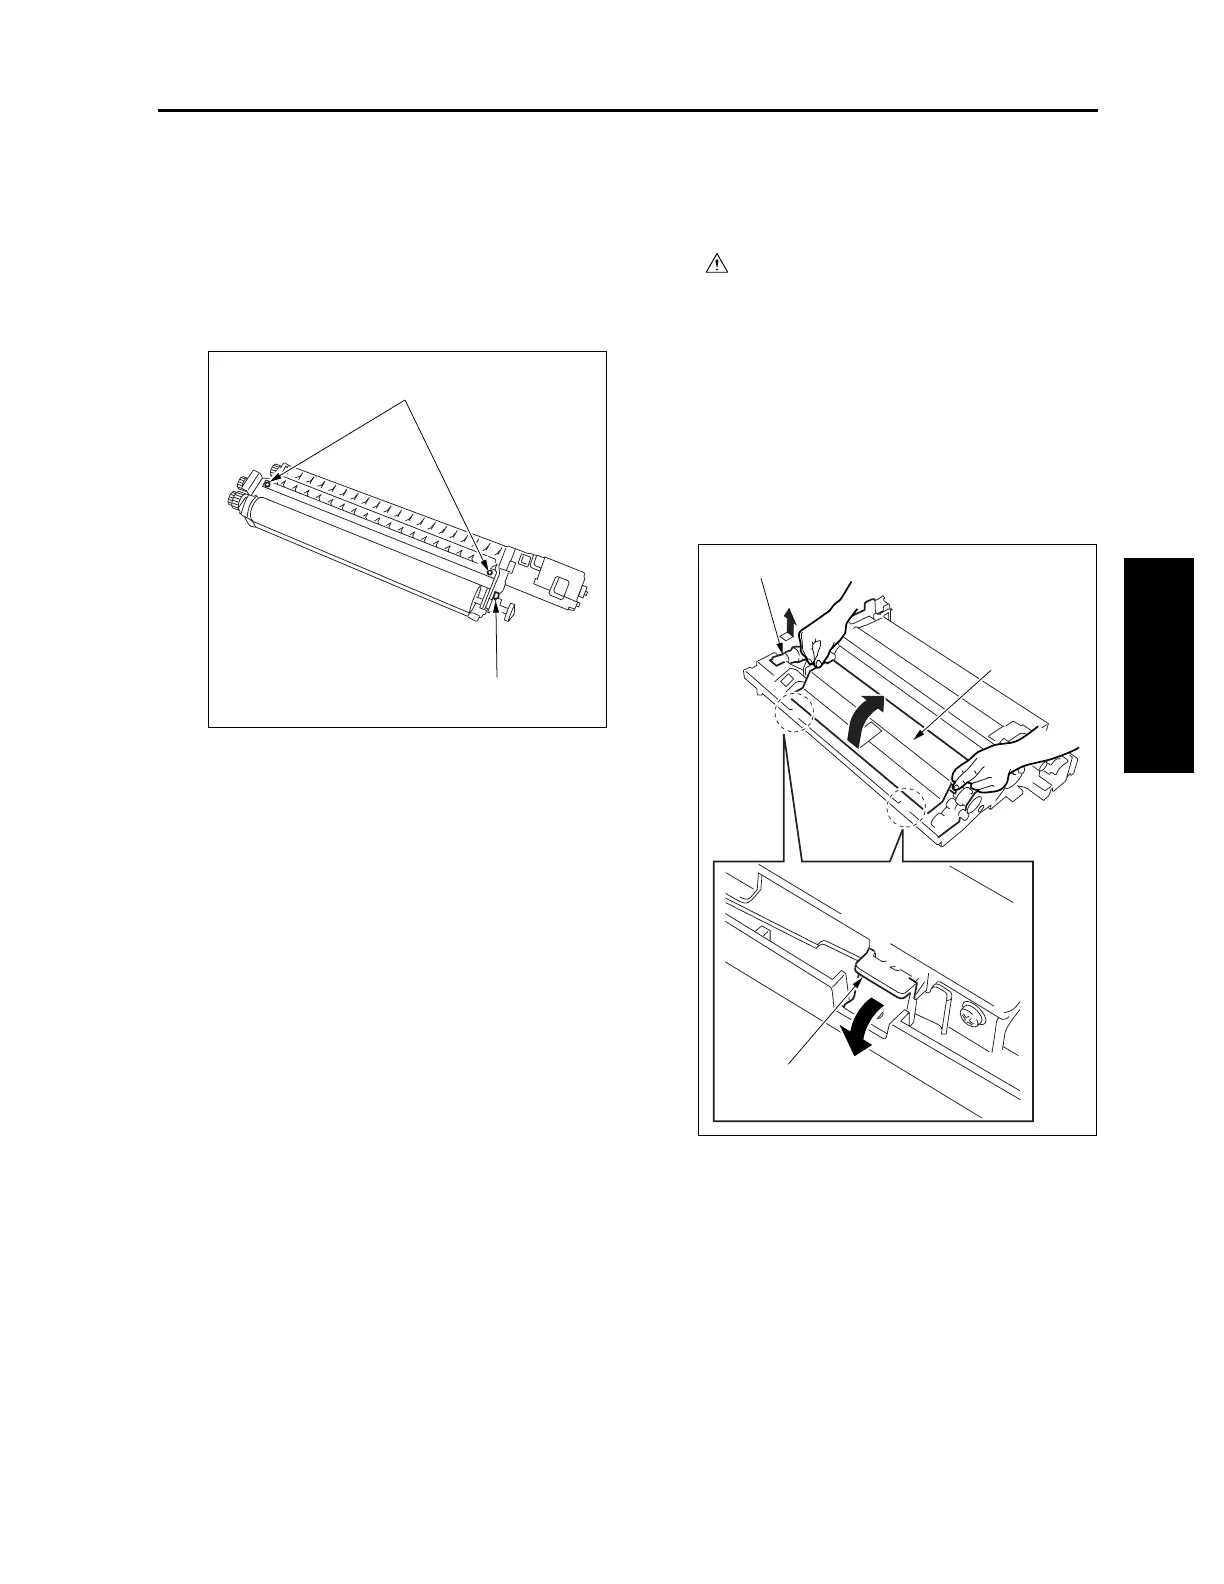
[1] Screws That Must Not be Removed
a. Procedure
(1) Two screws securing the toner transfer regula-
tion plate.
(2) One screw securing the magnet angle adjusting
knob.
[2] Removing and Reinstalling the
Developing Unit
Caution:
Be sure the power cord has been
unplugged from the wall outlet.
a. Procedure
(1) Draw out the drum unit from the main body. (See
"DRUM UNIT.")
(2) Release the toner supply pipe.
(3) Release the developing unit push pressure lever.
(4) Supporting the developing unit at the positions
shown below with both hands, remove it from the
drum unit.
(5) Reinstall the above parts following the removal
steps in reverse.
Screws that must not be removed
Screw that must not be removed
Toner supply pipe
Developing unit
Developing unit push
pressure lever

 Loading...


