CORONA UNIT
3-F-6
3 DIS./ASSEMBLY
[7] Cleaning the Charging Corona Unit/
PCL
Caution:
Be sure the power cord has been
unplugged from the wall outlet.
a. Procedure
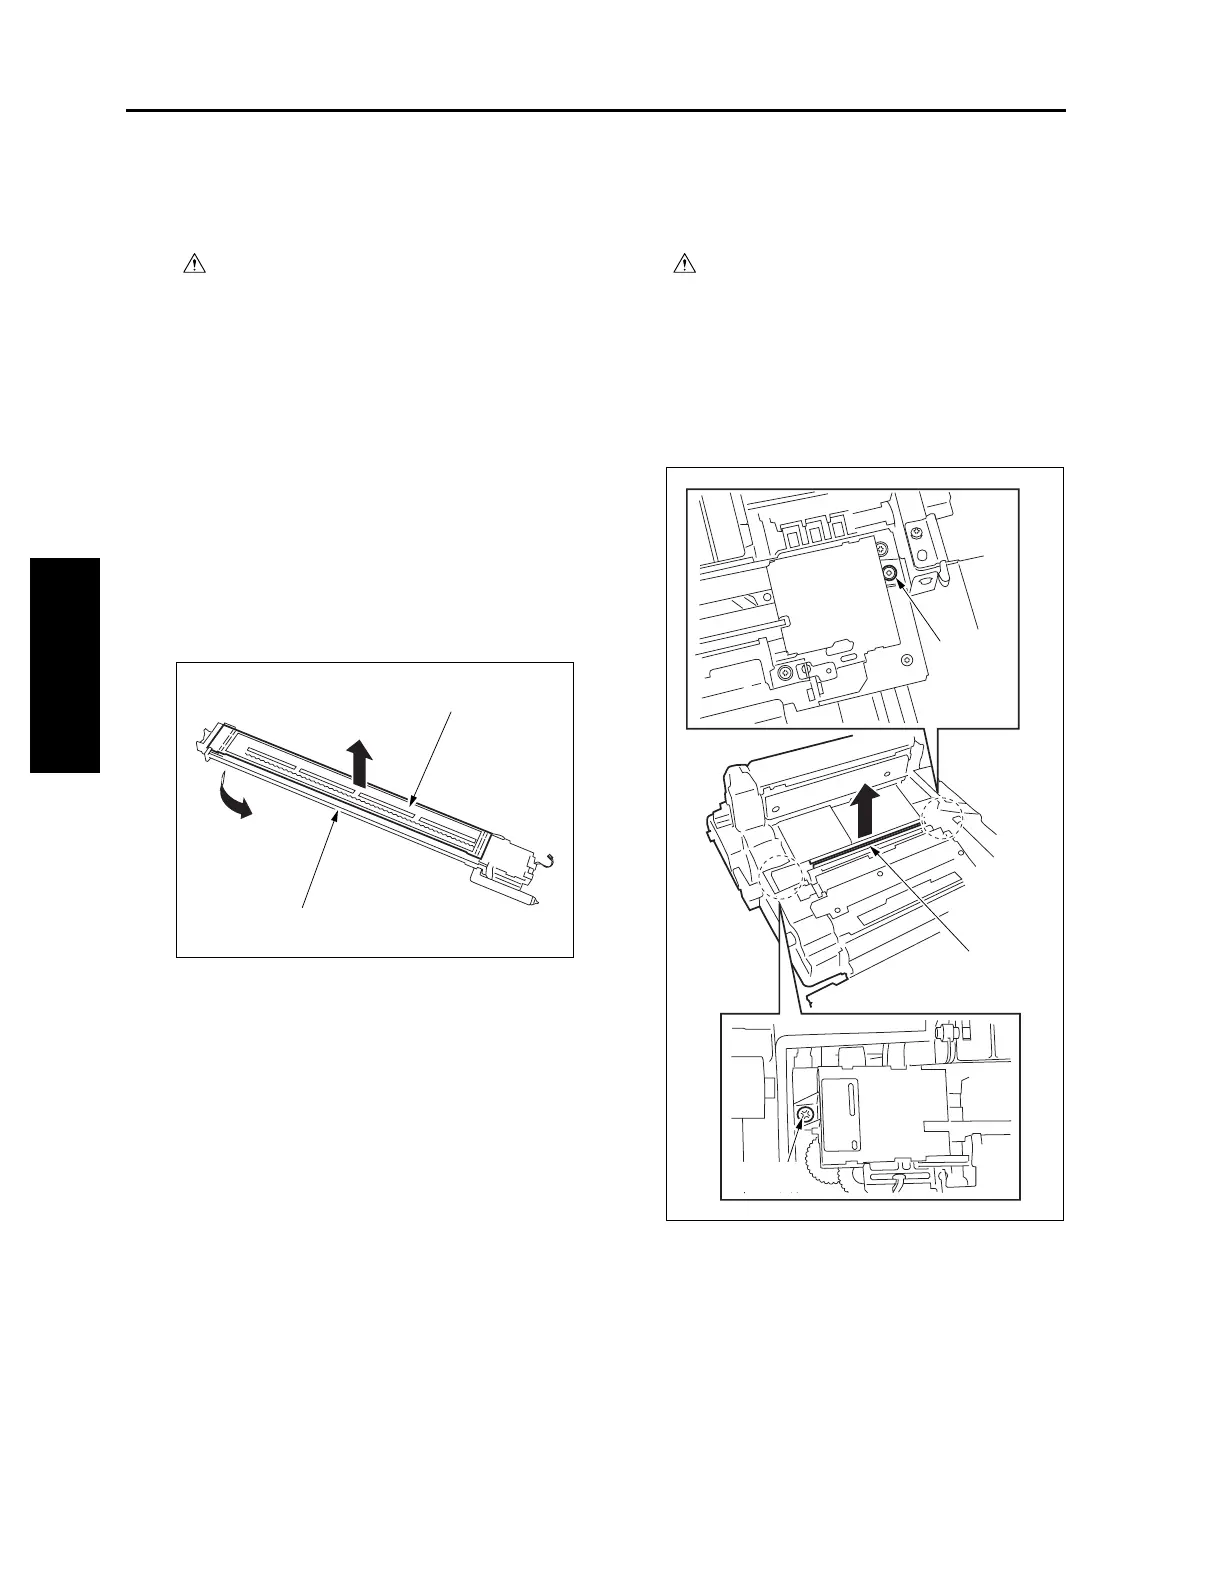
(1) Remove the charging corona unit.
(2) Remove the charge control plate and PCL.
(3) Place the charge control plate on a flat surface
and clean by gently tapping with a cleaning pad
moistened with drum cleaner. Next, remove any
remaining dirt with a blower brush.
Caution: Take care not to damage the mesh of
the charge control plate during clean-
ing.
(4) Clean the PCL with a cleaning pad moistened
with drum cleaner.
[8] Removing and Reinstalling the
Transfer/Separation Corona Unit
Caution:
Be sure the power cord has been
unplugged from the wall outlet.
a. Procedure
(1) Draw the ADU frame from the main body. (See
"ADU UNIT.")
(2) Loosen two screws to remove the transfer/sep-
aration corona unit.
(3) Reinstall the above parts following the removal
steps in reverse.
Caution: When installing the transfer/separa-
tion corona unit, make sure the clean-
ing gear coupling is engaged properly.
PCL
Charging corona unit control plate
Screw
Screw
Transfer/separation
corona unit
3-F-4

 Loading...


