CORONA UNIT
3-F-3
3 DIS./ASSEMBLY
[5] Removing and Reinstalling the
Charging Wire Cleaning Unit
Caution:
Be sure the power cord has been
unplugged from the wall outlet.
a. Procedure
(1) Remove the charging wire.
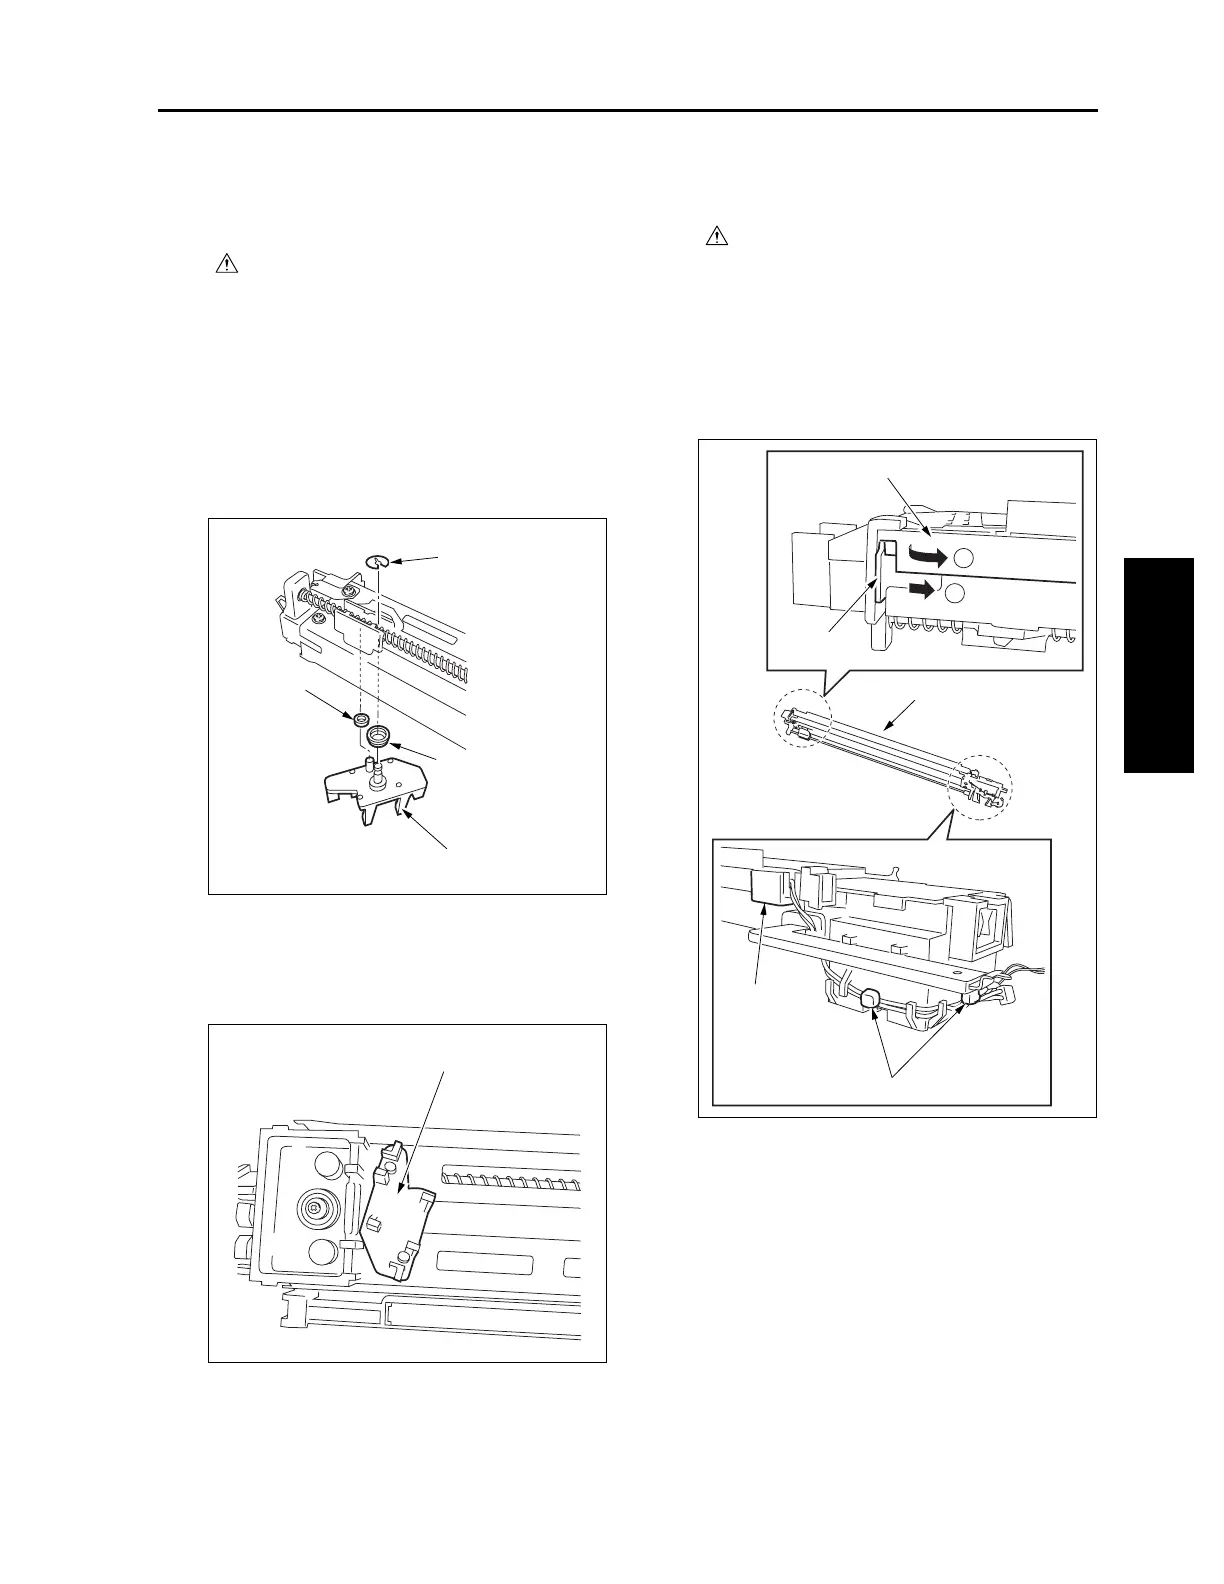
(2) Remove the stop ring and remove the charging
wire cleaning pad.
Caution1: When removing the charging wire
cleaning pad, be careful not to drop
the two collars.
Caution2: When installing the charging wire
cleaning pad, install the pad in the
orientation shown below. Also, do
not forget to attach the two collars.
(3) Reinstall the above parts following the removal
steps in reverse.
[6] Removing and Reinstalling the PCL
Caution:
Be sure the power cord has been
unplugged from the wall outlet.
a. Procedure
(1) Remove the charging corona unit.
(2) Disconnect the wire binding band at two loca-
tions.
(3) Release the lock and remove the PCL.
Stop ring
Collar
Collar
Charging wire cleaning pad
Charging wire cleaning pad
PCL
PCL
PCL
1
2
Lock
Wire binding band

 Loading...


