Home
Konica Minolta
All in One Printer
7155
Konica Minolta 7155 User Manual
5
of 1
of 1 rating
663 pages
Give review
Manual
Specs
To Next Page
To Next Page
To Previous Page
To Previous Page
Loading...
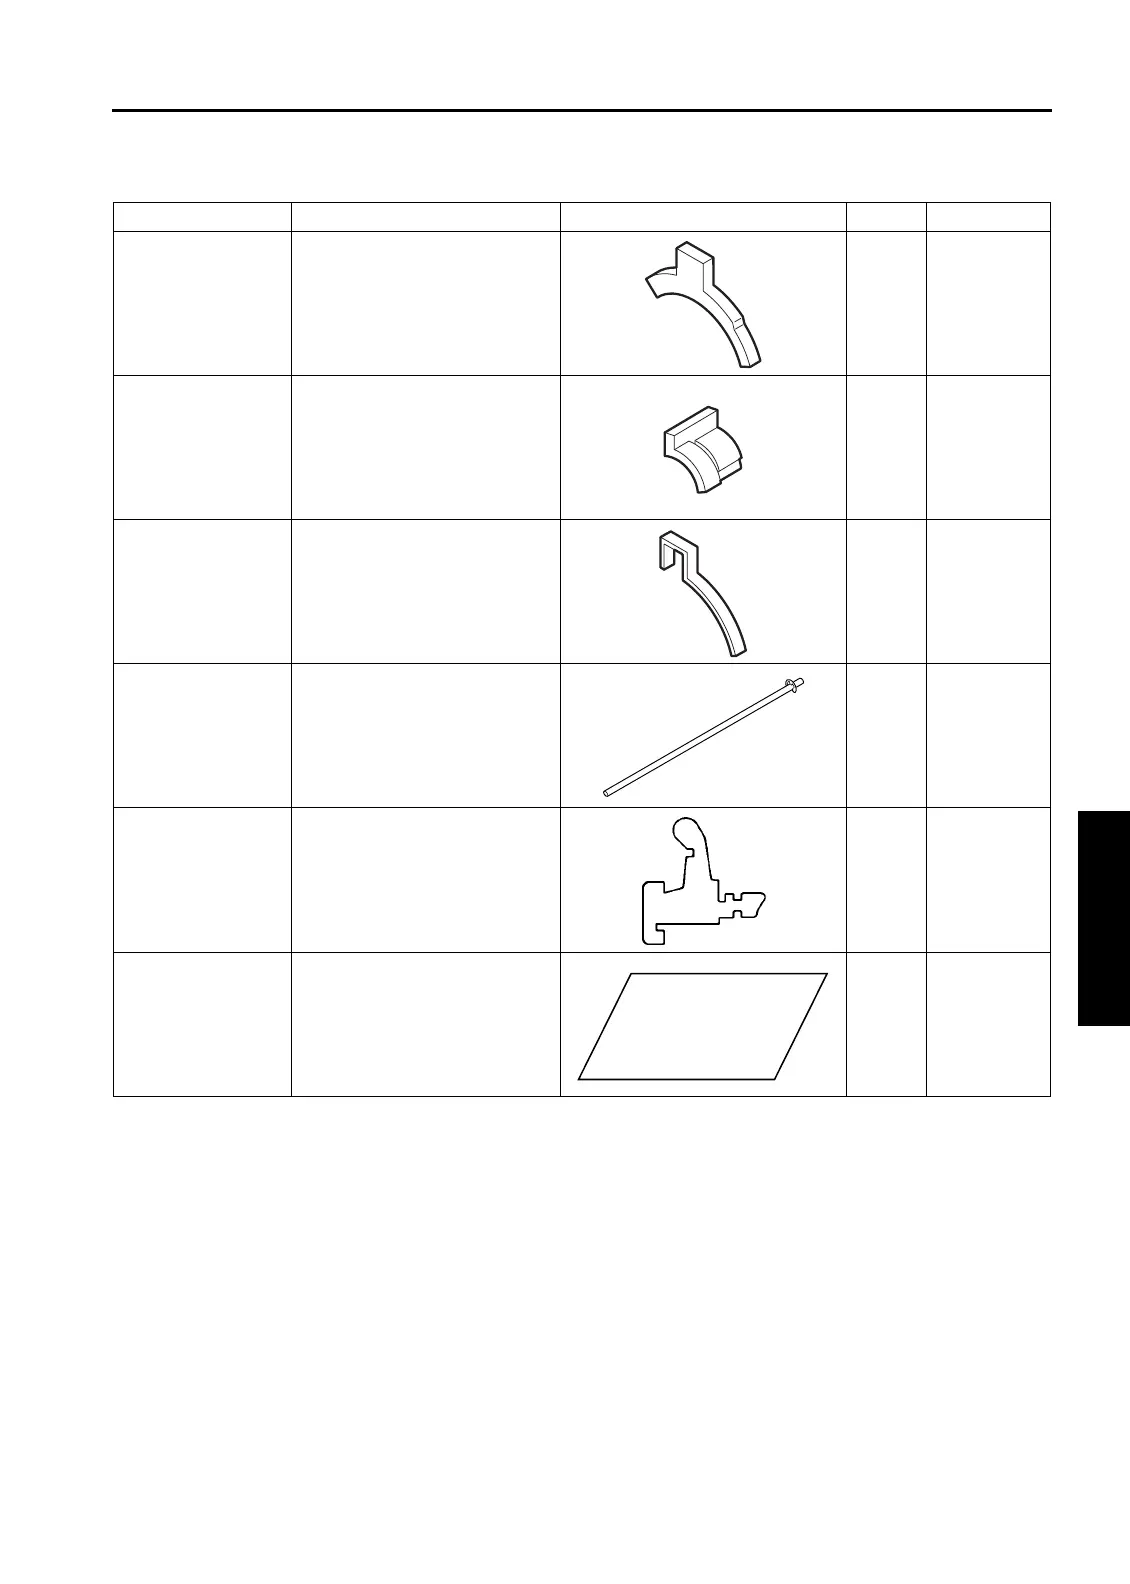
CE TOOL LIST
4 SER
VI
CE
CE T
OOL LIST
T
ool No.
T
ool Name
Appearance
Q
uant
it
y
Rem
arks
00M8-1-00
Thermostat
PS jig(
for
upper
rolle
r)
1
56AEJG01
1
Thermostat PS j
i
g(for
l
ower
rolle
r)
1
7050K0010
T
emp. detect
ion j
i
g
1
7050K0020
Optics PS j
ig
2
00M6-2-00
Door swit
ch j
ig
2set
2PCS/set
00VD-5000
New pyramid chart
1
4-23
554
556
Table of Contents
Table of Contents
5
Default Chapter
9
Safety and Important Warning Items
9
Important Notice
9
1 Outline
31
Outline of System
33
Central Cross-Sectional View
38
Drive System Diagram
41
Fixing/Web Drive Section
41
Developing Drive Section
42
Drum Drive Section
42
Paper Feed/Vertical Conveyance/Tray up Drive Section
43
Bypass Paper Feed/Adu Pre-Registration Drive Section
46
Charging and Transfer/Separation Wire Cleaning Drive Section
47
ADU Conveyance Drive Section
48
Paper Exit Drive Section
49
Toner Supply Drive Section
49
Optics Drive Section
50
2 Unit Explanation
51
External Section
53
Composition
53
Drive Section
55
Composition
55
Mechanisms
55
M2 (Drum) Control
56
M4 (Fixing) Control
57
Scanner Section
59
Composition
59
Mechanisms
59
M11 (Scanner) Control
60
Exposure Control
63
Original Read Control
63
APS Control
66
Write Unit
69
Composition
69
Mechanisms
69
M15 (Polygon) Control
70
Drum Unit
77
Composition
77
Mechanisms
77
Paper Guide Plate Control
78
Separation Claw Control
78
Corona Unit Section
79
Composition
79
Mechanisms
79
Charging Control
80
Transfer/Separation Control
81
M14 (Charger Cleaning) Control
82
Model Manual Revised Edition Date
83
Service Manual
83
M10 (Transfer/Separation Cleaning) Control
83
PCL/TSL Control
84
Developing Unit
85
Composition
85
Mechanisms
85
M3 (Developing) Control
86
Developing Bias Control
87
Dmax Control
88
Gradation Correction Control
90
Dot Diameter Correction Control
91
Toner Density Control
91
FM4 (Developing Suction) Control
92
Toner Supply Unit
93
Composition
93
Mechanisms
93
Toner Level Detection Control
94
M12 (Toner Supply) Control
95
Cleaning/Toner Recycle Unit
97
Composition
97
Mechanisms
97
Other Control
98
TGR (Toner Guide Roller) Control
98
Tray 1/2 (7155/7165), Tray 3/4 (7255/7272) Paper Feed Unit
99
Composition
99
Mechanisms
99
First Paper Feed Control
101
Paper up Drive Control
103
Paper Size Detection Control
104
No Paper Detection Control
105
Tray 1/2 Paper Feed Unit (7255/7272)
106
Composition
106
Mechanisms
106
First Paper Feed Control
108
Horizontal Conveyance Control (Tray 1)
110
Paper up Drive Control
112
No Paper Detection Control
113
Composition
115
Mechanisms
115
Paper Size Detection Control
120
No Paper Detection Control
121
Bypass Tray
123
Composition
123
Mechanisms
123
First Paper Feed Control
124
Paper Up/Down Control
125
Paper Size Detection Control
126
No Paper Detection Control
127
Vertical Conveyance Section
129
Composition
129
Mechanisms
129
Model Manual Revised Edition
130
Vertical Conveyance Control
130
Adu
131
Composition
131
Mechanisms
132
Loop/Second Paper Feed Control
137
Paper Conveyance Control
139
Paper Reverse and Exit Control
140
ADU Paper Conveyance/Feed Control
143
Fixing Unit
145
Composition
145
Mechanisms
145
M16 (Web Drive) Control
147
Fixing Temperature Control
148
Other Kinds of Control
151
Parts Energized When SW1 (Main Power) Is off
151
Parts that Operate When SW1
154
Cooling Fan Control
155
Operation Panel Control
158
Counter Control
160
Option Control
161
3 Disassembly/Assembly
163
External Section
165
Replacing the Ozone Filter
165
Replacing the Developing Suction Filter
166
Removing and Reinstalling the External Covers
168
Changing the Operation Panel Attachment Angle and Removing/Reinstalling
170
Resetting the Circuit Breaker
172
Drive Section
173
Removing and Reinstalling the Drum Motor(M2)
173
Removing and Reinstalling the Fixing Input Gear
176
Scanner Section
177
Removing and Reinstalling the CCD Unit
177
Screws that Must Not be Removed
177
Replacing the Exposure Lamp
180
Removing and Reinstalling the Exposure Unit
181
Installing the Optics Wire
182
Cleaning the Slit Glass and Platen Glass
184
Replacing the Scanner Motor (M11)
184
Write Section
187
Removing and Reinstalling the Write Unit
187
Cleaning the Dust-Proof Glass
190
Drum Unit
191
Removing and Reinstalling the Drum Unit
191
Installing the Coupling
192
Removing, Cleaning, and Reinstalling the Drum
193
Removing and Reinstalling the Separation Claws and Separation Claw Solenoid
194
Removing and Reinstalling the Toner Control Sensor Board
196
Corona Unit
197
Removing and Reinstalling the Charging Corona Unit
197
Screws that Must Not be Removed
197
Removing and Reinstalling the Charge Control Plate
198
Replacing the Charging Wires
198
Removing and Reinstalling the Charging Wire Cleaning Unit
199
Removing and Reinstalling the PCL
199
Cleaning the Charging Corona Unit/Pcl
202
Removing and Reinstalling the Transfer/Separation Corona Unit
202
Removing and Reinstalling the Plunger Prevention Plate
203
Replacing the Transfer/Separation Wires and Transfer/Separation Wire Cleaning Block
203
Removing and Reinstalling the TSL Unit
205
Developing Unit
207
Removing and Reinstalling the Developing Unit
207
Screws that Must Not be Removed
207
Replacing the Developer
208
Cleaning the Developing Unit Bias Shaft
209
Toner Supply Unit
211
Replacing and Cleaning the Toner Cartridge
211
Cleaning/Toner Recycle Unit
213
Removing and Reinstalling the Cleaning Blade
213
Removing and Reinstalling the Toner Guide Roller (TGR)
214
Paper Feed Units of Trays 1 and 2 (7155/7165)
217
Removing and Reinstalling the Paper Feed Trays 1 and 2
217
Removing and Reinstalling the Paper Feed Unit
217
Feed Prevention Roller Rubber
218
Removing and Reinstalling the Paper Feed Roller and Feed Roller Rubber
218
Replacing the Pre-Registration and Feed Clutches (Mcs)
219
Replacing the Wires
220
Paper Feed Units of Trays 1 and 2 (7255/7272)
223
Removing and Reinstalling the Paper Feed Tray 1
223
Removing and Reinstalling the Paper Feed Unit
223
Removing and Reinstalling the Paper Feed Tray 2
224
Removing and Reinstalling the Paper Feed Roller and Feed Roller Rubber
225
Replacing the Wires
228
Paper Feed Unit of Tray 3 (7155/7165)
233
Removing and Reinstalling Paper Feed Tray 3
233
Removing and Reinstalling the Paper Feed Unit
233
Removing and Reinstalling the Paper Feed Roller and Feed Roller Rubber
234
Replacing the Pre-Registration and Feed Clutches (Mcs)
235
Replacing the Wires
236
Paper Feed Unit of Tray 3 and
239
Removing and Reinstalling Paper Feed Tray 3And 4
239
Removing and Reinstalling the Paper Feed Unit
239
Removing and Reinstalling the Paper Feed Roller and Feed Roller Rubber
240
Replacing the Pre-Registration and Feed Clutches (Mcs)
241
Replacing the Wires
241
Bypass Feed Tray
243
Removing and Reinstalling the Bypass Feed Tray
243
Replacing the Paper Feed Roller/Paper Feed Roller Rubber
243
Roller Rubber
244
Vertical Conveyance Section
245
Conveyance MC (MC11, MC12)
245
Conveyance Section
245
Removing and Reinstalling the Vertical
245
Revised Edition Date
247
Adu Unit
247
Removing Brush
247
The ADU Stand
247
(Ps70)/Leading Edge PS (PS43)
250
Removing and Reinstalling the Registration MC (MC1)
250
Removing and Reinstalling the Second Paper Feed Unit
252
Cleaning the Registration PS (PS44)
254
Removing and Reinstalling the Registration Roller
255
Removing and Reinstalling the Pre-Transfer Roller
258
Cleaning the ADU Paper Reverse PS (Ps45)/Reverse/Exit PS (PS46)
259
Removing and Reinstalling the ADU Reverse Roller
261
Removing and Reinstalling the ADU Stand
262
Removing and Reinstalling the Pre-Registration Roller
263
Removing and Reinstalling the ADU Conveyance Roller 3 and 4
264
Removing and Reinstalling the ADU Conveyanece Roller 1 and 2
267
Removing and Reinstalling the Paper Reverse/Exit Roller
269
Fixing Unit
271
Removing and Reinstalling the Fixing Unit
271
Removing and Reinstalling the Fixing Unit (Top)
271
Removing and Reinstalling the Cleaning Web
272
Removing and Reinstalling the Web Cover
272
Replacing the Fixing Heater Lamps (L2, L3)
273
Replacing the Fixing Heater Lamp(L4)
274
Removing and Reinstalling the Fixing Separation Claw (Upper) Unit and Fixing Separation Claws (Upper)
275
Removing and Reinstalling the Fixing Separation Claw (Lower) Unit and Fixing Separation Claws (Lower)
276
Removing and Reinstalling the Fixing Upper Roller and Fixing Drive Gear
277
Removing and Reinstalling
278
Removing and Reinstalling the Fixing Lower Roller
278
Table of Contents
289
Default Chapter
293
Description Items for Danger, Warning and Caution
293
Important Notice
293
Safety and Important Warning Items
293
Safety Warnings
294
Important Information
302
Safety Information
302
Safety Circuits
303
Indication of Warning on the Machine
305
1 Adjustment
313
How to Use this Section
315
Scope and Precautions
315
Adjustments Made When Replacing Parts
315
List of Adjustment Items
316
Lcd Adjustment
318
LCD Control Panel Adjustment
318
LCD Panel Contrast/Key Sound Adjustment
318
Settings and Adjustments Made with Thep Function
318
Checking and Printing the P Function
318
Setting up the P Function
318
Mode Changing Menu
319
Mode Selection
319
Mode
320
Setting the 25 Mode
320
List of Adjustment Items for 25 Mode
321
Setting Software DIP Switches
324
Setting the Paper Size
340
PM Count Resetting
342
Setting the PM Cycle
342
Collecting Data
343
Copy Count by Parts to be Replaced
360
Copy Count by Parts to be Replaced (Fixed Parts)
360
(Optional Parts)
367
Setting Passwords
368
Setting the Telephone Number And/Or Fax Number of the Service Center
369
Displaying the ROM Version
370
Setting the Serial Number
370
ISW Setting
371
KRDS Setting
371
Setting Date
371
Mode
373
High Voltage Adjustment
373
Setting Method
373
Charging Grid Voltage Adjustment
374
Drum Peculiarity Adjustment
375
Auto Gamma Adjustment/Cartridge Set Mode
380
Drum Peculiarity Adjustment (Manual)
381
User Paper Setting
381
Recall Standard Data (Process Adjustment)
382
Tray Adjustment
382
Magnification Adjustment
383
Timing Adjustment
386
RADF Adjustment
392
Centring Adjustment
394
Distortion Adjustment (Copier)
397
Non-Image Area Erase Check
397
Recall Standard Data (Image Adjustment)
398
Running Test Mode
399
Test Pattern Output Mode
399
Test Pattern Density Setting
406
Finisher Adjustment
406
List Output Mode
413
Mode
414
Mode / Multi Mode Setting Method
414
Adjustment Data Display
416
Hard Disk Check
416
Input Checklist
417
Output Checklist
424
Other Adjustment
431
Centring Adjustment
431
Adjusting the LCT Paper Feed Roller Pressure (LT-412 Only)
434
Skew Adjustment (Main Body)
434
Paper Up/Down Plate Horizontal Adjustment (LT-402/LT-412 Only)
435
Skew Adjustment (LT-402/LT-412 Only)
437
Tray Spring Pressure Adjustment
438
Paper Feed Height (Upper Limit) Adjustment (LT-402/LT-412 Only)
440
Pick-Up Release Amount Adjustment (LT-402/LT-412 Only)
441
RADF Mounting Position Adjustment
442
RADF Paper Skew Adjustment
444
FNS Adjusting the Magnets on the By-Pass Conveyance Guide Plate (FS-110/210)
446
FNS Adjusting the By-Pass Gate (FS-110/210)
447
FNS Adjusting the Shift Position (FS-110/210)
449
FNS Adjusting the Paper Exit Solenoid (FS-110/210)
450
FNS Adjusting the Mount Location of the Paper Exit Arm (FS-110/210)
451
FNS Adjusting the Mount Location of the Alignment Plates / U (FS-110/210)
452
FNS Adjusting the Mount Location of the Alignment Plates / L (FS-210)
453
FNS Adjusting the Stapling Position (Flat Stapling) (FS-110/210)
454
FNS Adjusting the Stapler Vertical Positioning (FS-110/210)
455
FNS Adjusting the Stapling Position (Stapling-And-Folding) (FS-210)
457
FNS Adjusting the Angle of the Folding Stopper (FS-210)
458
FNS Adjusting the Folding Force (FS-210)
459
FNS Adjusting the Three-Holding Positions (FS-210)
460
PK Adjusting the Tilt of the Punch Hole Position (PK-110)
461
PK Adjusting the Tilt of the Punch Hole Position (PK-120)
462
PK Adjusting the Punch Hole Vertical Position (PK-110)
464
Sensitivity Adjustment for the PK Paper Edge Sensor (PK-120)
465
PI Centering Adjustment (PK-110)
466
Adjusting the Tilt of PI (When PK Punch Is Used) (PK-110)
467
Sensitivity Adjustment for the PZ Paper Edge Sensor (PZ)
468
FNS Stapler Driver Belt Position
469
Adjustment (FS-110/210)
469
Adjusting the PZ Paper-Path Switching Solenoid (PZ)
470
Adjusting the Tension of the PZ Punch Shift Timing Belt (PZ)
471
Adjusting the PZ 1St Folding Skew (PZ)
472
Adjusting the Position of the PZ 2Nd Folding Stopper (PZ)
473
Adjusting the PZ 2Nd Folding Skew 2Nd Stopper Assembly (PZ)
474
FNS Adjusting the Magnets on Conveyance Guide Plate B (FS-111)
475
FNS Adjusting the Magnets on Conveyance Guide Plate C (FS-111)
476
FNS Adjusting the Sub-Tray Paper Exit Gate (FS-111)
477
FNS Adjusting the Paper-Path Switching Gate (FS-111)
478
FNS Adjusting the By-Pass Gate (FS-111)
480
FNS Adjusting the Shift Position (FS-111)
481
FNS Adjusting Opening/Closing at the Paper Exit (FS-111)
482
FNS Adjusting the Paper Exit-Opening Sole- Noid (FS-111)
483
FNS Adjusting the Paper Exit-Opening Lower Guide Plate (FS-111)
484
FNS Adjusting the Mount Location of the Paper Exit Arm (FS-111)
485
FNS Adjusting the Mount Location of the Upper Alignment Plates (FS-111)
486
FNS Adjusting the Tension of the Upper Alignment Plate Drive Timing Belt (FS-111)
487
FNS Adjusting the Stapling Position (Flat Stapling) (FS-111)
487
Testing Operation
488
2 Isw
491
What's ISW
493
Setup
494
Data Flow
494
ISW-Compatible Boards
494
Prepare the Copier to Start an ISW Transfer
494
Classification
495
Preparing the Copier to Transfer
496
Relationships between Processing States and Operational Leds
497
Rewriting Procedure after an Error Interruption
497
Connecting to the ISW Connector
498
Preparation When PZ Is Installed
498
Internet Isw
500
Main Features
500
Operating Environment
500
What Is the Internet ISW
500
Initial Setting
501
Mail Remote Notification System
508
Internet ISW Using Web Utility
522
Internet ISW by Operation Panel
525
Precautions for Use
527
3 Krds
529
4 Service
531
Service Schedule
533
Maintenance Items
534
FNS [FS-110] (Old Type Only)/ [FS-210] (Old Type Only)
545
Radf [Df-316/Df-322]
545
Fns [Fs-111]
546
Lct [Lt-402/412]
546
Pi [Pi-110]
547
Pz [Pz-108/109]
547
Main Body
548
Important Maintenance Parts
552
Copy Materials
553
Maintenance Kit
553
Single Unit Supply
553
Service Material List
554
Ce Tool List
555
5 Electric Parts List
557
Parts Layout Drawing
559
DF-316/DF-322 Parts Layout Drawing
571
LT-402/LT-412 Parts Layout Drawing
572
FS-110/FS-210 Parts Layout Drawing
573
Parts Layout Drawing
576
PK-110/PK-120 Parts Layout Drawing
577
PZ-108/PZ-109 Parts Layout Drawing
578
Parts Layout Drawing
579
Connector Layout Drawing
582
FS-110/FS-210 Connector Layout Drawing
590
LT-402/LT-412 Connector Layout Drawing
590
Connector Layout Drawing
591
PK-110/PK-120 Connector Layout Drawing
591
PZ-108/PZ-109 Connector Layout Drawing
592
Connector Layout Drawing
593
Jam Code List
594
Error Code List
608
Timing Chart
626
Timing Chart (1)
626
Timing Chart (2)
627
Timing Chart (1)
628
Timing Chart (2)
629
DF-316/DF-322 Timing Chart (1)
630
DF-316/DF-322 Timing Chart (2)
631
FS-110/FS-210 Timing Chart (1)
633
FS-110/FS-210 Timing Chart (2)
634
FS-110/FS-210 Timing Chart (3)
635
FS-110/FS-210 Timing Chart (4)
636
Timing Chart
637
Timing Chart
639
PZ-108/PZ-109 Timing Chart
640
Timing Chart (1)
640
Timing Chart (2)
641
Timing Chart
643
Overall Wiring Diagram
645
DF-316/DF-322 Overall Wiring Diagram
645
LT-402/LT412 Overall Wiring Diagram
646
Overall Wiring Diagram
647
Overall Wiring Diagram
648
Overall Wiring Diagram
649
Overall Wiring Diagram
650
Overall Wiring Diagram
651
Appendix
654
7155/7165 Overall Wiring Diagram
654
7255/7272 Overall Wiring Diagram
659
FS-110/FS210 Overall Wiring Diagram
663
5
Based on 1 rating
Ask a question
Give review
Questions and Answers:
Need help?
Do you have a question about the Konica Minolta 7155 and is the answer not in the manual?
Ask a question
Konica Minolta 7155 Specifications
General
Brand
Konica Minolta
Model
7155
Category
All in One Printer
Language
English
Related product manuals
Konica Minolta 7013
150 pages
Konica Minolta 7216
131 pages
Konica Minolta 7222
328 pages
Konica Minolta 7020
266 pages
Konica Minolta 7235
328 pages
Konica Minolta bizhub 750
658 pages
Konica Minolta bizhub 751
628 pages
Konica Minolta bizhub 758
19 pages
Konica Minolta bizhub 754e
178 pages
Konica Minolta BIZHUB 164
138 pages
Konica Minolta bizhub C25
339 pages
Konica Minolta bizhub C450
608 pages

 Loading...


