FIXING UNIT
3-O-6
3 DIS./ASSEMBLY
(9) Reinstall the above parts following the removal
steps in reverse.
Caution: After installing the fixing separation
claw (upper), move the upper claws
with your finger and check that they
return with the force of the spring.
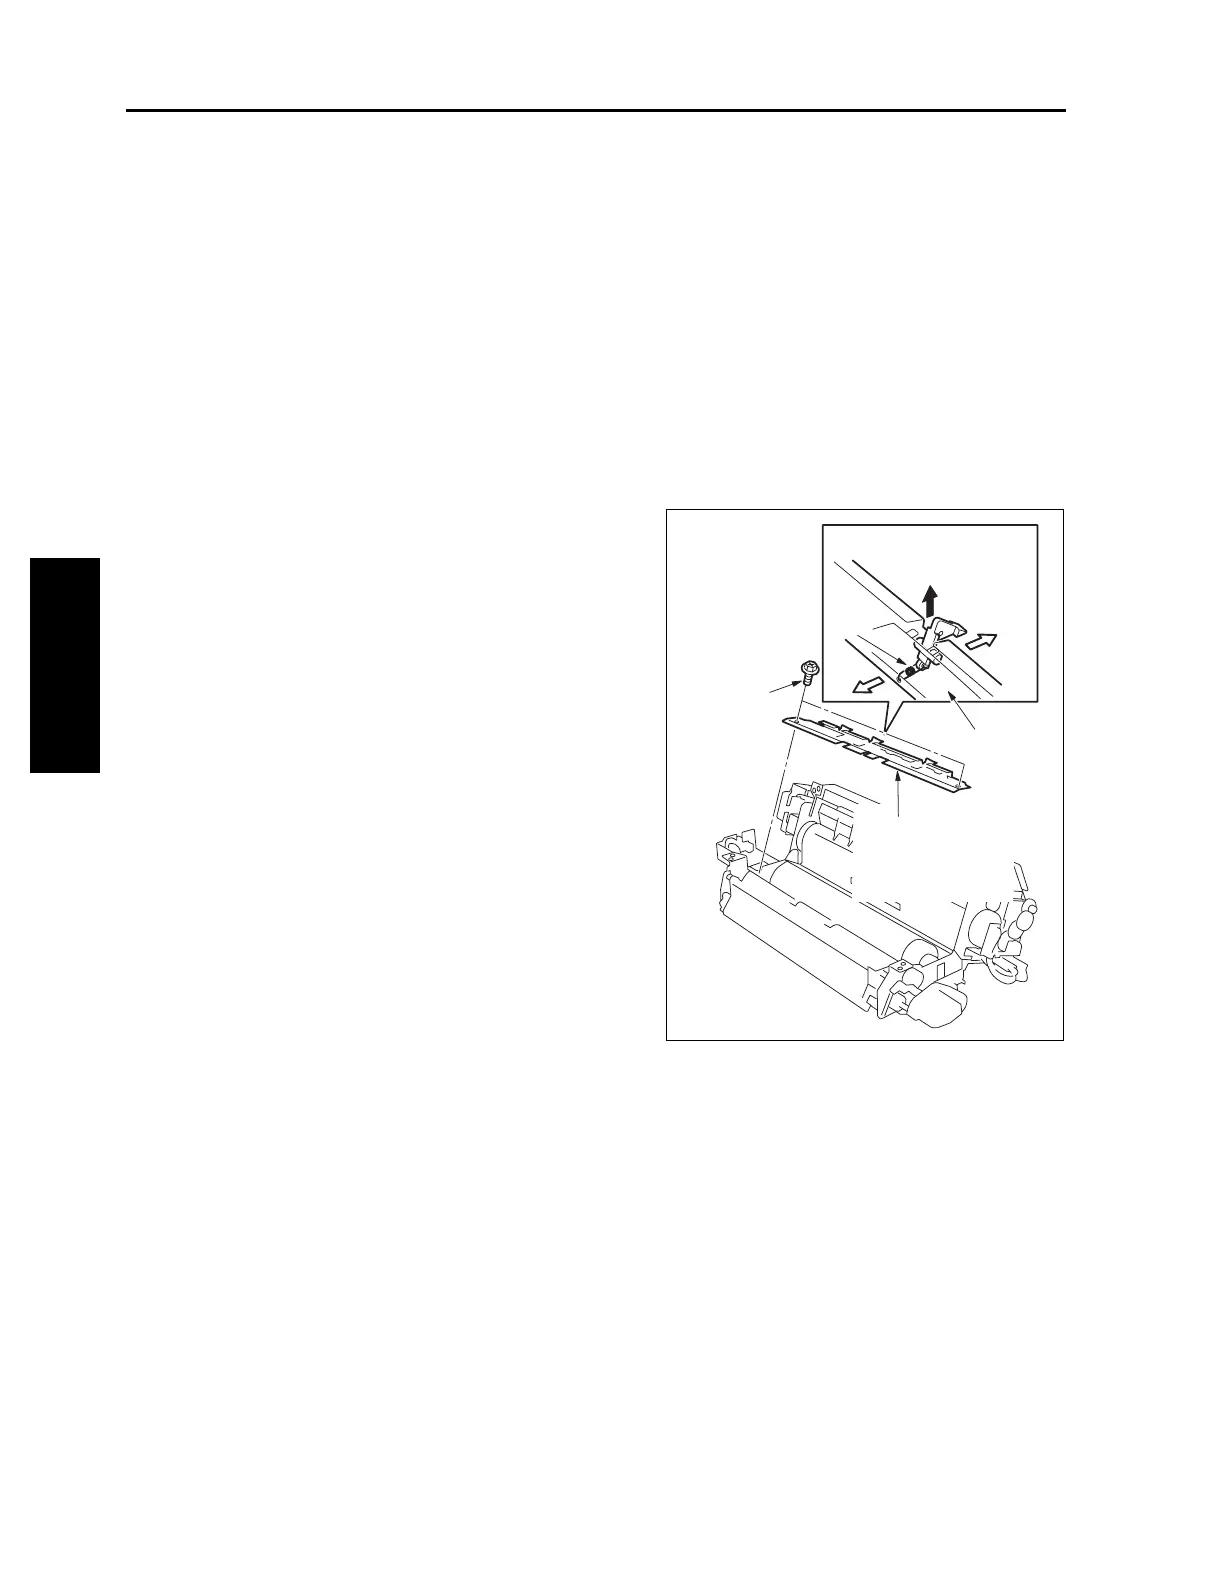
[8] Removing and Reinstalling the Fixing
Separation Claw (Lower) Unit and
Fixing Separation Claws (Lower)
a. Procedure
(1) Remove the fixing unit.
(2) Open the fixing unit (upper).
(3) Remove two screws to detach the fixing separa-
tion claw (lower) assembly.
(4) Remove the three springs from the three fixing
separation claws (lower).
(5) Slide the frame holding the fixing separation
claws (lower) and remove the three claws.
(6) Reinstall the above parts following the removal
steps in reverse.
Caution: After installing the fixing separation
claw (lower), check that the frame
moves smoothly.
Fixing separation
claws (lower) (3)
Spring
Screws(2)
Frame
Fixing
separation claw
(lower) assembly

 Loading...


