OTHER ADJUSTMENT
1 ADJUSTMENT
MODEL MANUAL REVISED EDITION DATE PAGE METHOD
SERVICE HANDBOOK Nov. 20017155/7165
b. Adjustment
[22] FNS Adjusting the angle of the fold-
ing stopper (FS-210)
Caution: Do not use hands to move stapler unit
to horizontal direction.
(Otherwise the belt and the gear teeth
skipping may occur.)
1. Tool
• Screwdriver (Phillips)
2. Adjustment method
a. Preparation
Step Operation
1
Make sure that the "Adjusting the mount
location of the alignment plates / U" and
"Adjusting the mount location of the
alignment plates / L" are finished.
2
Open the front door and pull out the
stacker unit.
3
Take off the stapler unit cover.
4
Loosen the three screws securing the
alignment plate and adjust it using the
mark as a guide.
5
After the adjustment, retighten the three
screws, execute stapling, and then
check that the aligned position is within
the specification range.
Alignment
plate /L
Mark
Mark
Mark
Screws
Lower edge
Upper edge
Parallel
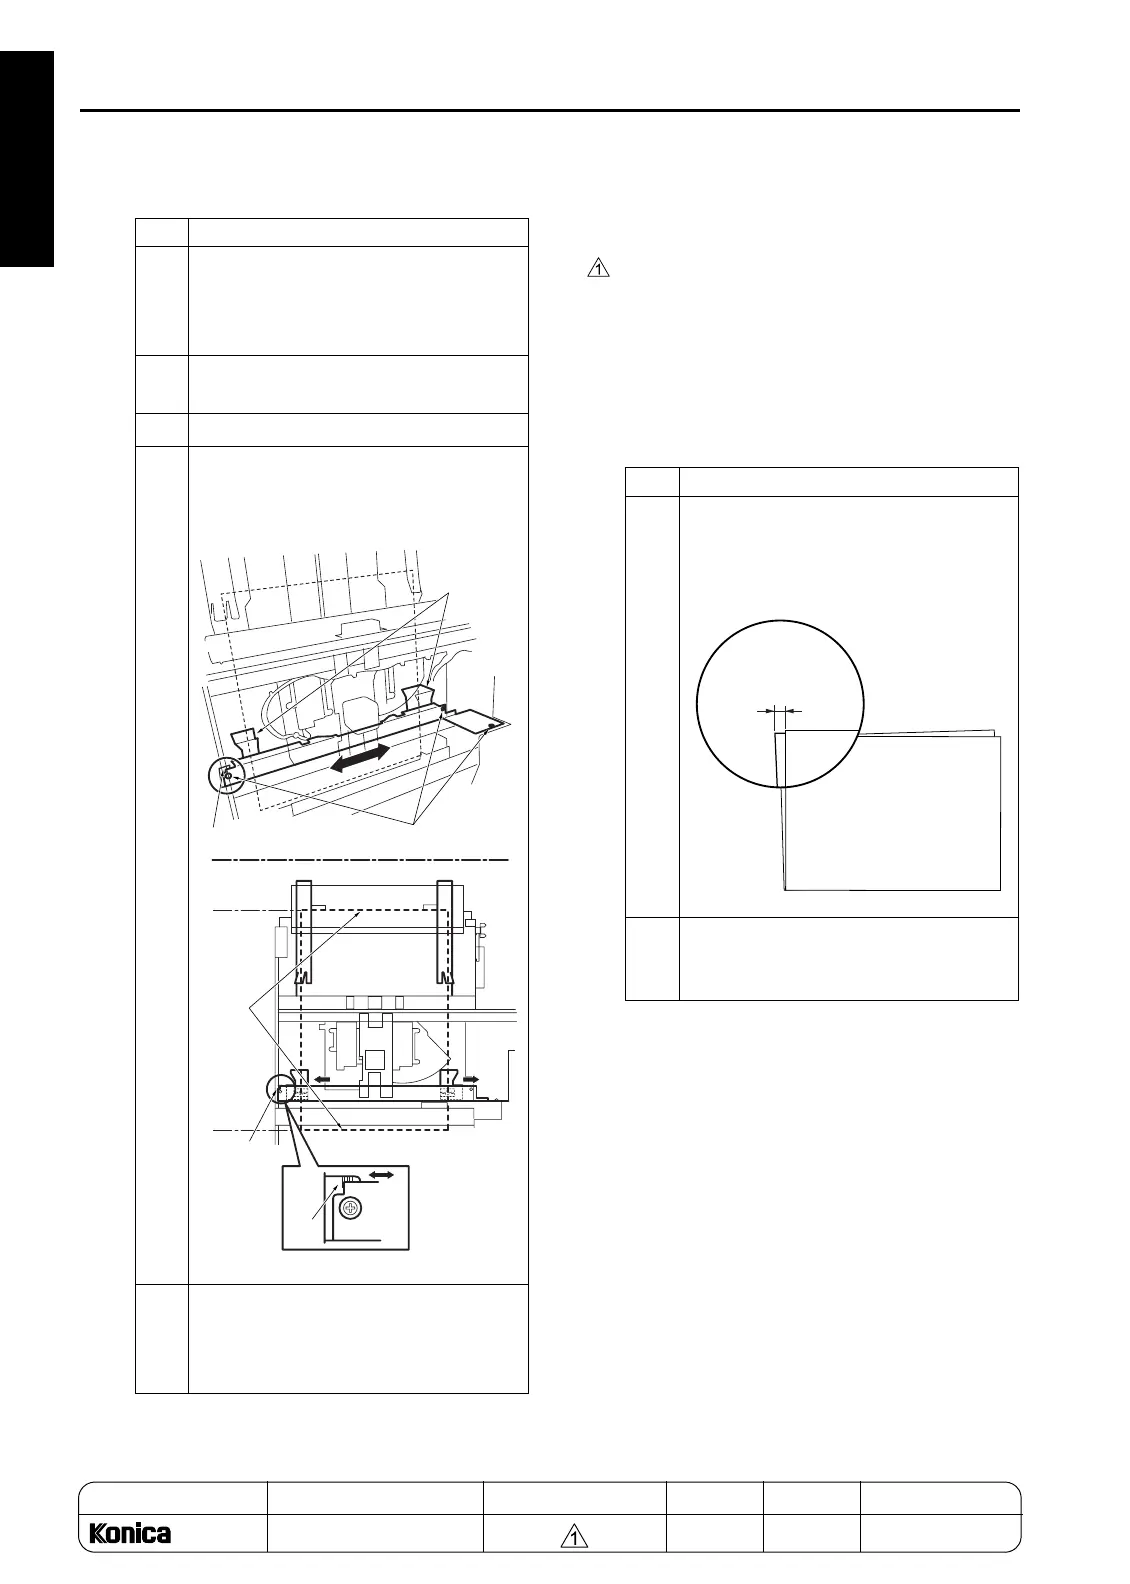
Step Operation
1
Execute stapling using A3 paper and
check whether the fold side discrepancy
for A3 paper is within the limit.
Limit: A= within 1mm
2
If the amount of discrepancy is out of
specification, perform the following
adjustment:
A= within 1mm
REPLACEMENT
1-124

 Loading...


