Maintenance
Repair
394 MagneMotion
Rockwell Automation Publication MMI-UM002F-EN-P - October 2022
Replace Motor Rails
The MagneMover LITE motor rails can be easily replaced if they become damaged.
Required Tools and Equipment
• Torque wrench.
• Loctite 243, Thread locker Anaerobic Adhesive, Blue.
• Isopropyl Alcohol.
Procedure
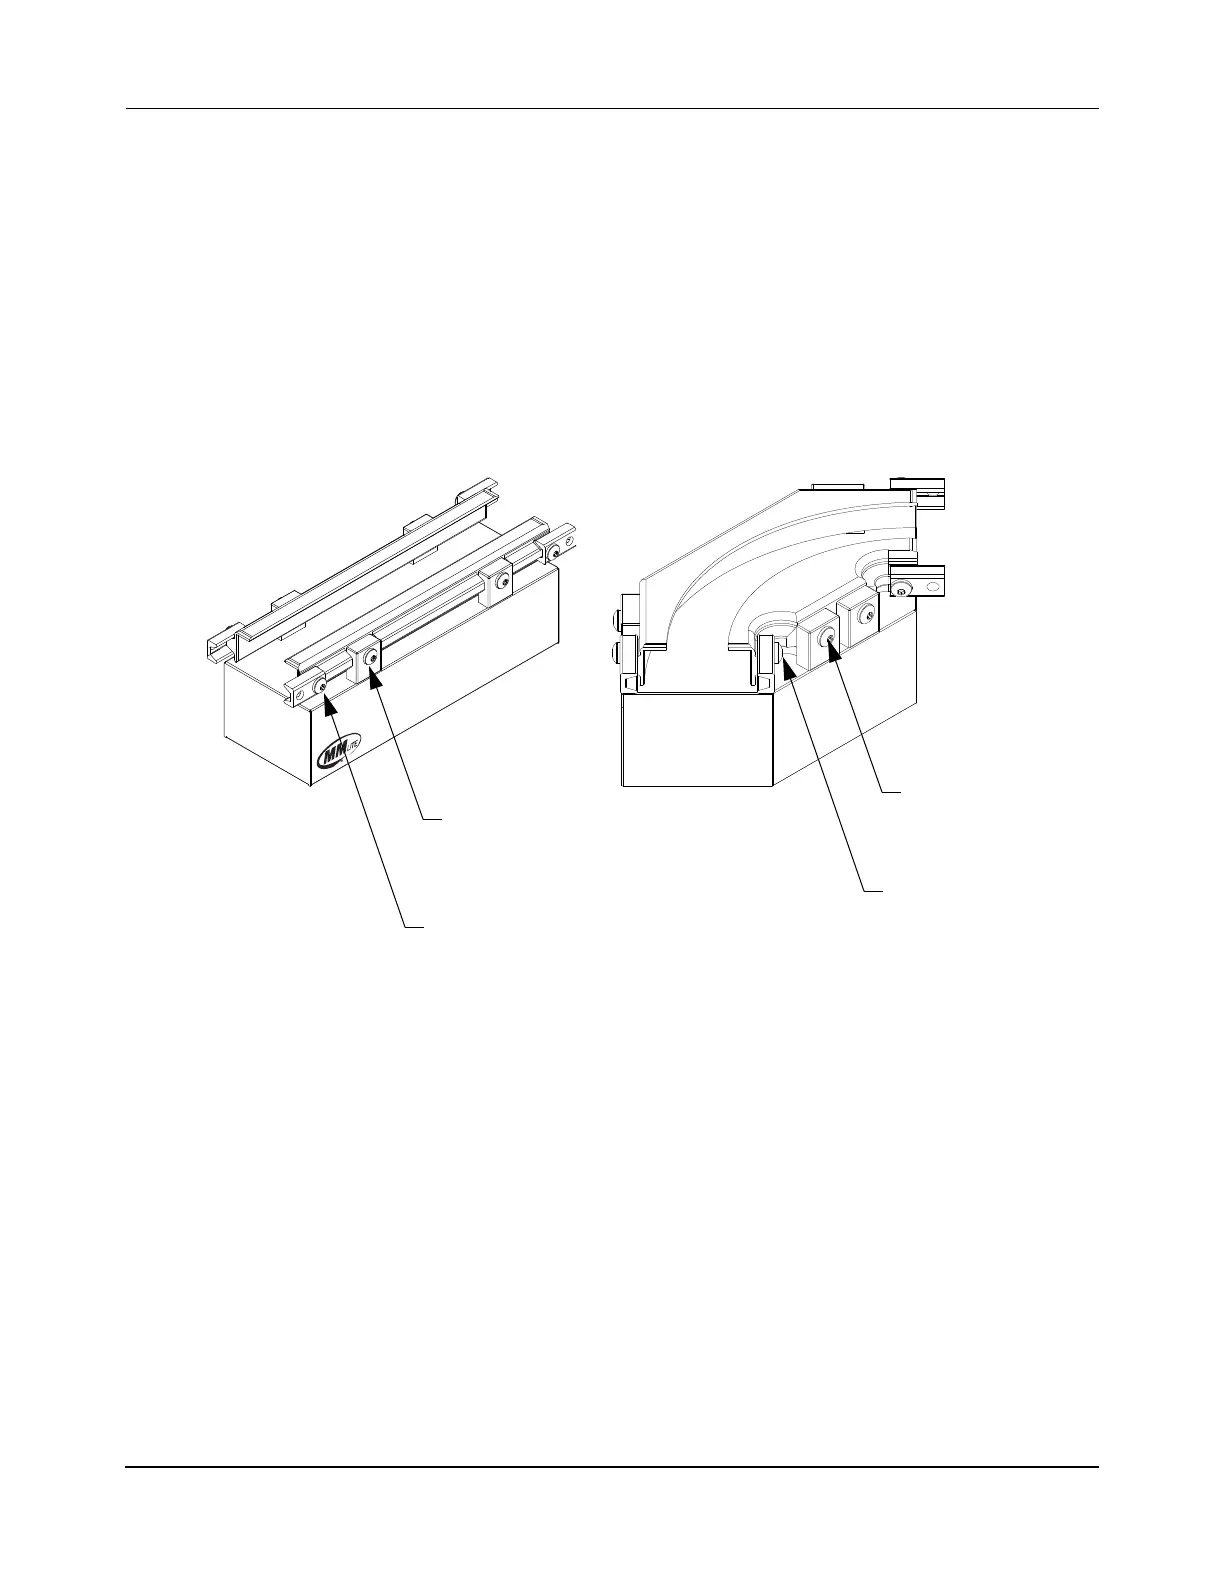
Figure 7-15: Replace Motor Guide Rails
1. Stop all motion on the section of the MagneMover LITE transport system where the
rail is being replaced.
2. Remove the damaged guide rail from the motor.
A. Remove the two M6 x 12 mm screws that secure the V-braces to the guide rail.
B. Remove the M6 x 10 mm screws that secure the guide rail to the motor (2X for
a 250 mm rail, 4X for a 1000 mm rail).
C. Lift the guide rail off the motor.
3. Install the new guide rail on the motor.
A. When replacing Stainless Steel rails, apply Loctite 243 to the M6 x 10 mm rail
mounting screws (2X for a 250 mm rail, 4X for a 1000 mm rail) and the M6 x
12 mm V-brace screws (2X).
V brace Screw
Guide Rail
(2X)
Mounting Screw
(2X – 250 mm Rail)
V brace Screw
Guide Rail
(2X)
Mounting Screw
(2X)
(4X – 1000 mm Rail)
 Loading...


