Maintenance
Repair
444 MagneMotion
Rockwell Automation Publication MMI-UM002F-EN-P - October 2022
Replace Concentric Bearings
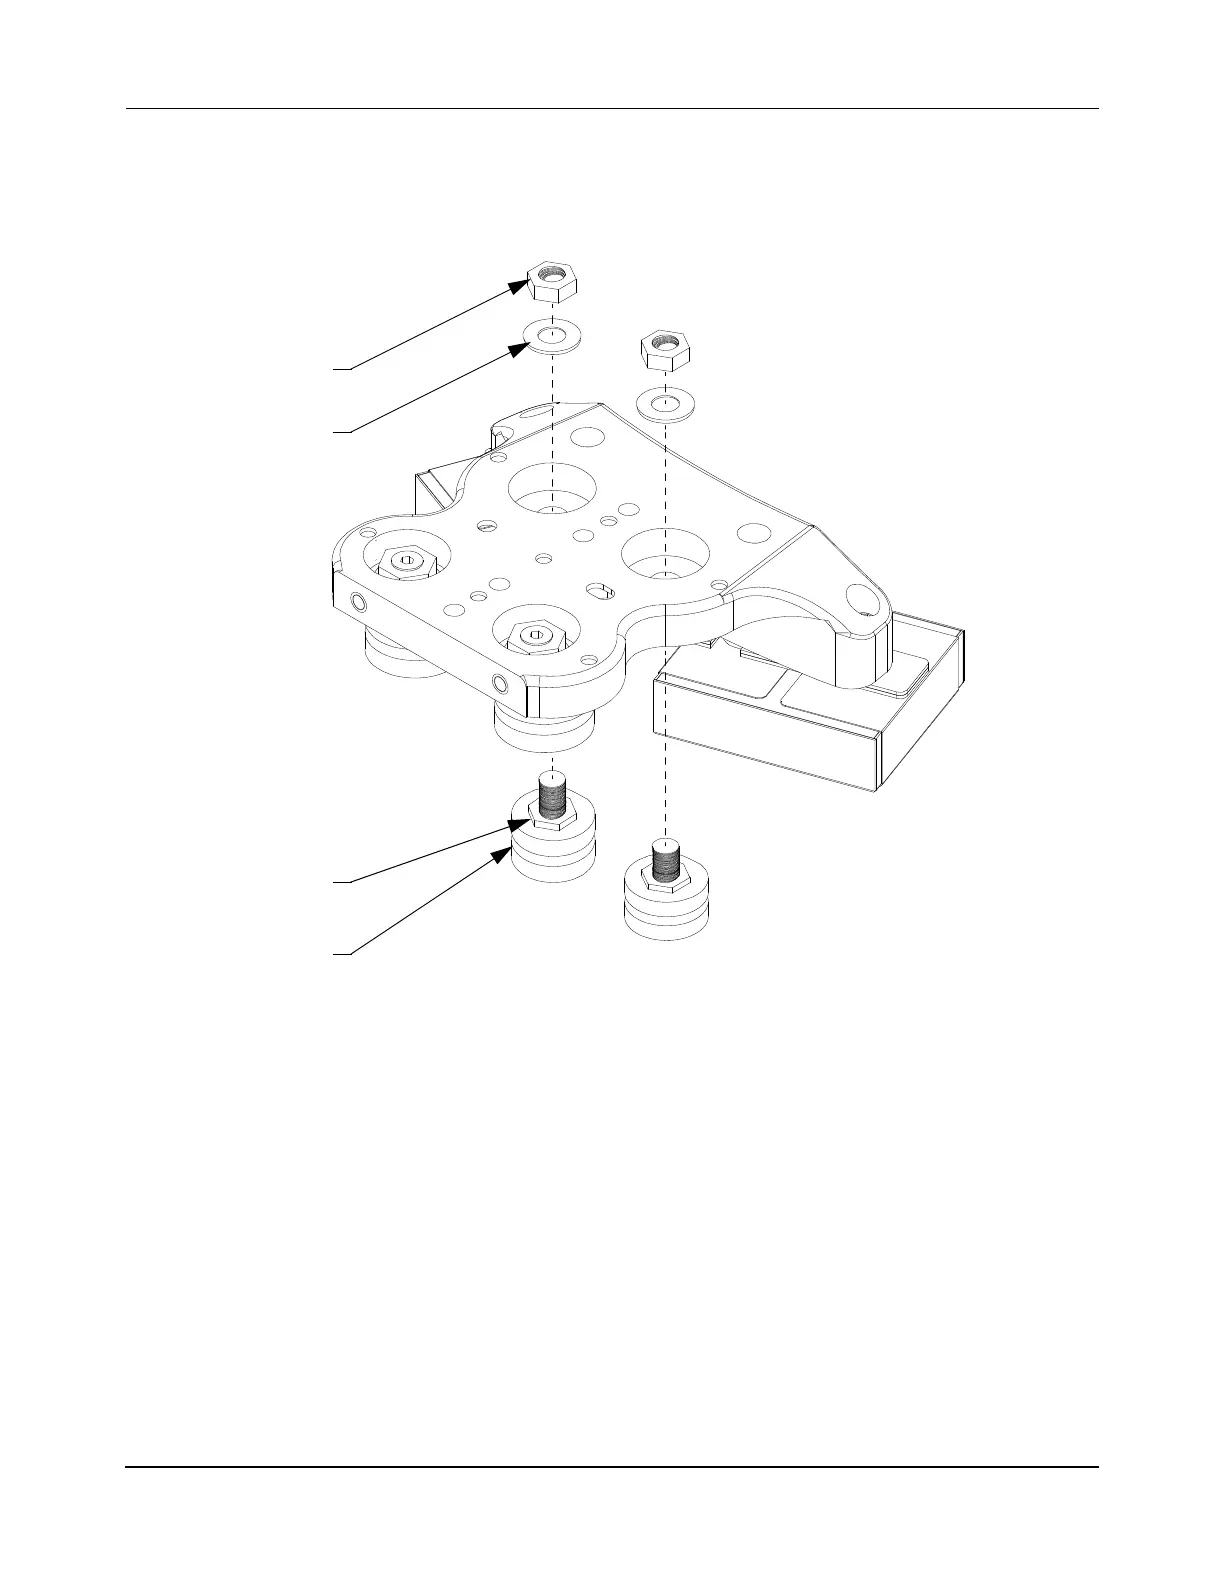
Figure 7-45 shows a dual array vehicle, however the same process is used for single array
vehicles.
Figure 7-45: Precision Rail Vehicle Concentric Bearings Disassembly/Assembly
1. Stop all motion on the path where the vehicle is located.
2. Remove the vehicle from the precision rail (see Replace Precision Rail Vehicles on
page 428).
3. Place the vehicle on a non-metallic work surface with the magnet array down. Keep
the magnet array at least three feet away from metal objects and tools.
4. Hold the bearing nut underneath the carriage in place with a 13 mm thin open ended
wrench. Unscrew and remove the nut and washer for the concentric bearing being
removed (on the top of the carriage) and store them for reuse.
5. Remove the concentric bearing from the bottom of carriage and discard appropriately.
Concentric
Washer
Bearing
Bearing Nut
(2X)
Top Nut
(2X)
(2X)
(2X)
 Loading...


