PCBS AND HDD
SM 3-127 B064 Series/B140 Series/G126
Replacement
Adjustment
3.12.8 DIMMS
NOTE: Read this section carefully before installation so you know how to insert the
DIMMs correctly.
CAUTION
Follow the procedure below to connect the DIMMs to the controller board.
Incorrect insertion can damage the controller board or cause a bad
connection between the DIMM and controller contacts. If the upper contact
is pressed in and bent, the resulting poor connection could cause the
entire system to not operate.
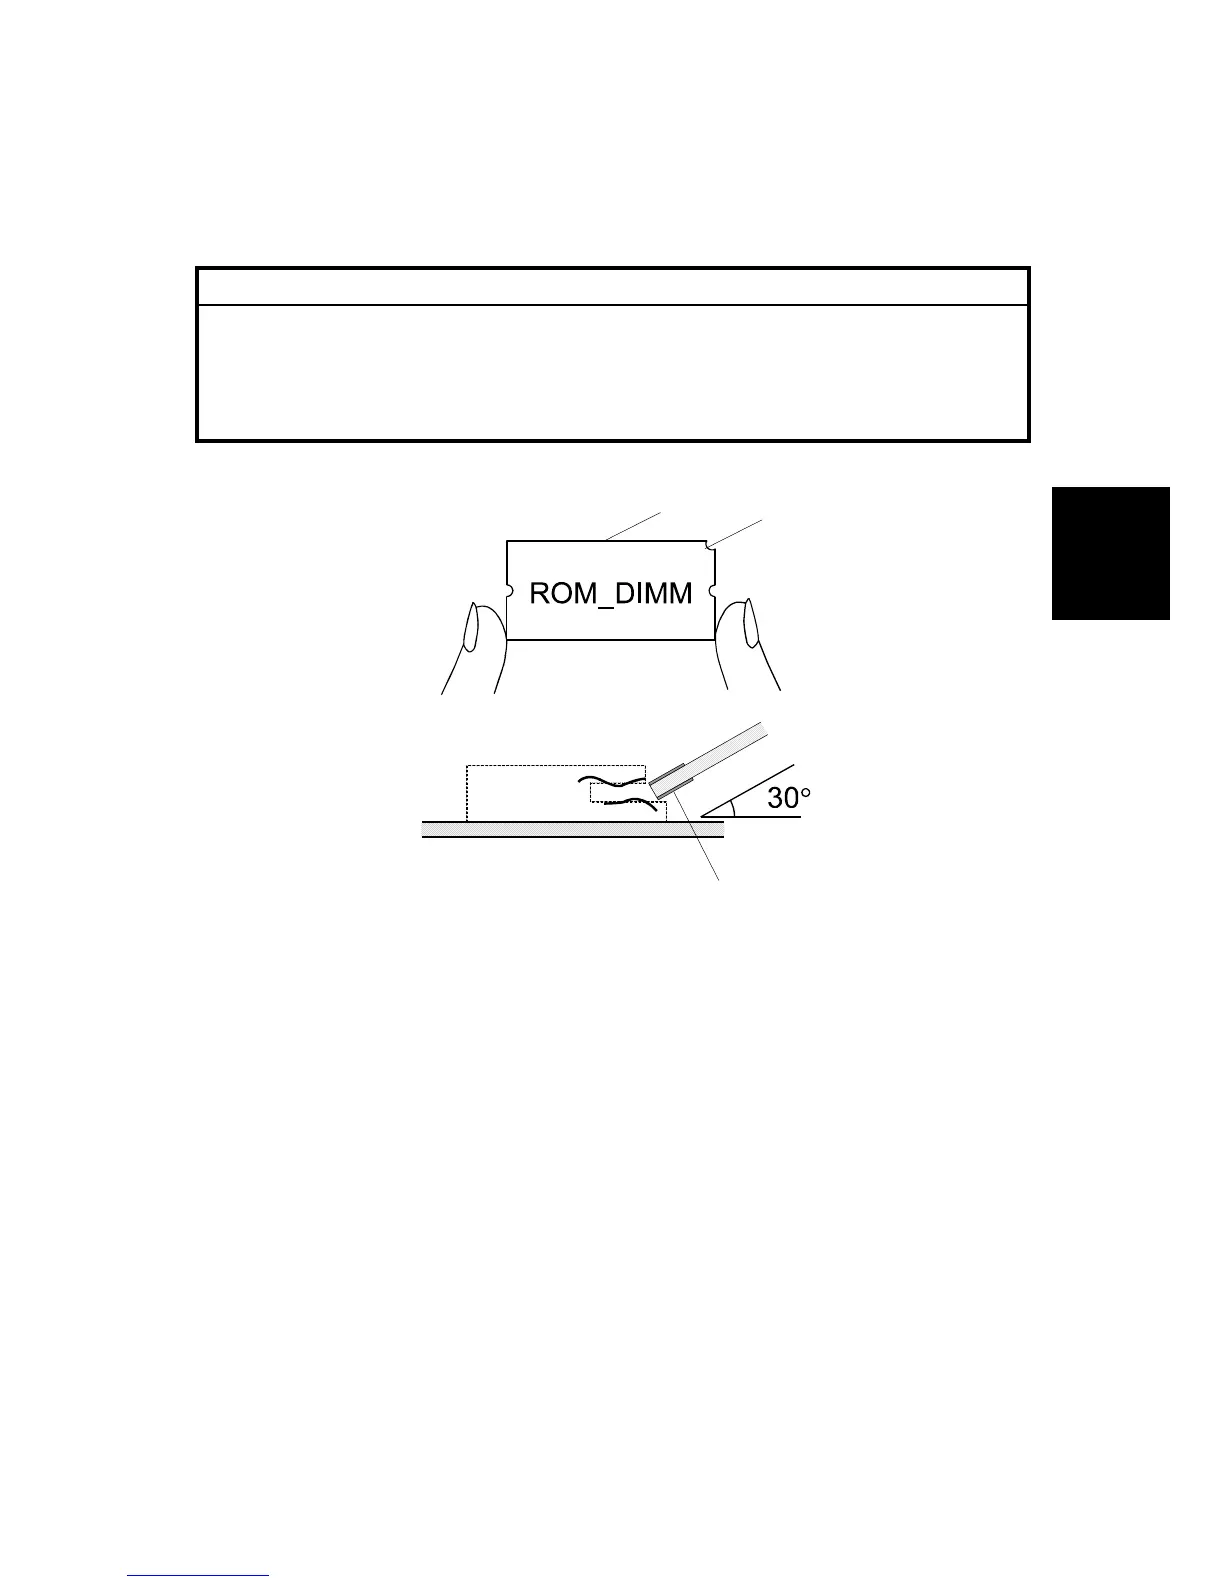
1. Hold the ROM DIMM with the edge connector [A] pointing toward the slot and
the notch [B] on the DIMM in the upper right corner.
2. Insert the edge connector [C] into the slot at a 30-degree angle from the
surface of the board.
NOTE: If the angle is too low, the upper contact could bend.
3. Move the outside edge of the ROM DIMM up and down slightly until it works
into the connector, then gently press it down level with the controller board.
B140R865.WMF
[B]
[C]
[A]
 Loading...