1B-10 Emission Control Devices:
3) Inspect the PAIR hoses for wear or damage. If it is
worn or damaged, replace the PAIR hose with a new
one. Refer to “PAIR System Hose Routing Diagram”
(Page 1B-6).
4) Reinstall the removed parts.
PAIR Reed Valve
1) Remove the PAIR reed valves. Refer to “PAIR Reed
Valve Removal and Installation” (Page 1B-8).
2) Inspect the reed valves for carbon deposit.
If carbon deposit is found on the reed valve, replace
the PAIR reed valve with a new one.
3) Reinstall the PAIR reed valves. Refer to “PAIR Reed
Valve Removal and Installation” (Page 1B-8).
PAIR Control Solenoid Valve
NOTE
PAIR control solenoid valve can be checked
without removing it from the motorcycle.
Refer to “DTC “C49” (P1656): PAIR Control
Solenoid Valve Circuit Malfunction” in
Section 1A (Page 1A-121).
1) Remove the PAIR control solenoid valve. Refer to
“PAIR Control Solenoid Valve Removal and
Installation” (Page 1B-9).
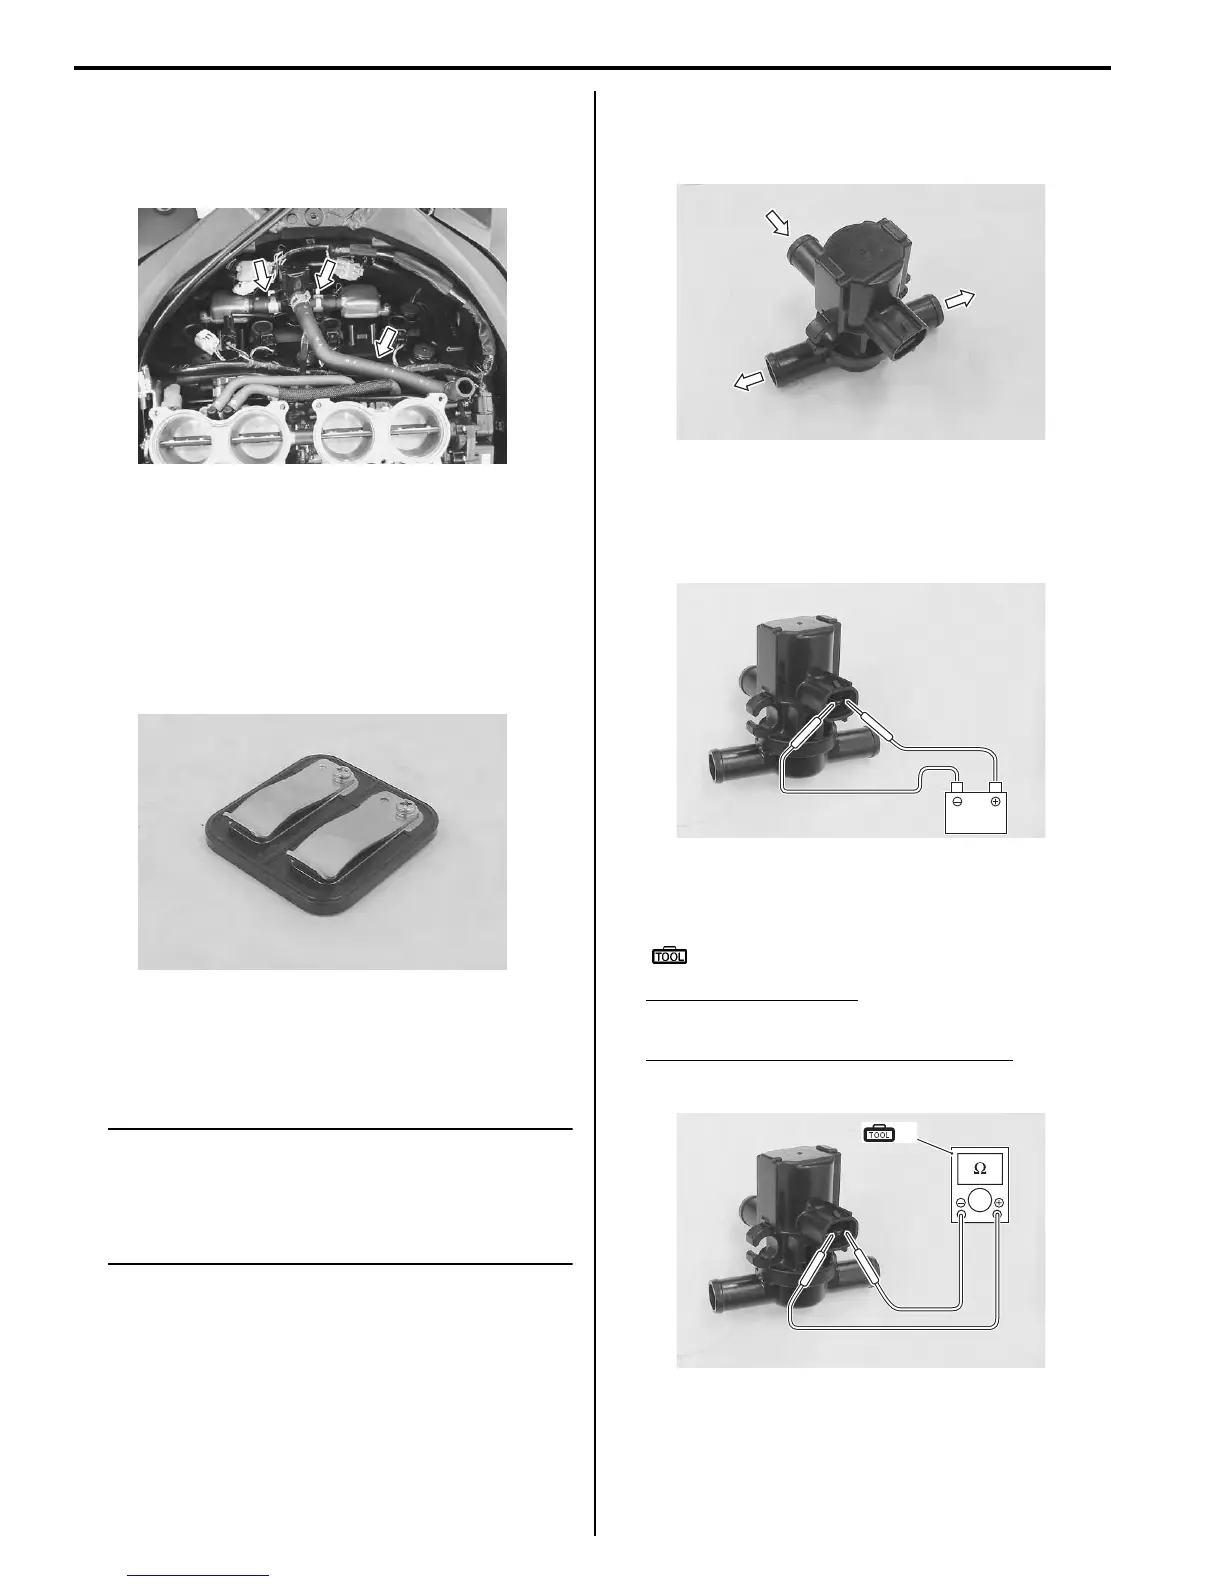
2) Check that air flows through the air inlet port to the
air outlet ports. If air does not flow out, replace the
PAIR control solenoid valve with a new one.
3) Connect the 12 V battery to the PAIR control
solenoid valve terminals and check the air flow. If air
does not flow out, the solenoid valve is in normal
condition.
4) Check the resistance between the terminals of the
PAIR control solenoid valve.
Special tool
(A): 09900–25008 (Multi circuit tester set)
Tester knob indication
Resistance (Ω)
PAIR control solenoid valve resistance
20 – 24 Ω at 20 – 30 °C (68 – 86 °F)
5) Reinstall the PAIR control solenoid valve. Refer to
“PAIR Control Solenoid Valve Removal and
Installation” (Page 1B-9).
I947H1120017-01
I947H1120018-01
I947H1120019-01
12V
I947H1120020-01
(A)
I947H1120021-01
Manuals by Motomatrix / The Solution For Lost Motorcycle Coded Keys
email: info@motomatrix.co.uk / www.motomatrix.co.uk

 Loading...


