1B-12 Emission Control Devices:
Crankcase Breather (PCV) Cover Inspection
B947H11206008
Inspect the crankcase breather (PCV) cover in the
following procedures:
1) Remove the crankcase breather (PCV) cover. Refer
to “Crankcase Breather (PCV) Hose / Reed Valve /
Cover Removal and Installation” (Page 1B-11).
2) Inspect the crankcase breather (PCV) cover for
carbon deposit. If carbon deposit is found in the
crankcase breather (PCV) cover, remove the carbon.
3) Reinstall the crankcase breather (PCV) cover. Refer
to “Crankcase Breather (PCV) Hose / Reed Valve /
Cover Removal and Installation” (Page 1B-11).
Evaporative Emission Control System Removal
and Installation (Only for E-33)
B947H11206010
Hose
Removal
1) Lift and support the fuel tank. Refer to “Fuel Tank
Removal and Installation” in Section 1G (Page 1G-
9).
2) Remove the frame cover assembly. Refer to
“Exterior Parts Removal and Installation” in Section
9D (Page 9D-6).
3) Remove the EVAP hoses as shown in the EVAP
canister hose routing diagram. Refer to “PAIR
System Hose Routing Diagram” (Page 1B-6).
Installation
1) Install the EVAP hoses as shown in the EVAP
canister hose routing diagram. Refer to “EVAP
Canister Hose Routing Diagram (Only for E-33)”
(Page 1B-7).
2) Reinstall the removed parts.
EVAP Canister
Removal
1) Remove the frame cover assembly. Refer to
“Exterior Parts Removal and Installation” in Section
9D (Page 9D-6).
2) Disconnect the surge hose (1) and purge hose (2).
3) Remove the EVAP canister (3) from the bracket.
Installation
1) Install the EVAP canister as shown in the EVAP
canister hose routing diagram. Refer to “EVAP
Canister Hose Routing Diagram (Only for E-33)”
(Page 1B-7).
2) Reinstall the removed parts.
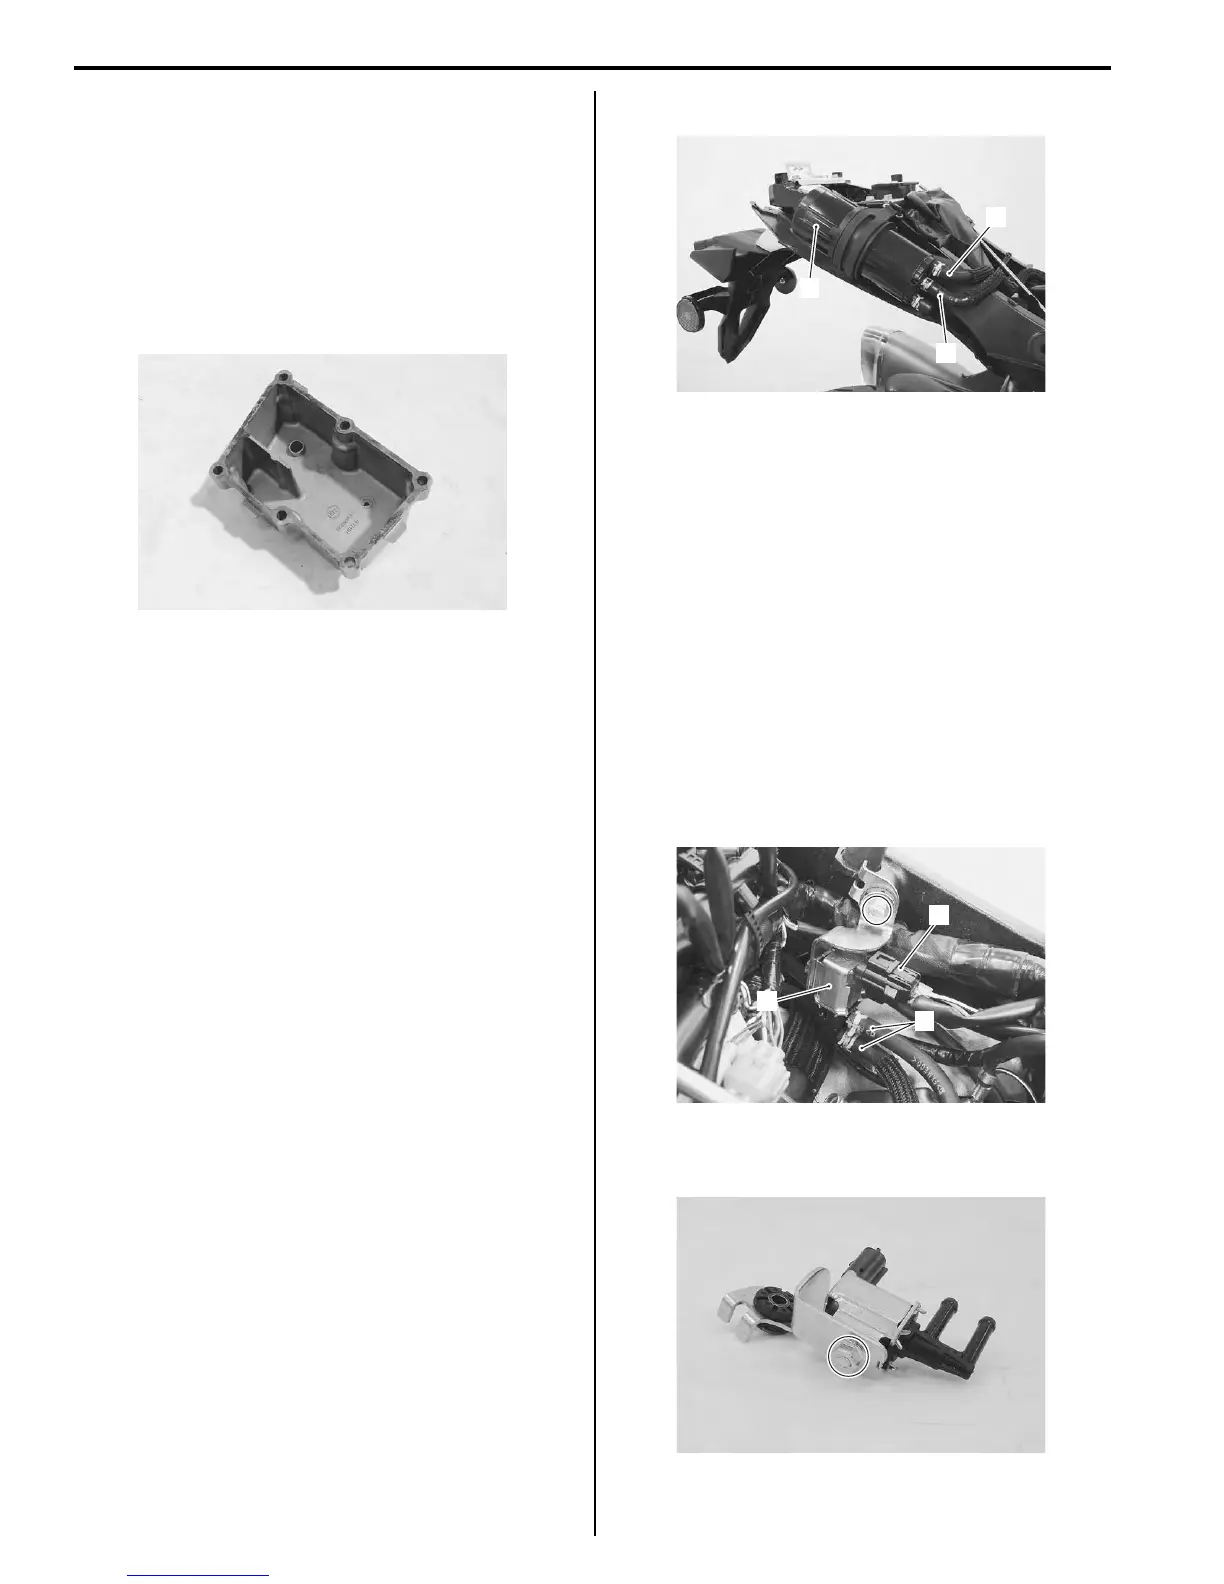
EVAP System Purge Control Solenoid Valve
Removal
1) Lift and support the fuel tank with the prop stay.
Refer to “Fuel Tank Removal and Installation” in
Section 1G (Page 1G-9).
2) Disconnect the coupler (1) and purge hoses (2).
3) Remove the EVAP system purge control solenoid
valve (3) with the bracket.
4) Remove the EVAP system purge control solenoid
valve from the bracket.
I947H1120026-01
1
2
3
I947H1120027-01
1
2
3
I947H1120028-01
I947H1120029-01
Manuals by Motomatrix / The Solution For Lost Motorcycle Coded Keys
email: info@motomatrix.co.uk / www.motomatrix.co.uk

 Loading...


