Rear Suspension: 2C-8
Installation
Install the cushion rod in the reverse order of removal.
Pay attention to the following points:
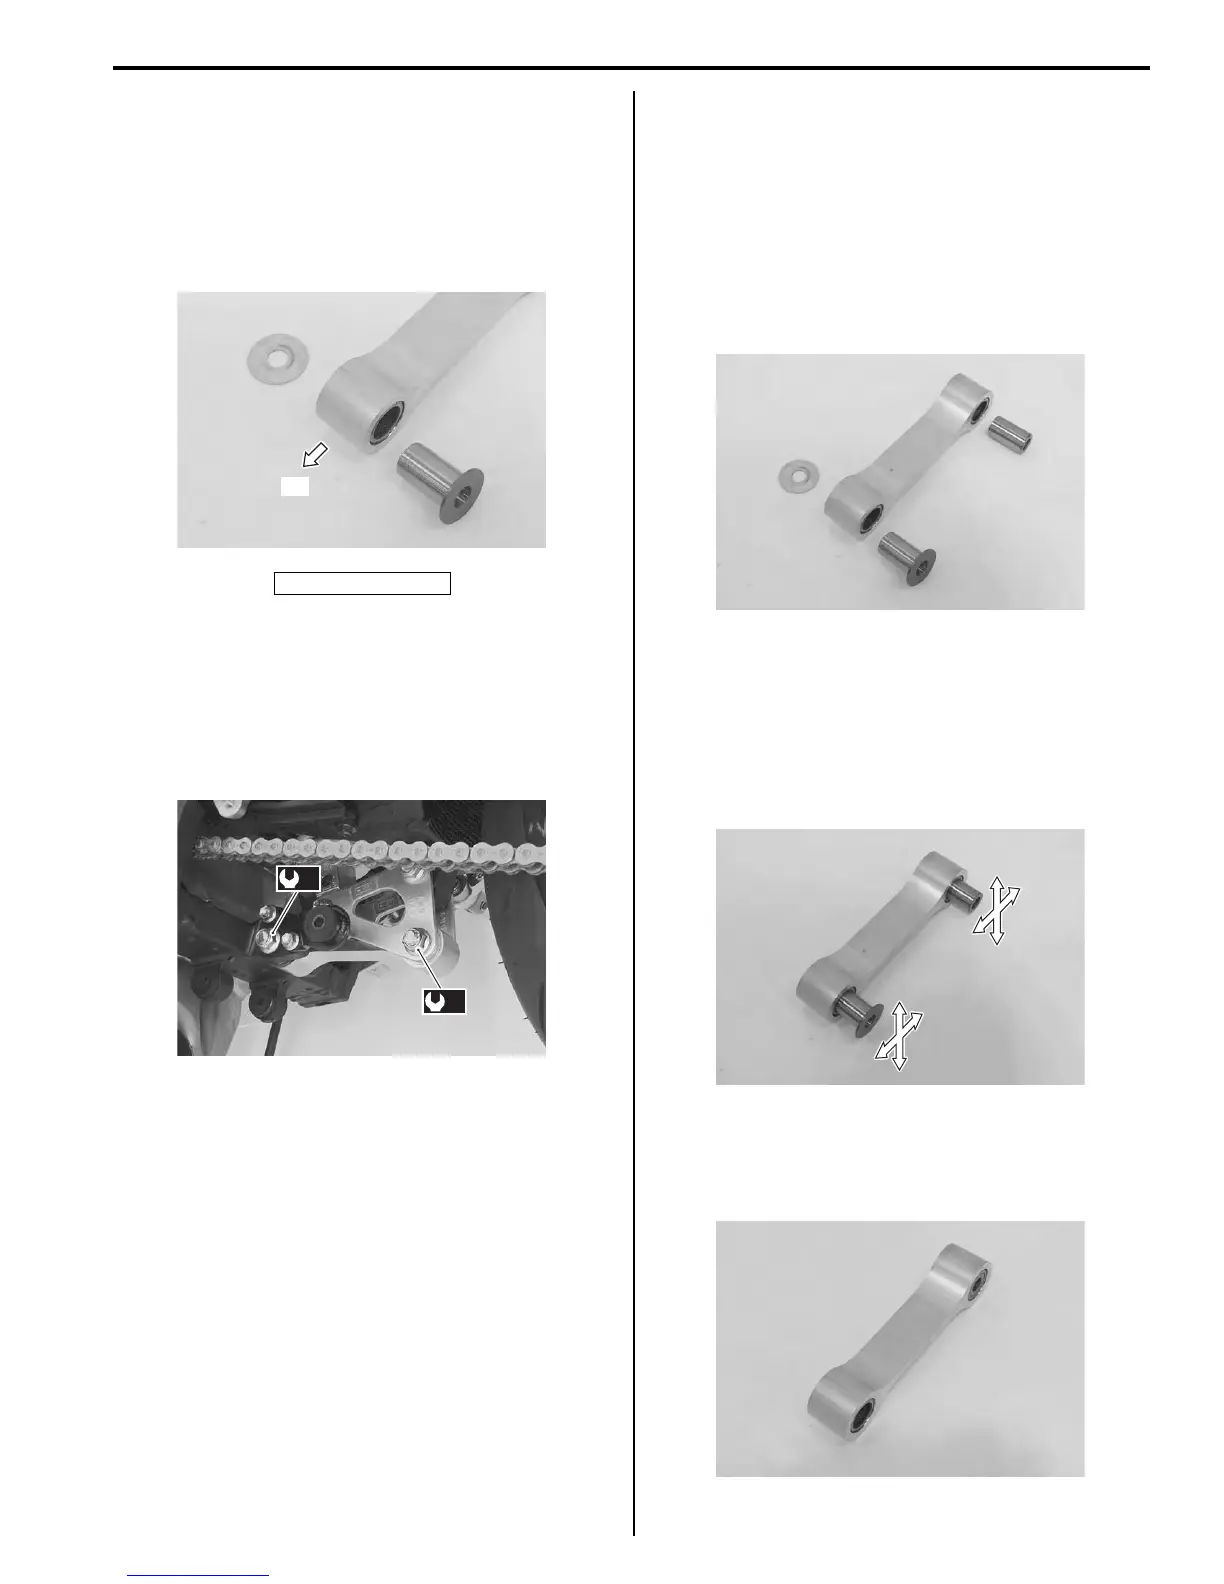
• Before installing the cushion rod to the frame, insert
the collar into the bearing from the left side.
• Install the washer between the cushion rod right side
and frame.
• Tighten each bolts and nuts to the specified torque.
Tightening torque
Cushion rod front mounting nut (a): 98 N·m (9.8
kgf-m, 71.0 lbf-ft)
Cushion rod rear mounting nut (b): 98 N·m (9.8
kgf-m, 71.0 lbf-ft)
• Install the muffler chamber. Refer to “Muffler / Muffler
Chamber / Exhaust Pipe Removal and Installation” in
Section 1K (Page 1K-11).
• Install the side frame covers and right side cowling.
Refer to “Exterior Parts Removal and Installation” in
Section 9D (Page 9D-6).
Cushion Rod Inspection
B947H12306012
Refer to “Cushion Rod Removal and Installation”
(Page 2C-7).
Collar and Spacer
1) Remove the collar and spacer from the cushion rod.
2) Inspect the collar and spacer for any flaws or other
damage. If any defects are found, replace it with a
new one.
Cushion Rod Bearing
1) Insert the collar and spacer into bearing.
2) Check the play by moving the collar and spacer up
and down. If excessive play is noted, replace the
bearing with a new one. Refer to “Cushion Rod
Bearing Removal and Installation” (Page 2C-9).
Cushion Rod
Inspect the cushion rod for damage. If any defects are
found, replace the cushion rod with a new one.
“A”: Forward
“A”
I947H1230023-01
(a)
(b)
I947H1230024-01
I947H1230025-01
I947H1230026-02
I947H1230027-01
Manuals by Motomatrix / The Solution For Lost Motorcycle Coded Keys
email: info@motomatrix.co.uk / www.motomatrix.co.uk

 Loading...


