1K-9 Exhaust System:
Installation
Install the EXCVA in the reverse order of removal. Pay
attention to the following points:
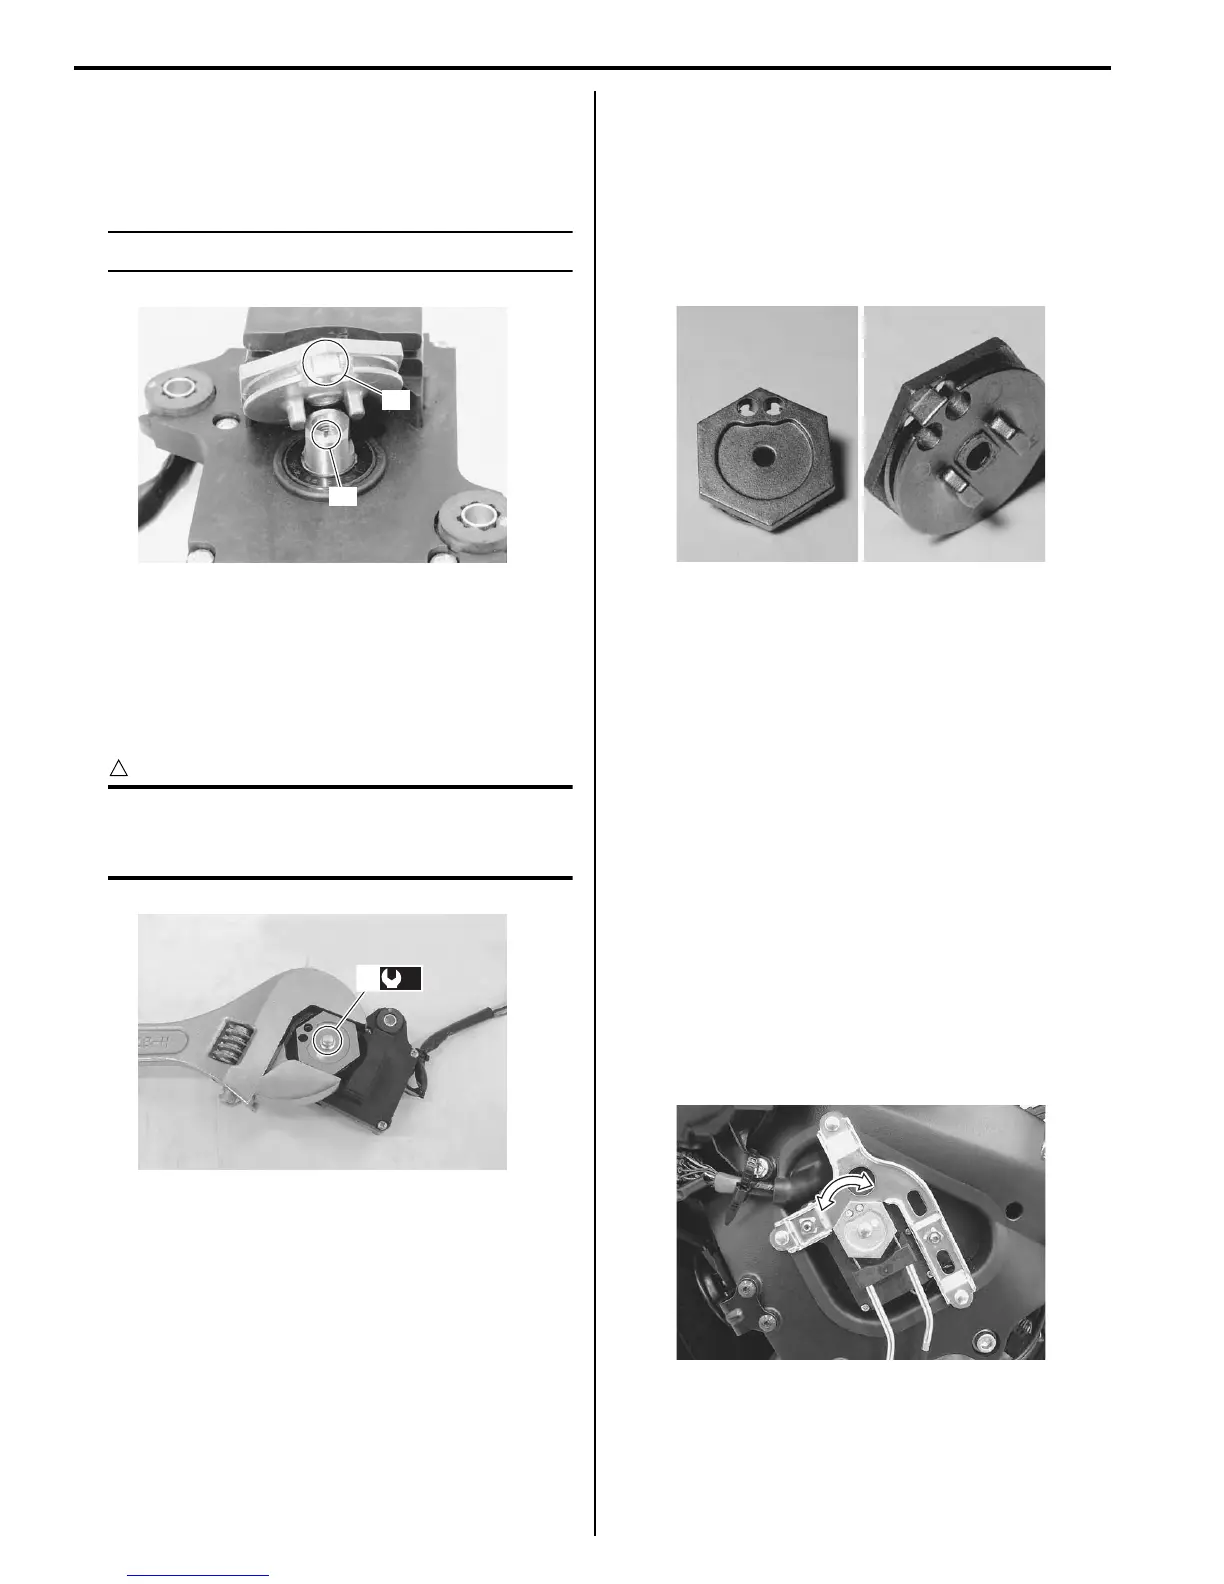
• Install the EXCVA pulley to the shaft.
NOTE
Align the shaft’s line “A” and cable slots “B”.
• Hold the pulley with an adjustable wrench, and then
tighten the pulley mounting bolt (1) to the specified
torque.
Tightening torque
EXCVA pulley mounting bolt (a): 5 N·m (0.5 kgf-
m, 3.5 lbf-ft)
CAUTION
!
When loosening or tightening the pulley bolt,
be sure to fix the pulley with an adjustable
wrench, or EXCVA may get damaged.
• Install the EXCV cables. Refer to “EXCV Cable
Removal and Installation” (Page 1K-6).
• Adjust the EXCVA. Refer to “EXCVA Adjustment”
(Page 1K-9).
EXCVA Inspection
B947H11B06005
Refer to “DTC “C46” (P1657-H/L or P1658): EXCV
Actuator Circuit Malfunction” in Section 1A (Page 1A-
109).
EXCVA Pulley Inspection
B947H11B06006
Inspect the EXCVA pulley in the following procedures:
1) Remove the EXCVA pulley. Refer to “EXCV Cable
Removal and Installation” (Page 1K-6).
2) Visually inspect the EXCVA pulley for wear and
damage. If there is anything unusual, replace the
pulley with a new one.
3) Install the pulley and EXCVA. Refer to “EXCVA
Removal and Installation” (Page 1K-7).
EXCVA Adjustment
B947H11B06007
Inspect the EXCVA operation and adjust it if necessary
in the following steps:
Step 1
1) Set the EXCVA to the adjustment position. Refer to
“EXCV Cable Removal and Installation” (Page 1K-
6).
Step 2
1) Turn the ignition switch OFF.
2) Turn the mode select switch OFF.
3) Turn the ignition switch ON and check the operation
of EXCVA.
(EXCVA operation order: Full close → Full open →
Approx. 60% open)
“A”
“B”
I823H11B0017-02
(a)
1
I947H11B0039-01
I823H11B0021-01
I947H11B0018-01
Manuals by Motomatrix / The Solution For Lost Motorcycle Coded Keys
email: info@motomatrix.co.uk / www.motomatrix.co.uk

 Loading...


