CHAPTER 4 INSTALLATION
4-28
COPYRIGHT
©
2001 CANON INC. 2000 2000 2000 2000 CANON iR8500/7200 REV.1 AUG. 2001
2.12 Attaching the Labels, Setting Paper, Checking Images/
Operations, and User Mode
To change the size of the front deck
(right/left), refer to 2.16.
4 Check with the user to decide on a paper
size.
5 Press the release button, and slide out the
right/left deck.
F04-212-01
• Adjust the contrast of the control panel display
using the Image Contrast dial for the best view,
and advise the user on the use of the dial.
• Check to see that the Add Paper message goes
ON.
• Press the keys on the keypad and the Clear key
to see that the copy count is correctly indicated.
1
Check to make sure that the
front deck and the cassette
are free of any packing
material.
No. Work Checks/remarks
6 Put paper in the right/left deck.
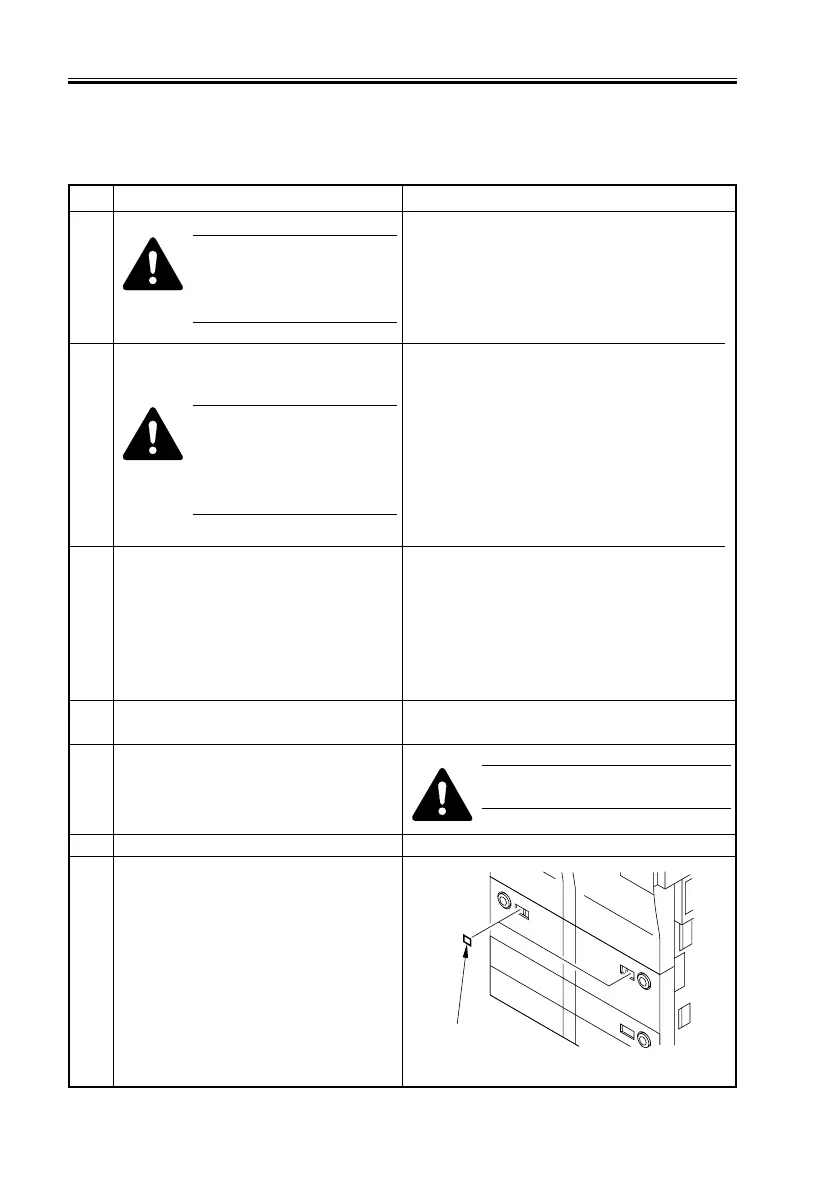
7 Slide in the right /left deck, and attach the
deck size labels [1] to the paper size plate
of the deck.
3 Connect the power plug to the power
outlet, and turn on the main power
switch.
Point of Grounding
1) Grounding terminal in a power outlet.
2) Copper rod buried in the ground to a depth
of 75 cm or more.
3) Grounding terminal prepared under
appropriate Government regulations.
2 Ground the copier using the grounding
wire.
Check to make sure that the
grounding wire is correctly
secured; otherwise, the
leakage breaker may fail to
operate normally.
[1]
 Loading...