February, 2008
6-135
WorkCentre 5225, 5230
Test Pattern Print
General Procedures
Launch Version
Test Pattern Print
Purpose
Prints the test patterns in the machine, to help identify Image Quality problems.
Procedure
1. Access Diagnostic Routines.
a. Enter UI Diagnostics (UI Diagnostic Mode).
2. Select Print Test Pattern.
3. Check Table 2 or Table 4 or Table 5 to be sure the required paper is loaded.
4. For Test Pattern number 001 feeding out of paper tray 1 enter 11 using number keypad.
For Test Pattern number 003 feeding out of paper tray 2 enter 31 using number keypad.
5. Select Start.
NOTE: Another test pattern code can be entered over the previous code after the test pat-
tern prints.
NOTE: If IOT failure occurs during Test Print, IOT and subsequent Diagnostics cannot be pro-
cessed. Test Print cannot be canceled and the power must be turned Off/On, or it may be pos-
sible to exit Diagnostics (UI Diagnostic Mode).
If Not Ready states such as Device Error, Jam and No Paper are the cause of the error Test
Print can be canceled.
As the control logic process the contents of the instructions from the UI, the machine may print
the specified test pattern or use the priority tray, or it may not print and send a message indicat
-
ing that a conflict occurred.
When a jam occurs, the machine stops processing (do not continue or process again). The
Clear Jam screen appears and a message asking the user to clear the jam will be displayed on
the UI.
Test Patterns
• IOT generated test patterns: Table 1 and Table 2
• Controller generated test patterns: Table 3 and Table 4
• IIT generated test patterns: Table 5
For details on the test pattern generation location and output path, see Table 1.
NOTE: •(*1): Displays 294mmx17inch (A3 breadth x Ledger length) (means that A3 and Led-
ger are both supported sizes)
• Prints only from the specified tray. (ATS and APS are not processed.)
• If there was an invalid print specification in 1, an error occurs.
• Prints in the paper size of the selected tray. (Print areas outside the paper size will not be
printed)
• If the Finisher is installed, No Paper Run cannot be processed. No Paper Run is con- trolled by dummy 8.5x11LEF timing regardless of whether there is paper or paper size.
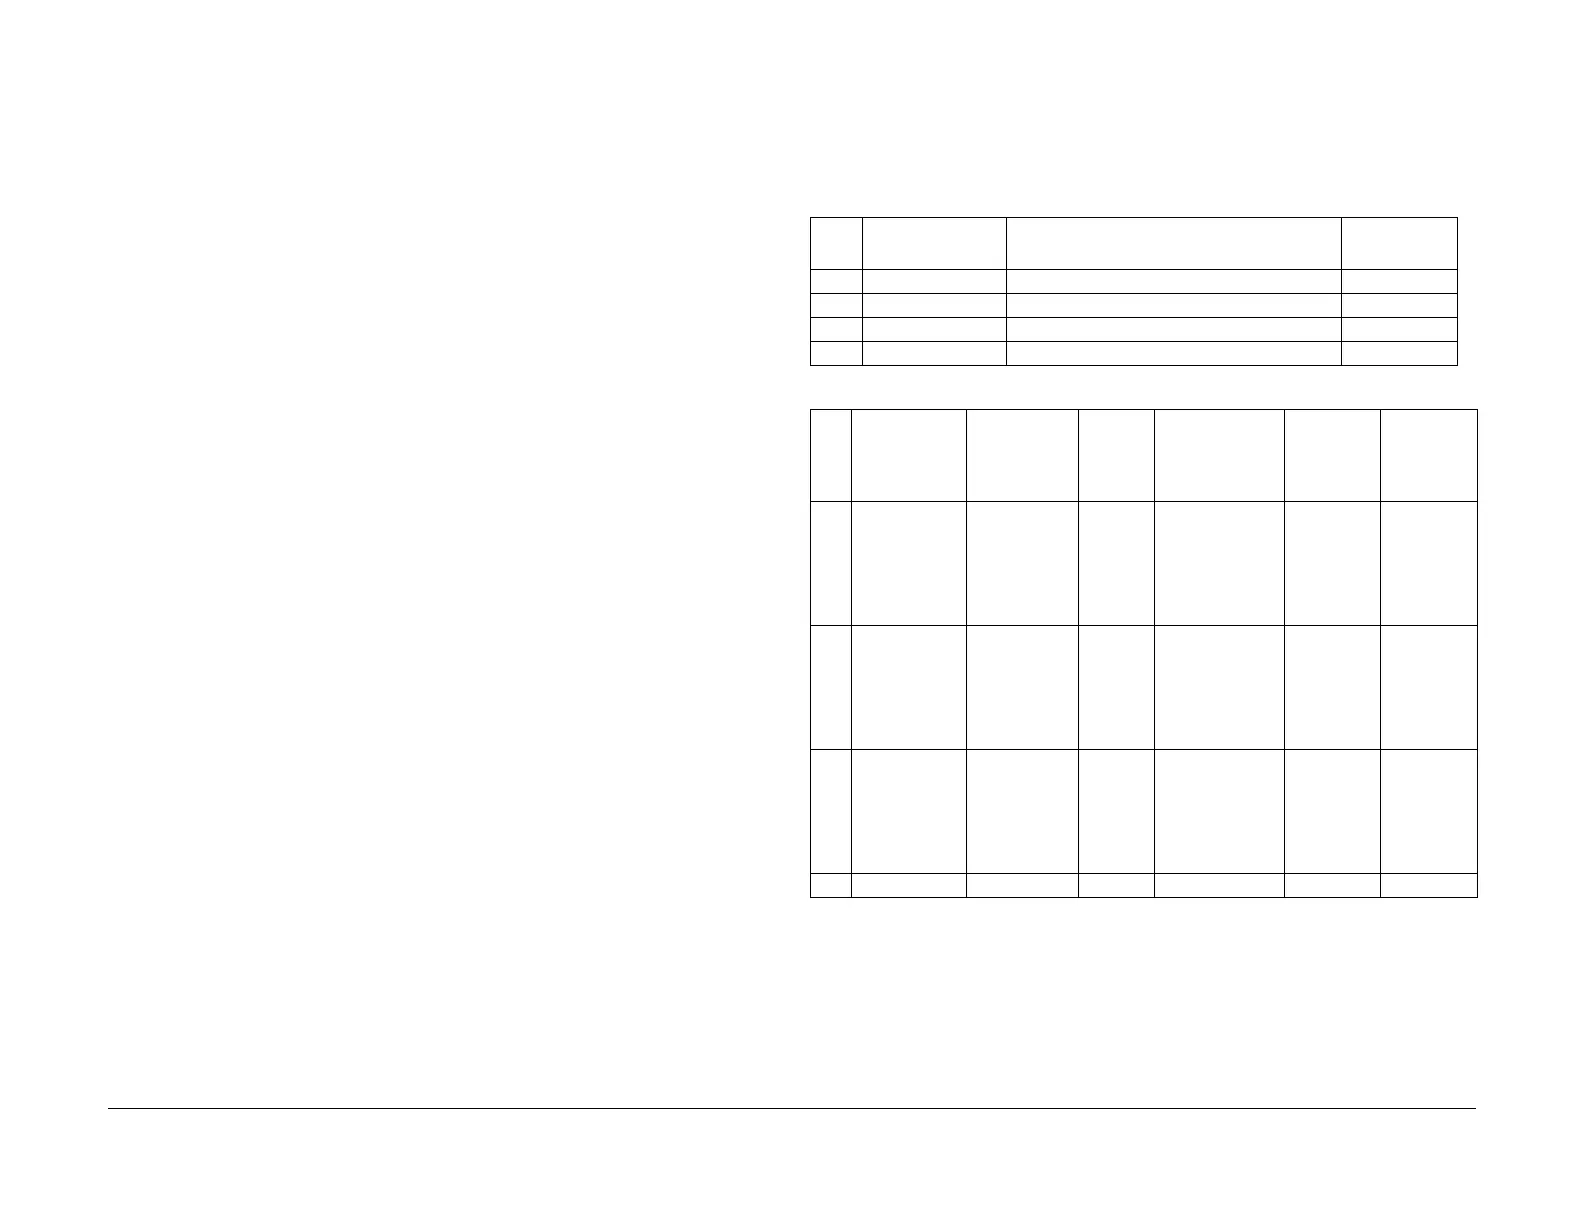
Table 1 Pattern Outline
No. Pattern Name Objective / Overview
Built-in Image
Sub
001 Horizontal Stripe Check operation around the ROS/Xero. IOT
002 All Black For isolating the problem IOT
003 All White For isolating the problem IOT
- No Paper Run For No Paper Run specified by the MF-UI. IOT
Table 2 Parameter settings available for pattern output
No. Name Image Size Tray
Paper Sizes
when using
MPT
Paper
Types
when using
MPT
Simp/Dup
001 Horizontal
Stripe
IOT generated
ROS/Xero-
graphics check
A3x17inch(*1) Tray 1:1
Tray 2:2
Tray 3:3
Tray 4:4
MPT:5
Cannot be speci-
fied
(Prints using
specified paper
sizes even when
using the MPT)
Plain Simp/Dup
002 All Black
IOT generated
ROS/Xero-
graphics check
A3x17inch(*1) Tray 1:1
Tray 2:2
Tray 3:3
Tray 4:4
MPT:5
Cannot be speci-
fied
(Prints using
specified paper
sizes even when
using the MPT)
Plain Simp/Dup
003 All White
IOT Generated
ROS/Xero-
graphics check
A3x17inch(*1) Tray 1:1
Tray 2:2
Tray 3:3
Tray 4:4
MPT:5
Cannot be speci-
fied
(Prints using
specified paper
sizes even when
using the MPT)
Plain Simp/Dup
- No Paper Run - Tray 1:1 - - Simp

 Loading...


