February, 2008
4-197
WorkCentre 5225, 5230
REP 22.6.2, REP 22.7.1
Repairs and Adjustments
Launch Version
NOTE: The screws do not thread into the Upper Chute. They are used like pins to secure
the Upper Chute in place.
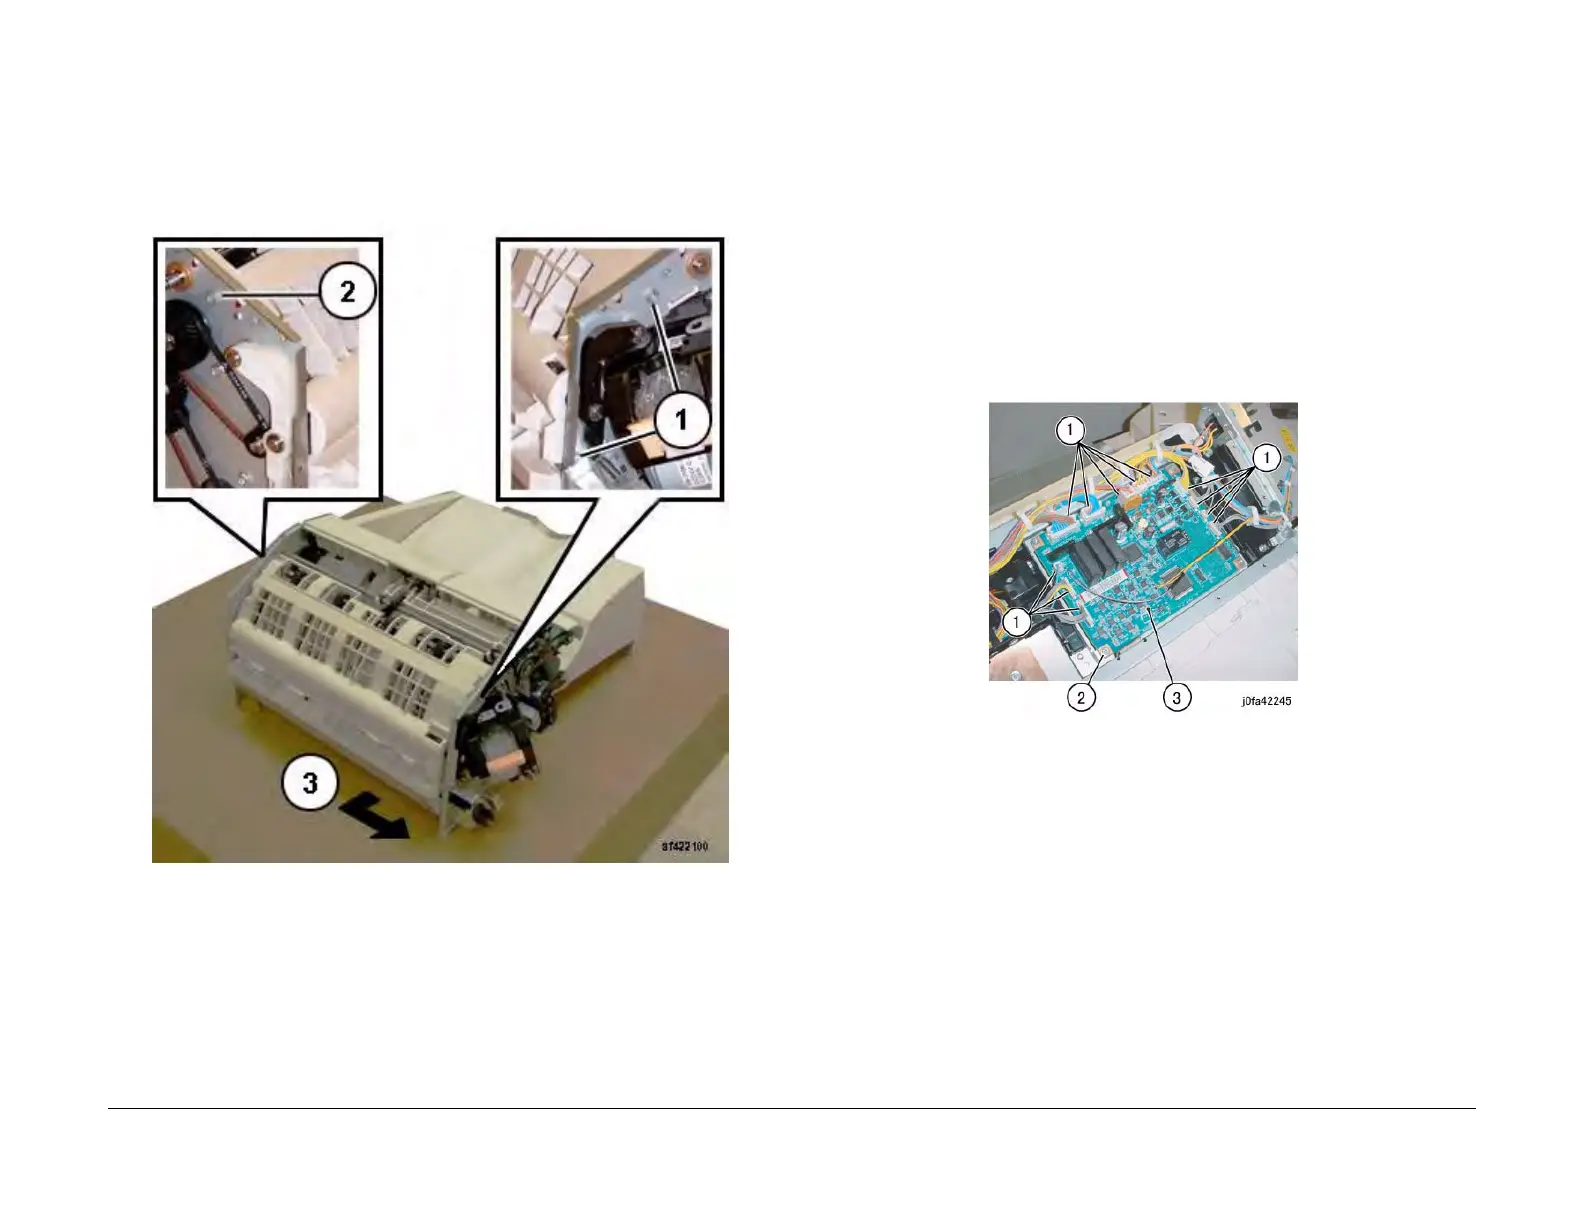
6. Remove the Upper Chute Assembly. (Figure 2)
(1)Remove Screws (2).
(2)Remove Screw.
(3)Carefully Remove the Upper Chute Assembly.
Figure 2 Removing the Upper Chute Assembly (af422100)
Replacement
1. Reverse the removal procedure for replacement.
NOTE: Ensure that the Paper Guides (PL 22.6) are not folded back on top of the Exit Roll
Assembly (PL 22.5).
REP 22.7.1 Finisher Control PWB
Parts List on PL 22.7
Removal
WARNING
To avoid personal injury or shock, do not perform repair or adjustment with electrical
power applied to the machine.
1. Remove the A-Finisher from the machine. (REP 22.1)
2. Turn over the Finisher.
3. Remove the Bottom Cover. (PL 22.2)
4. Remove the Finisher Control PWB. (Figure 1)
(1)Disconnect Connectors (12).
(2)Remove Screws (4).
(3)Remove Finisher Control PWB.
Figure 1 Removing the Finisher Control PWB (j0fa42245)
Replacement
1. Reverse the removal procedure for replacement.

 Loading...


