February, 2008
4-20
WorkCentre 5225, 5230
REP 3.1.1
Launch Version
Repairs and Adjustments
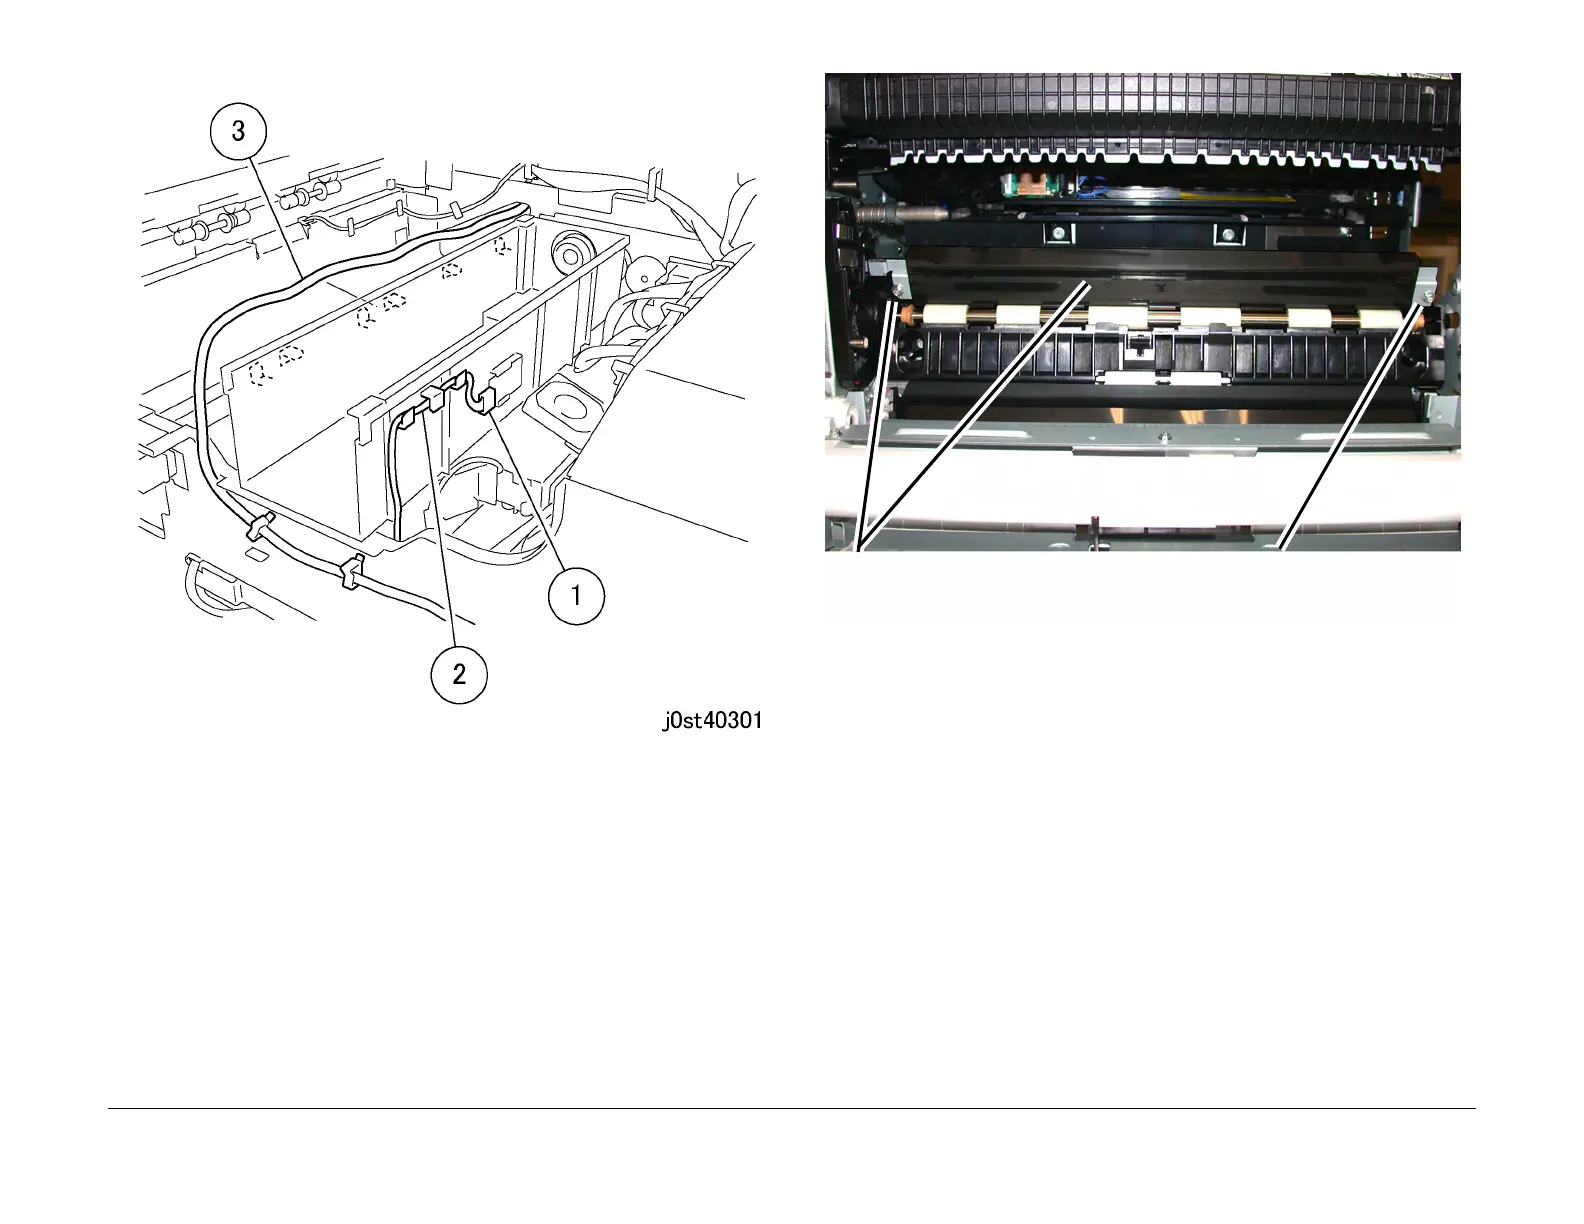
Figure 3 Disconnecting the connector (j0st40301)
5. Remove the ROS Shade assembly.
a. From the Left Hand side of the machine, remove the screw from the outboard end of
the shade.
b. Loosen the screw on the endboard end of the ROS Shade and slide the shade out-
board (toward the front) and remove.
Figure 4 Removing the ROS Shade Assembly
NOTE: There may be toner in the Toner Box and in the tube. If the Toner Box is turned upside
down or the tube is disconnected from the Toner Box, toner might spill out.
6. Remove the Toner Box. (Figure 5)
1.Loosen the screws (x2).
2.Remove the screw on the tube.
3.Remove the Toner Box.
1
Remove the screw (1)
2
Loosen the screw (1) and remove
the ROS Shade

 Loading...


