February, 2008
4-12
WorkCentre 5225, 5230
REP 2.4.1
Launch Version
Repairs and Adjustments
REP 2.4.1 Registration Unit
Parts List on PL 2.4
Removal
WARNING
To avoid personal injury or shock, do not perform repair or adjustment with electrical power
applied to the machine.
1. Disconnect the HCF (Paper Tray 6) and move it aside.
2. Remove the L/H Upper Cover Unit. (REP 2.6.2)
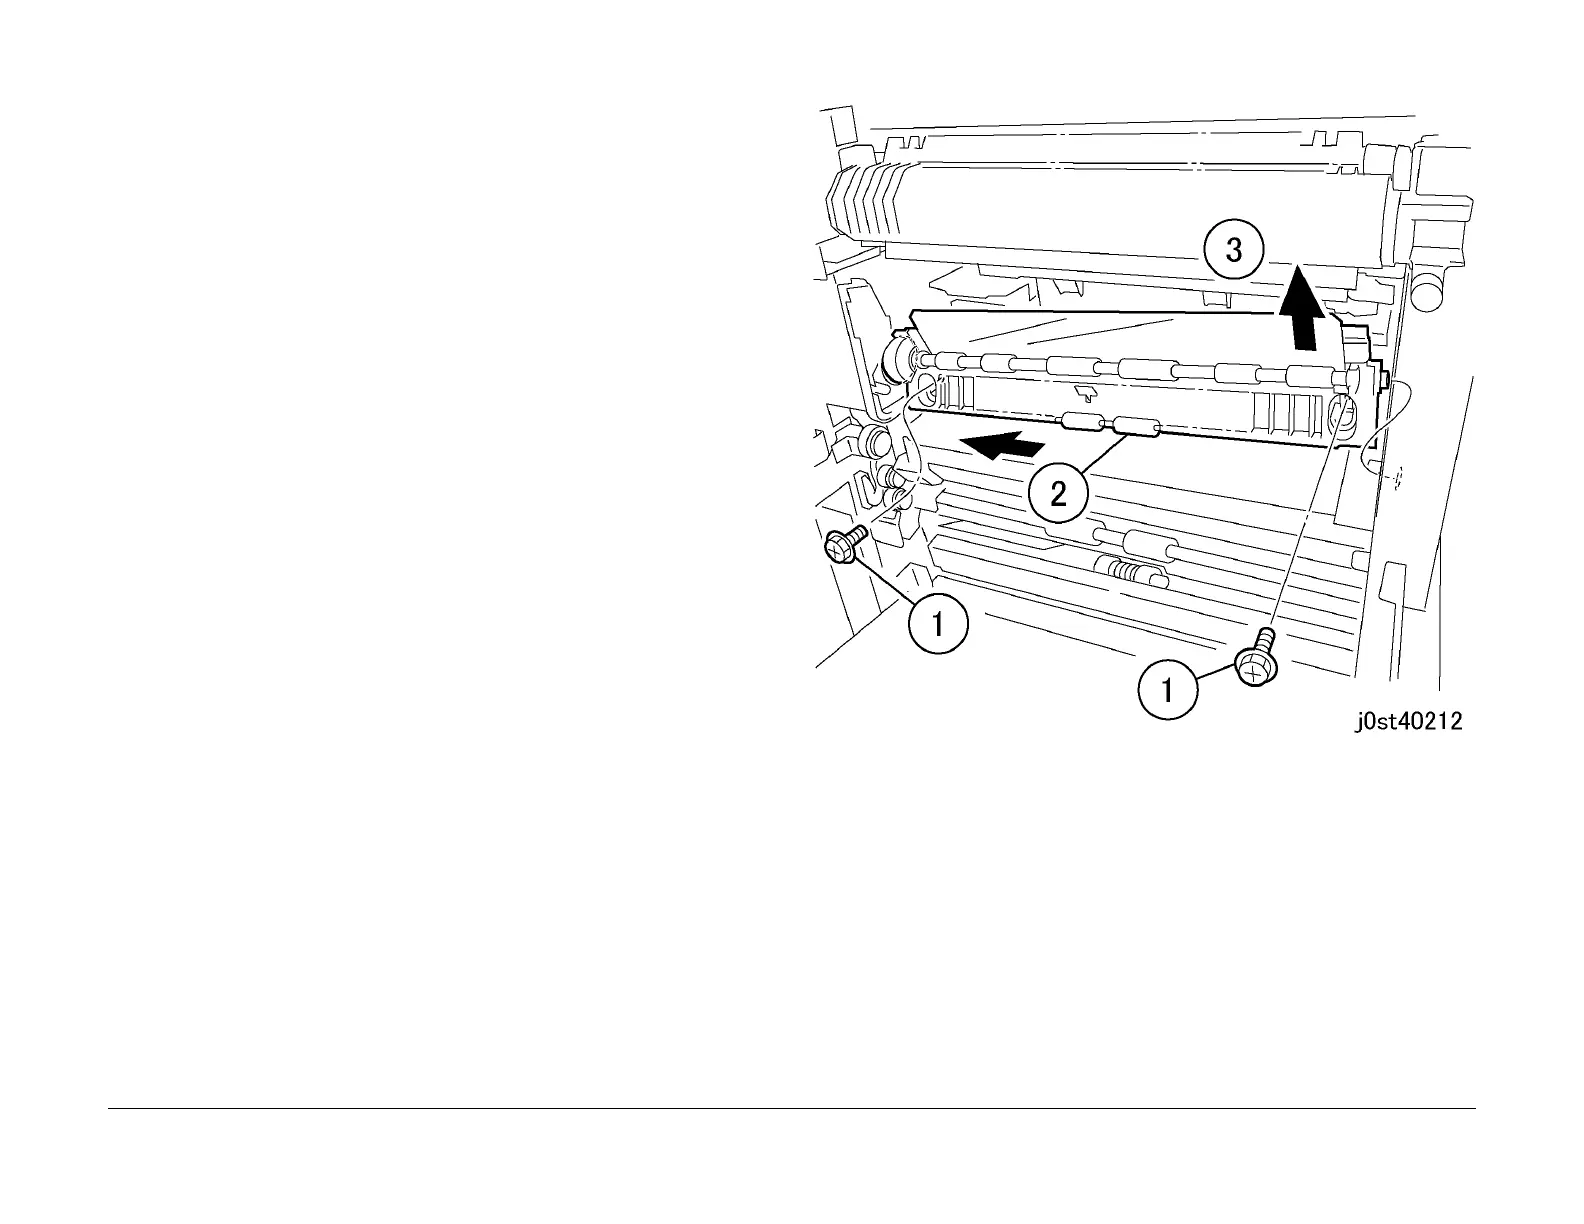
3. Free the Registration Assembly. (Figure 1)
NOTE: The connectors are connected on the inner side of the Registration Assembly.
1.Remove the screws (x2).
2.Slide the Registration Assembly to the rear.
3.Slightly lift up the Registration Assembly and remove it.
Figure 1 Setting free the Registration Assembly (j0st40212)
4. Remove the Registration Assembly. (Figure 2)
1.Turn over the Registration Assembly.
2.Disconnect the connector.
3.Disconnect the connector.
4.Release the Wire Harness from the clamp.
5.Remove the Registration Assembly.

 Loading...


