February, 2008
4-168
WorkCentre 5225, 5230
REP 16.3.7, REP 16.3.8
Launch Version
Repairs and Adjustments
REP 16.3.7 Booklet Left Cover
Parts List on PL 23.17
Removal
WARNING
To avoid personal injury or shock, do not perform repairs or adjustments with electrical
power applied to the machine.
1. Remove the Booklet Maker from the Finisher. (REP 16.3.2)
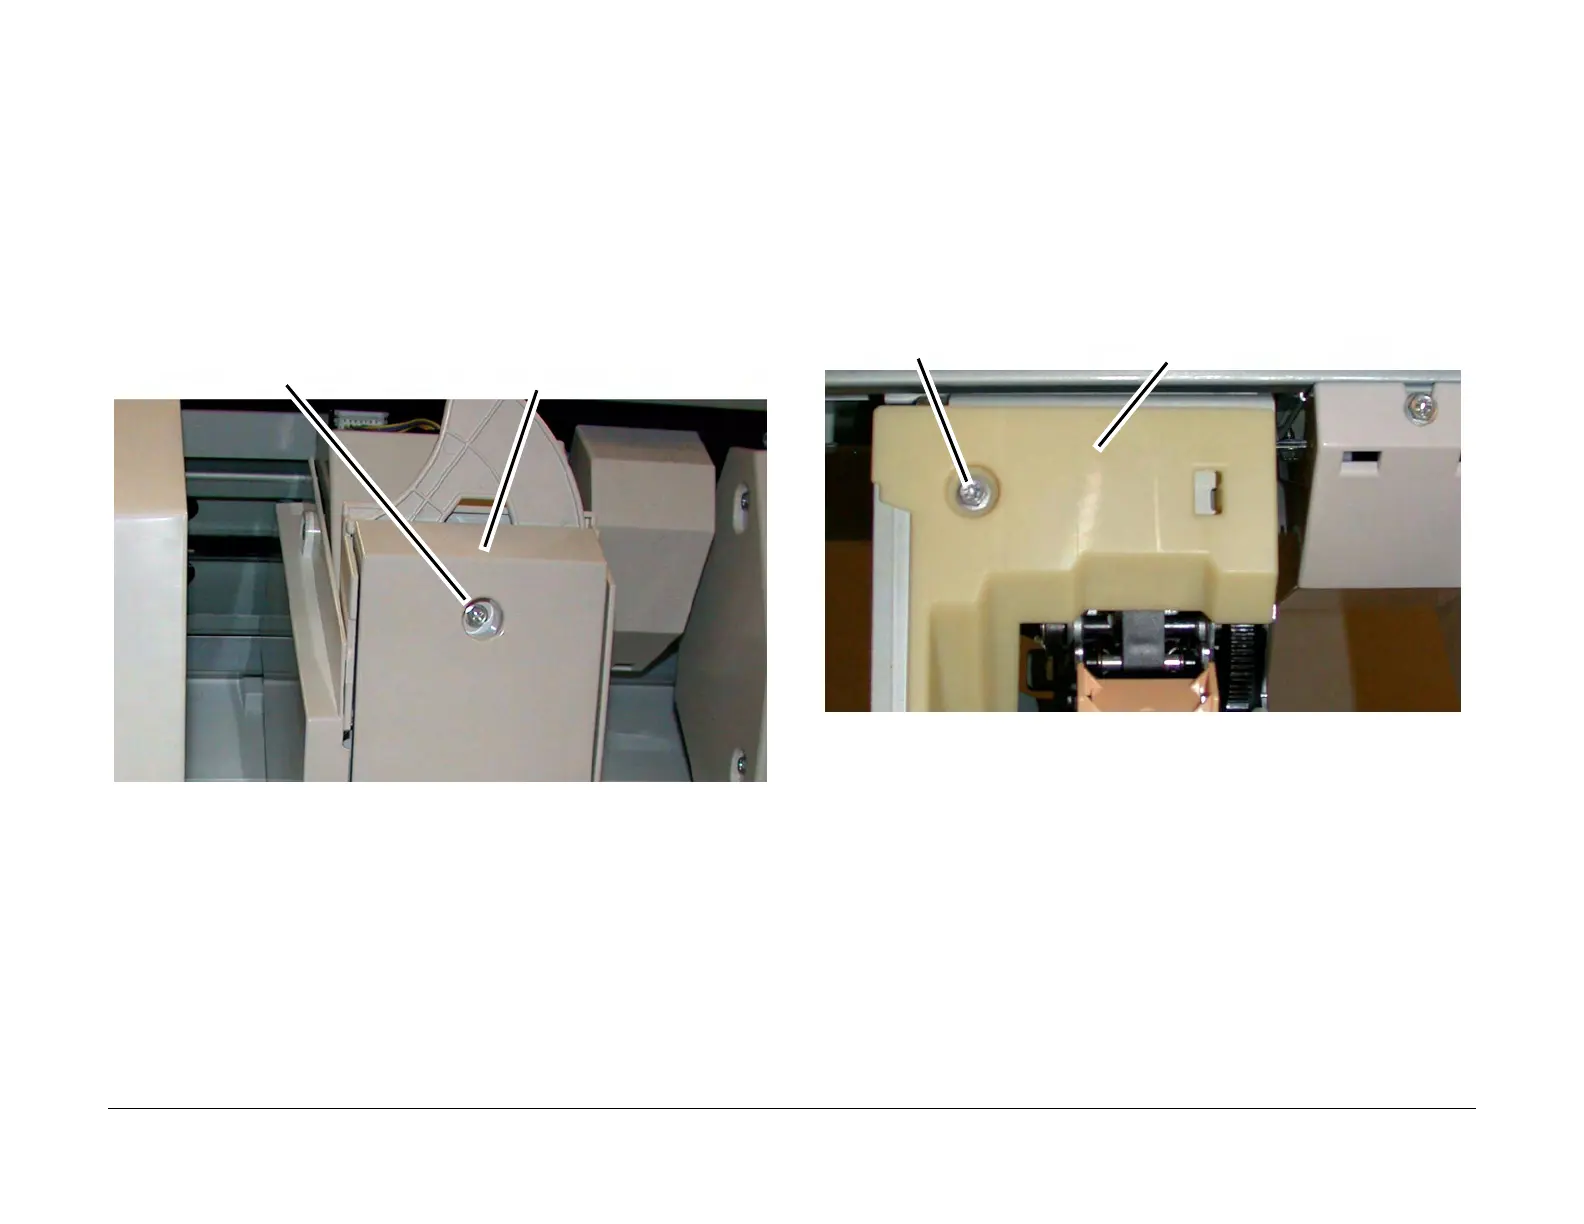
2. Remove the Booklet Maker Left Cover. (Figure 1)
3. Align the slots at the front and rear of the Booklet Maker Left Cover with the flats on the
Mounting Pins.
4. Move the Booklet Maker Left Cover by allowing the flats on the Mounting Pins to slide
through the slots in the Cover.
Figure 1 Removing the Stapler Lower Cover (j0st41695)
Replacement
1. Reverse the removal procedure for replacement.
REP 16.3.8 Booklet Front/Rear Stapler
Parts List on PL 23.19, PL 23.20
Removal
WARNING
To avoid personal injury or shock, do not perform repair or adjustment with electrical
power applied to the machine.
1. Remove the Booklet Maker Assembly from the Finisher. (REP 16.3.2)
2. Remove the Stapler Guard. (Figure 1)
a. Remove the Screw (1).
b. Remove the Stapler Guide.
Figure 1 Removing the Stapler Guard (j0st41677)
Screw Stapler Lower Cover
Screw
Stapler Guide

 Loading...


