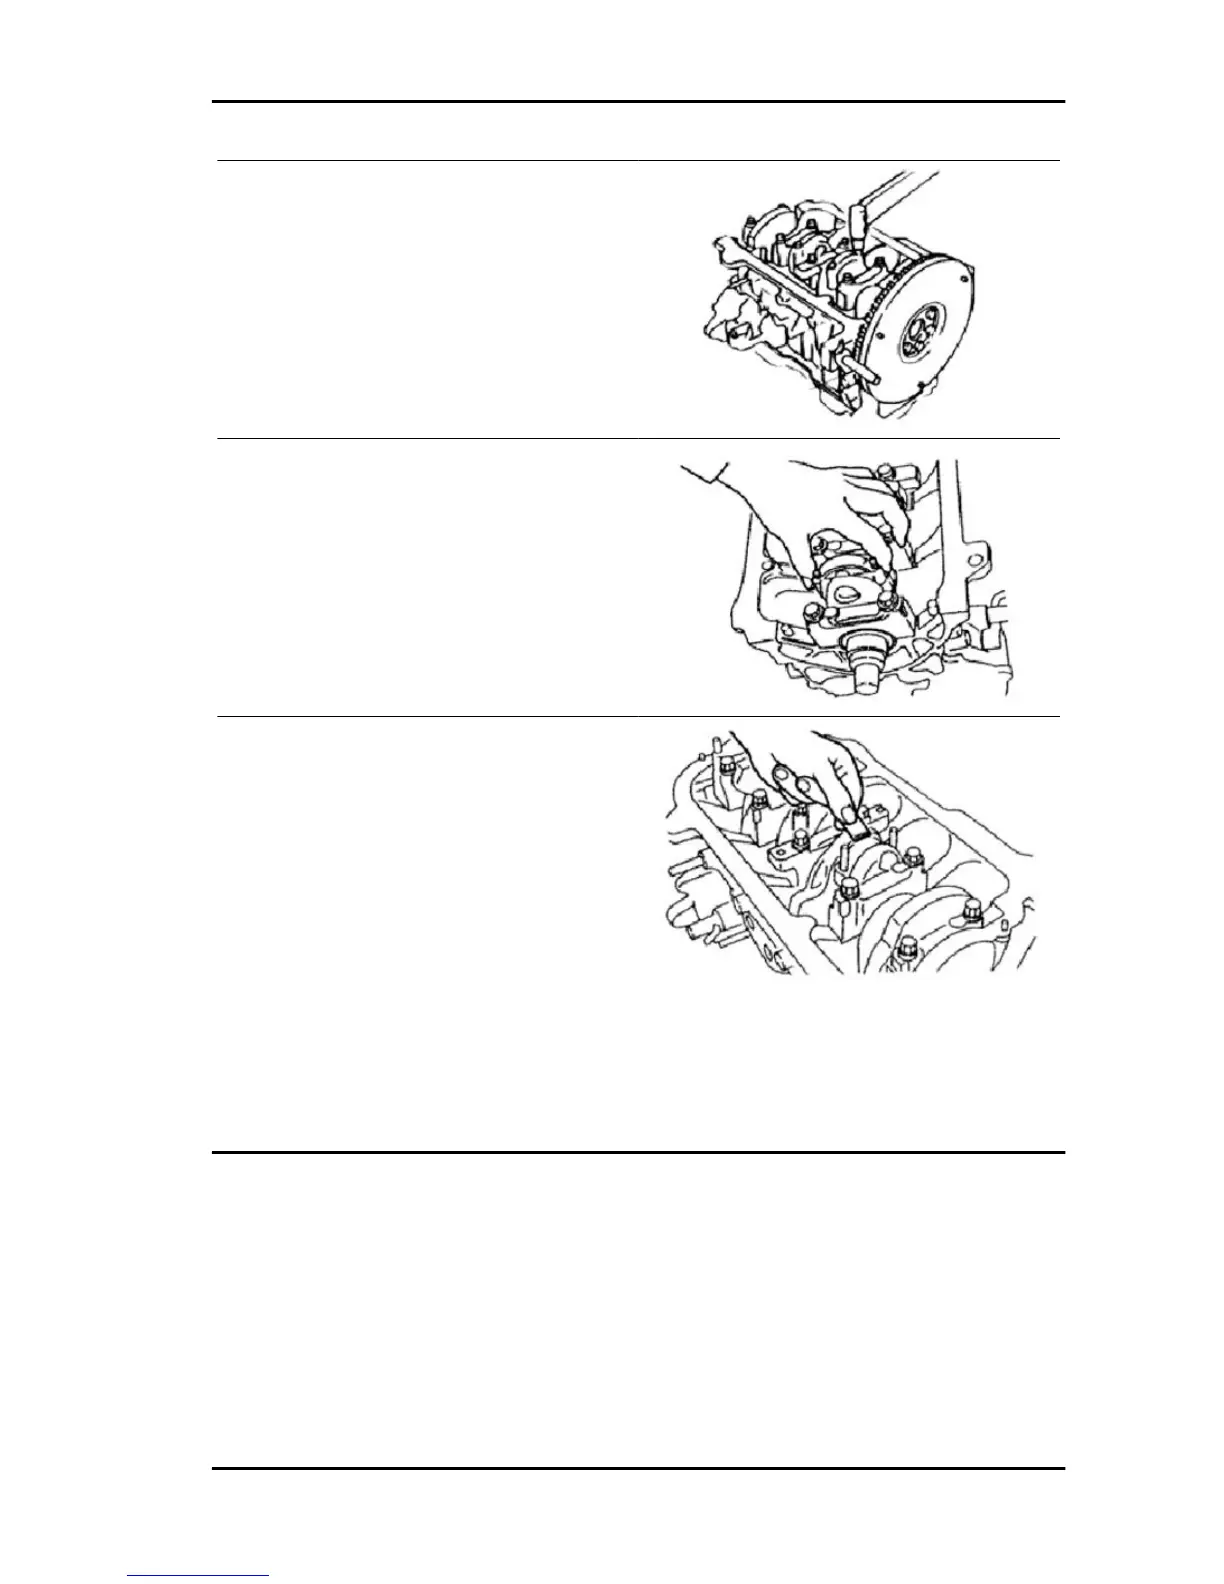
7. Fit the connecting rod, making sure that the
coupling marks are aligned. Tighten the connect-
ing rod nuts, operating in two or three stages to
guarantee that they are tightened evenly to the
specified torque value.
- LUBRICATE THE NUTS BEFORE FITTING.
Locking torques (N*m)
Connecting rod - Connecting rod cap 34÷44
8. Loosen the connecting rod cap nuts, operating
in two or three stages to guarantee torque uni-
formity. then remove the connecting rod bearing
cap.
9. Measure the "plastigauge" thickness at its max-
imum point.
Characteristic
Clearance
0.020 ÷ 0.044 mm
If clearance does not comply with the specification value, measure the connecting rod pin diameter and
select a bushing with a suitable thickness, or replace the crankshaft.
10. Remove the "plastigauge" from the connecting rod pin.
11. Measure coupling clearances of the bushings of other connecting rods.
Connecting rod bearing thickness selection.
1. Read the classification number of the connecting rod head diameter.
- REPLACE THE BEARINGS WHEN ALL THE INSPECTIONS ARE FINISHED. THE CONNECTING
ROD CAN BE CLASSIFIED IN THREE CATEGORIES: 4, 5, 6.
PORTER 1.3 16V Engine
EN - 307
 Loading...