2008T Troubleshooting Guide
P/N 490292 Rev. A
FINAL CHECKS BEFORE RETURNING THE MACHINE TO CLINICAL SERVICE
1) Remove all test equipment from the distribution board and ENSURE all female connectors are plugged
in properly.
2) Reinstall the distribution board cover.
3) To help locate future leaks clean spills from hydraulic drawer and floor.
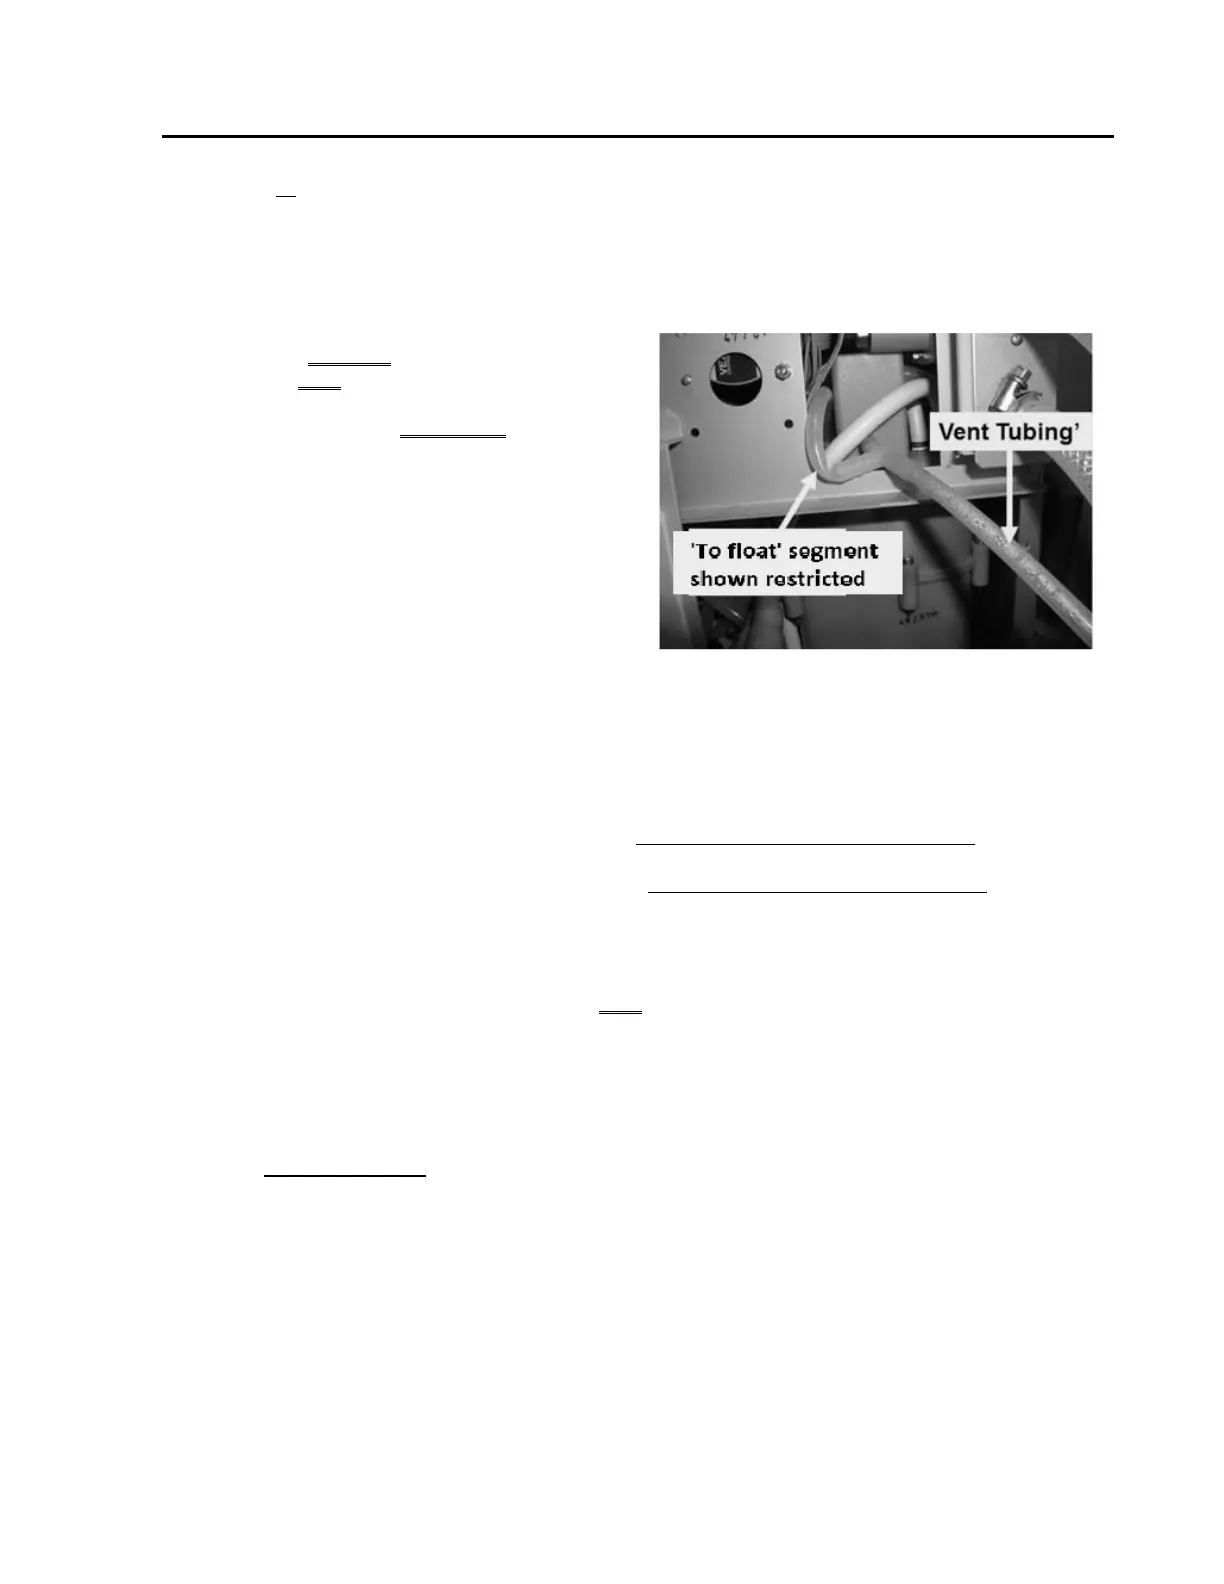
4) Figure right, ENSURE the ‘To Float’ Vent Tubing
segment is NOT restricted as shown!
5) Return the rear panels ENSURING the Vent
Tubing remains extended out about six (6)
inches!
6) Turn the machine on and ENSURE the audible
alarm reports during “System Initialization”.
7) Return to Dialysis Program (“Select Program” →
‘Dialysis’ → ‘Enter’)!
8) Allow [Temperature] to stabilize between 35.1 and 38.9° C; [Conductivity] to between 13.0 and 14.2
mS.
9) From the Home screen, set [Dialysate Flow] to 800 ml/min and press ‘Enter’!
10) ENSURE the external flow indicator’s ‘bob’ is rising and falling in the sight tube!
11) Check Temperature, Conductivity and pH per the Preventative Maintenance Procedures booklet.
12) Perform the automated Alarms/Pressure Tests per Preventative Maintenance Procedures booklet. Do
NOT return the machine to clinical service unless all tests pass!
13) Place the acid connector into a jug of water and allow [Conductivity] to fall to 10 mS.
14) ENSURE the external flow indicator’s ‘bob’ is NOT moving (i.e. Valve #24 is closing).
15) If clinic procedures requires it perform an electrical safety check (i.e. leakage current).
16) Perform Acid Clean and / or Bleach or Heat Disinfection per clinic policy.
End of ‘Final Checks’

 Loading...


