2008T Troubleshooting Guide
P/N 490292 Rev. A
CLEAN- 7.4.0 ISOLATE VALVE SOLENOIDS
a) Set your volt meter to RESISTANCE (Ω).
b) Four (4) Valve solenoids will be checked. Perform parts c through h on: 1) Valve #24; 2) Valve
#38; 3) Valve #39; 4) Valve #43.
c) Unplug one of the four (your choice) from the distribution board.
d) Using a flashlight, check inside its vacant distribution board
position for corrosion or damage!
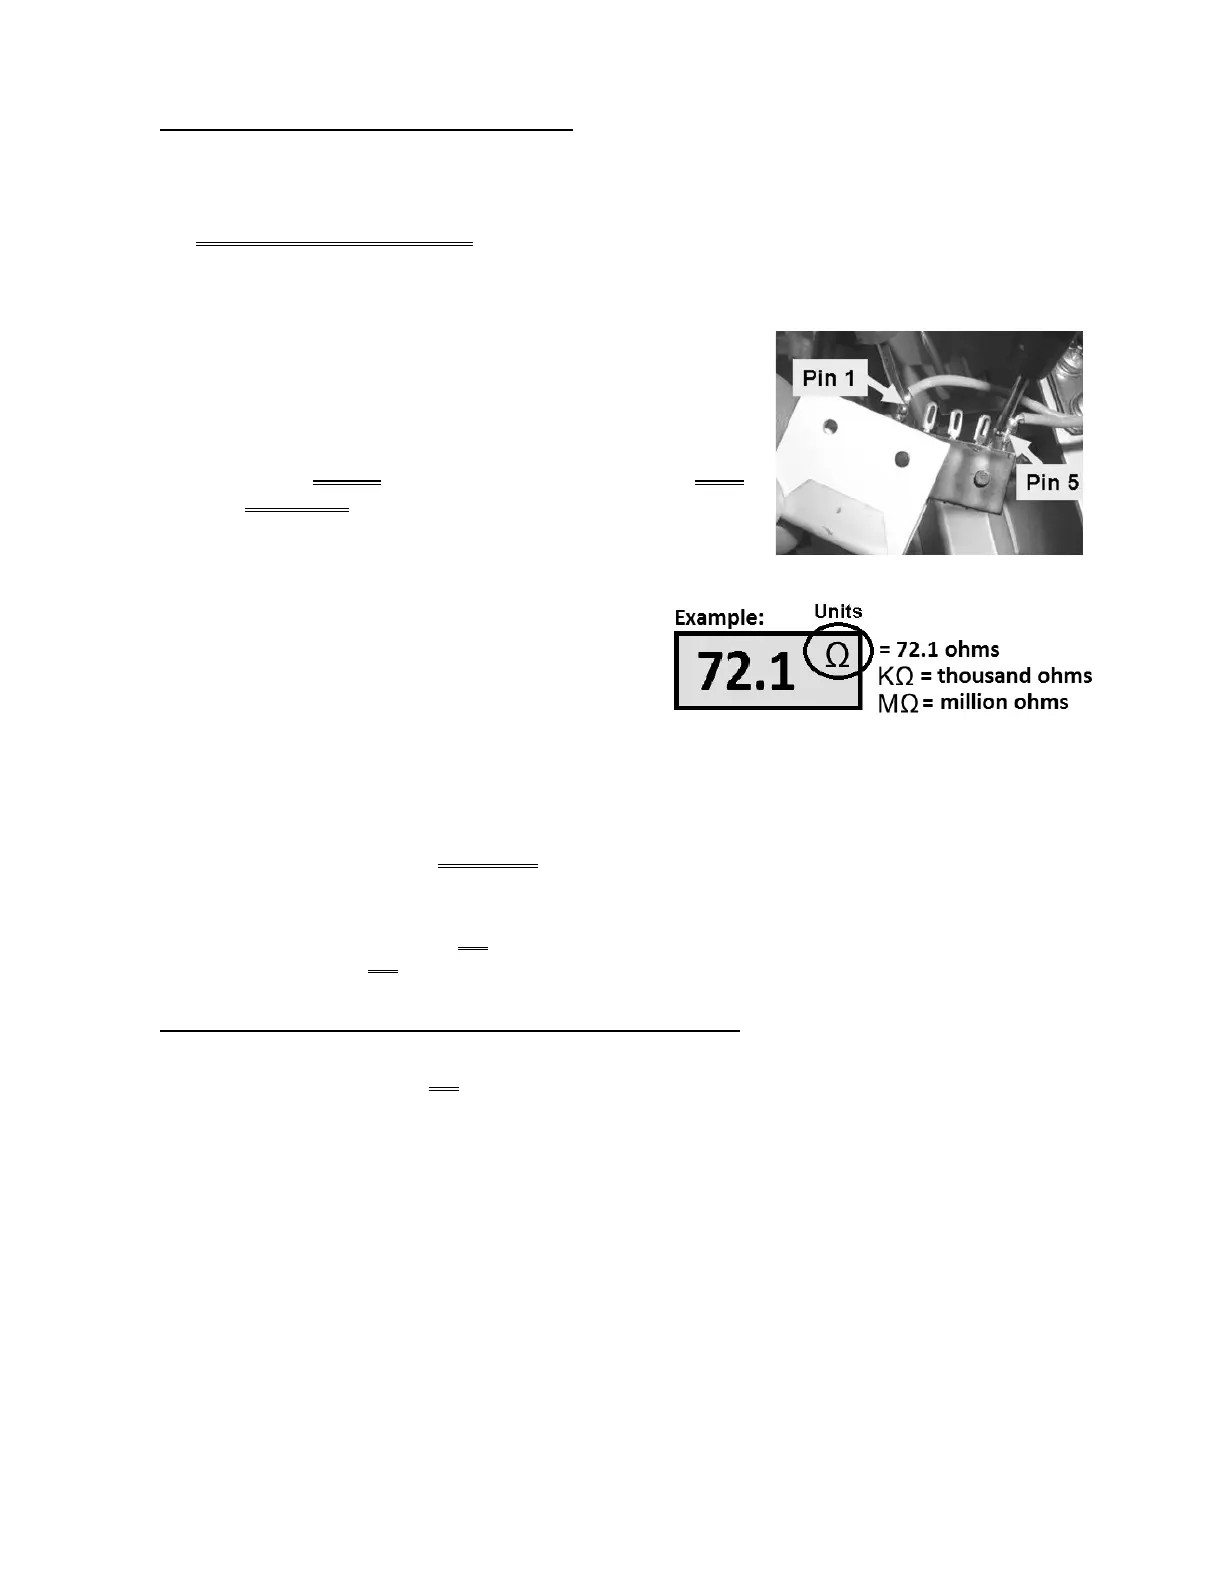
e) Figure right, open the female connector cap.
d)
The wires MUST be connected between the TOP
and BOTTOM terminals! If NOT, this is the
problem!
e) Where the wires are connected, place one meter lead on one terminal and the other lead on the other
terminal.
f) Figure right, a good solenoid measures between
40 and 100 Ω! READ the UNITS display also!
g) If the valve checks good plug it back into its distribution board position!
h) Does this solenoid check between 40 and 100 Ω?
Yes Solenoid between 40 and 100 Ω! Repeat parts b THROUGH h for ALL FOUR valves! If
(and ONLY if) ALL FOUR solenoids are between 40 and 100 Ω, see procedure number
CLEAN- 7.4.1 (page 209).
No The valve solenoid OR its blue wire harness is bad. Replace the valve then return to Heat
Disinfect OR Rinse and check for a Valve Error!
CLEAN- 7.4.1 ALL SOLENOIDS BETWEEN 40 AND 100 OHMS
a) Return to Heat Disinfect OR Rinse!
b) Call debug screen 0. If debug does not appear press ‘Esc’ then call screen 0.
c) Watch the 2
nd
window down, Valve Error, for up to five (5) minutes. Does it EVER = 1 for longer than
two (2) seconds?
Yes Valve Error = 1 longer than two (2) seconds! THREE (3) possible bad components:
1) Bad Actuator-Test Board OR; 2) Bad Actuator cable OR; 3) Bad distribution board.
No Valve Error REMAINS = 0. You may have solved the Valve Error problem above. If (and
ONLY if) a Flow Error reoccurs see (ABOVE) procedure number CLEAN- 1.0.5
(
page 169).

 Loading...


