2008T Troubleshooting Guide
P/N 490292 Rev. A
AUTOTEST- 5.0.0 EXTERNAL METER PRESSURE IS GOOD / CONTINUE CALIBRATION
a) ENSURING the meter is between -245 and -255 mmHg, press ‘Enter’.
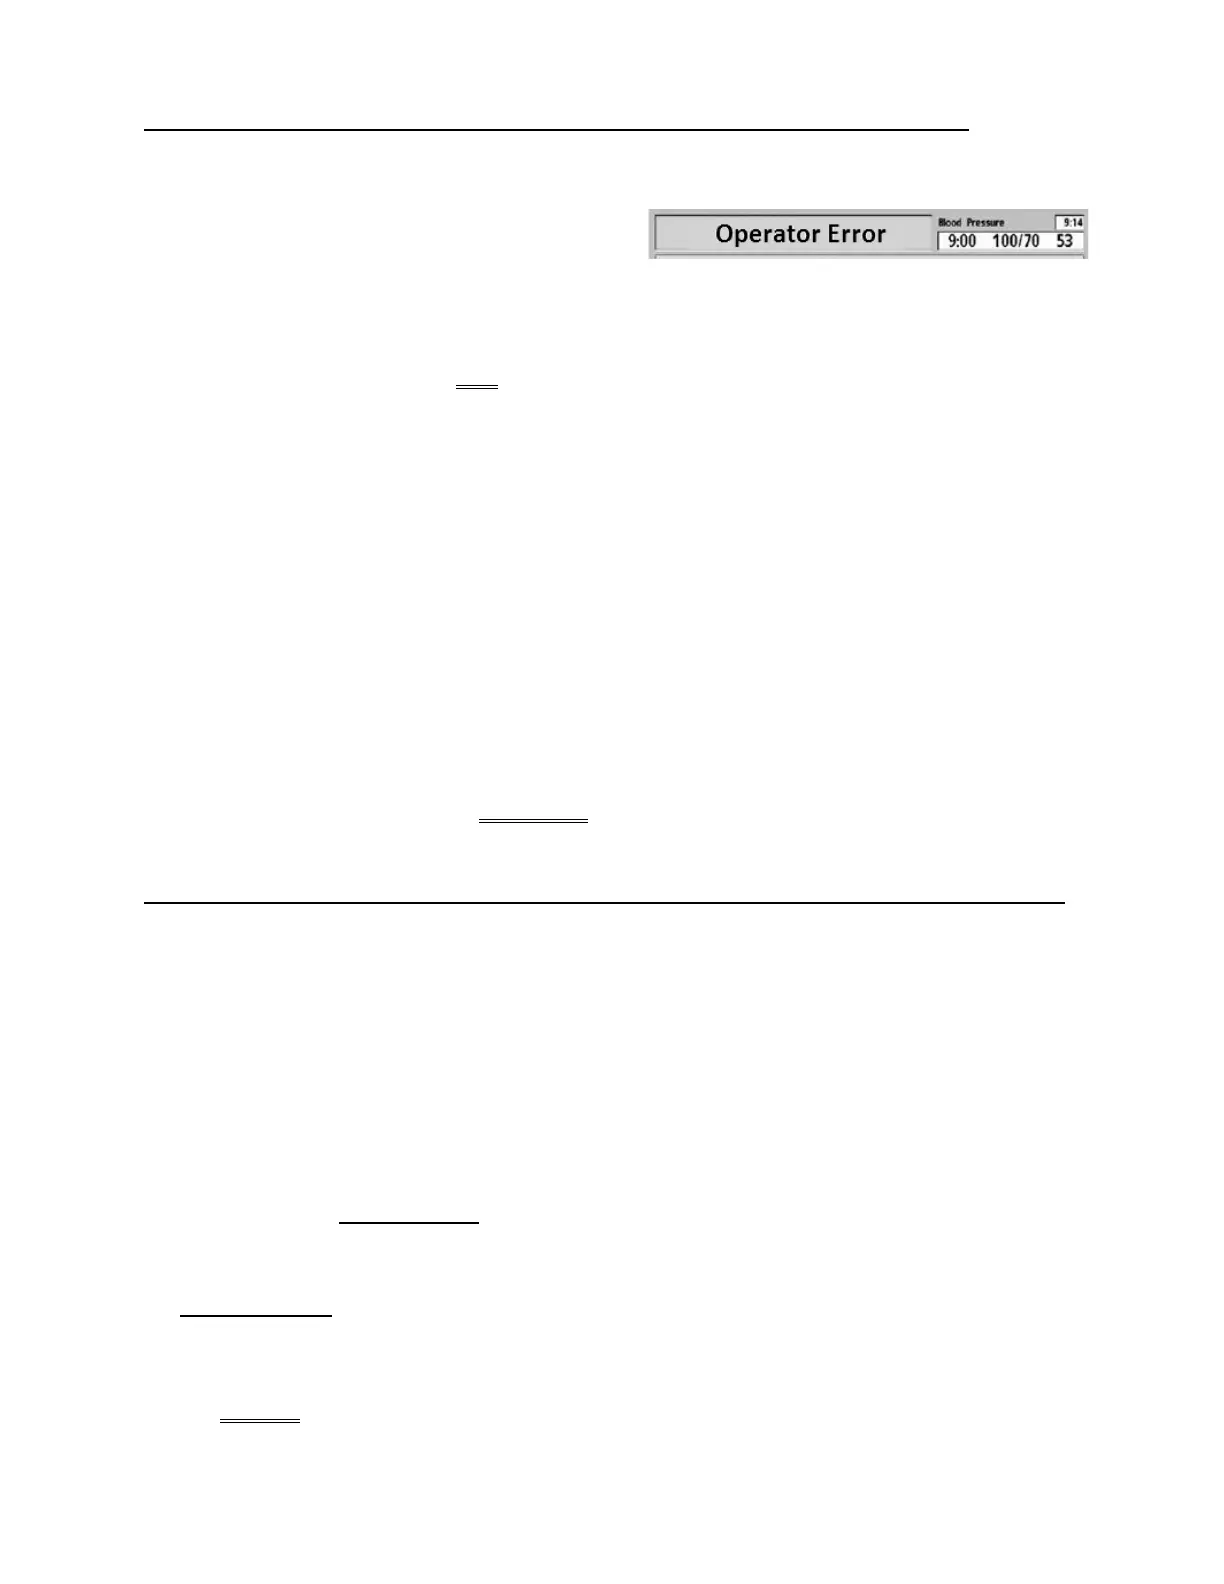
b) Figure right, TWO (2) possible scenarios based on
if an “Operator Error” banner occurs:
1) IF (and ONLY if) “Operator Error” occurs: See procedure number AUTOTEST- 6.0.0 (page
576).
2) IF “Operator Error” does NOT occur: All systems that may cause multiple valve leaks are
checking okay! Perform parts a THROUGH h below:
a) Remove the Four- Way Assembly and return the dialyzer connectors to the shunt door.
b) Press the screen’s ‘Dialysate Off’ button. Set it to ‘Dialysate Flow On’ and press ‘Enter’
c) Press ‘Enter’ to save the calibration.
d) Turn the machine OFF!
e) Return to Dialysis Program (“Select Program” → ‘Dialysis’ → ‘Enter’).
f) From the Home screen, set the [Dialysate Flow] window to 800 ml/min and press ‘Enter’!
g) ENSURE the flow and deaeration motors are rotating.
h) Read this step before performing! Repeat the Diagnostic Leak Tests on the balancing chamber
valves (#31 through #38) HOWEVER, this time if multiple valves fail. TWO (2) possible bad
problems: 1) Bad Actuator-Test Board; 2) Multiple leaking valves.
AUTOTEST- 6.0.0 “OPERATOR ERROR” OCCURRED / TROUBLESHOOT DIALYSATE PRESSURE
a) Turn the machine OFF.
b) Turn the machine on and return to Dialysis Program (“Select Program” → ‘Dialysis’ → ‘Enter’)!
c) From the Home screen, press the [Dialysate Flow] window.
d) Set [Dialysate Flow] to 800 ml/min and press ‘Enter’!
e) Return to Service mode.
f) Read before performing! Return to (ABOVE) procedure number AUTOTEST- 3.0.0 (
page 574). If
(and ONLY if) you return to AUTOTEST- 6.0.0, because “Operator Error” reoccurs, swap in the listed
components (see Component List below), one at a time, in between returning to procedure number
AUTOTEST- 3.0.0 (page 574) until “Operator Error” DOES NOT indicating the last component swapped
in is bad!
Component List
1) Dialysate Pressure Transducer #9
a
; 2) Sensor Board; 3) Actuator-Test Board; 4) Functional Board;
5) Sensor Board cable; 6) Distribution board.
a
To LOCATE Transducer #9 refer to Figure 6 (page 22);

 Loading...


