2008T Troubleshooting Guide
P/N 490292 Rev. A
DVF- 4.2.2 BOTH MEASUREMENTS BETWEEN 40 AND 100 Ω
a) Turn the machine on.
b) Return to Dialysis Program (“Select Program” → ‘Dialysis’ → ‘Enter’)!
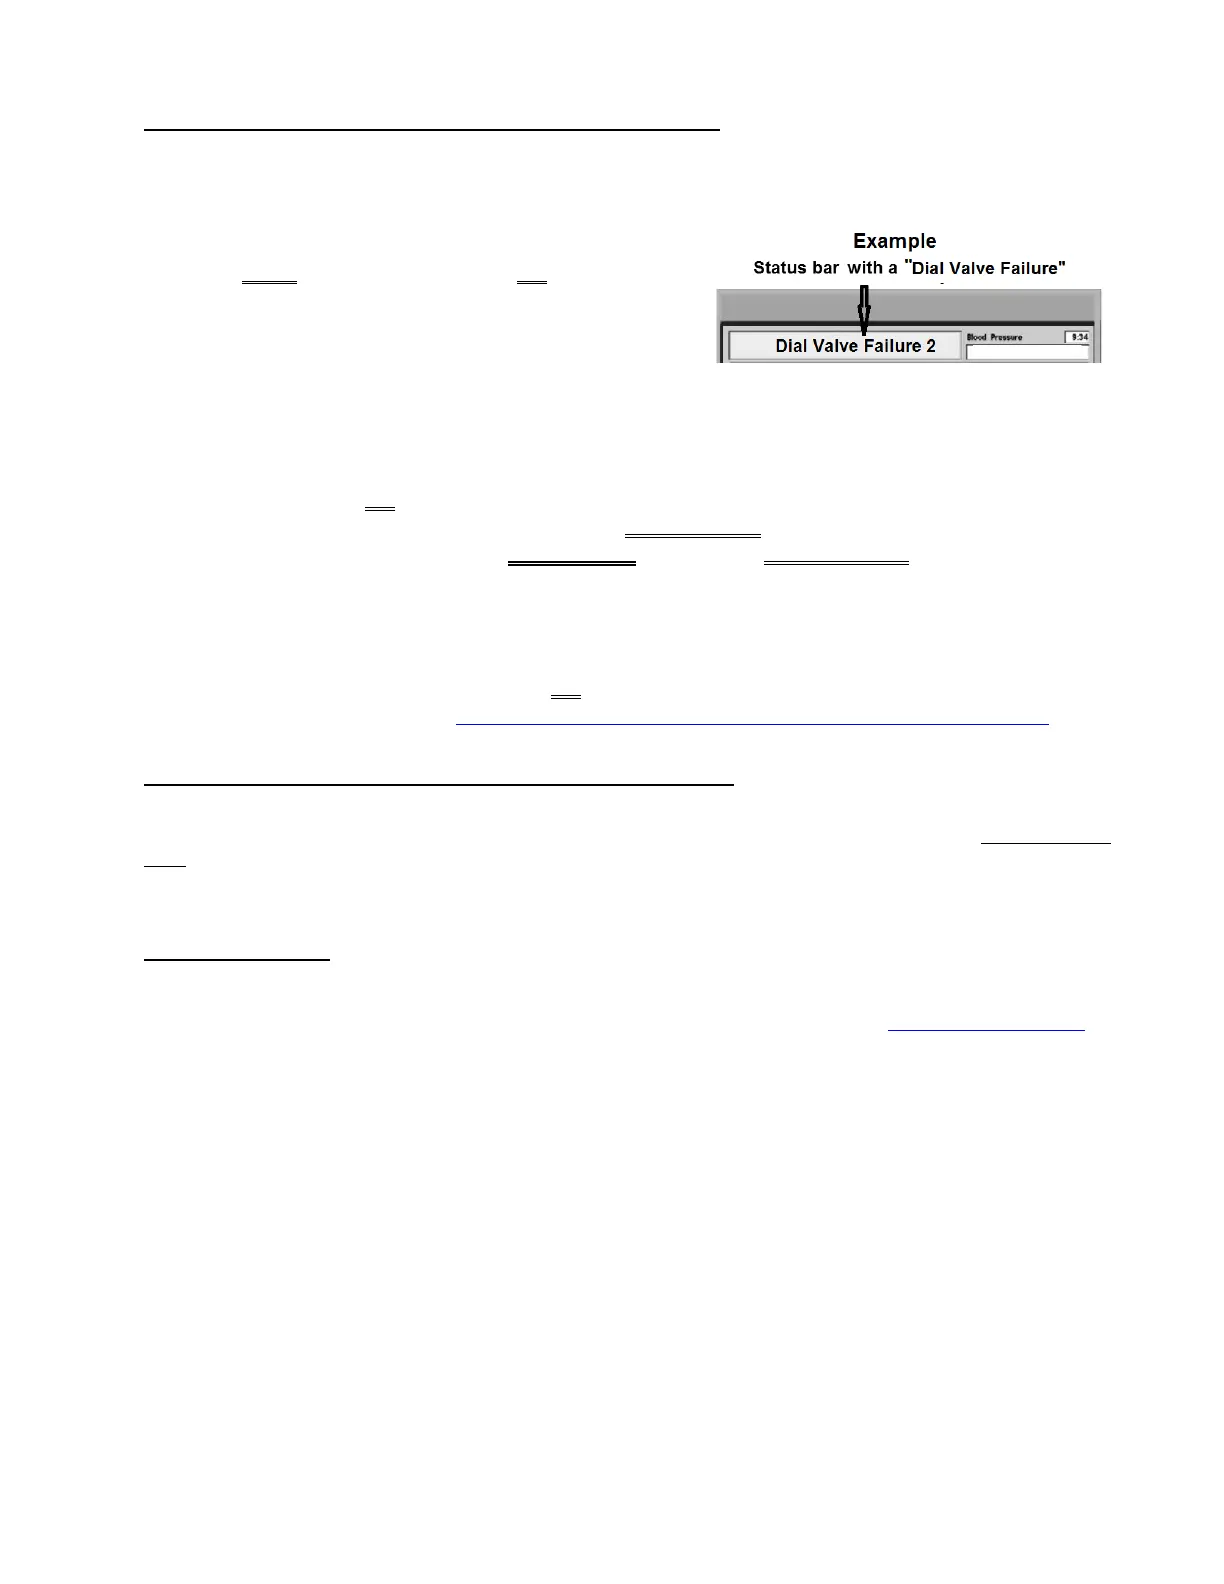
c) If (and ONLY if) a “Dial Valve Failure” OR “Act Byp Valve
Fail” alarm banner reoccurs see procedure number
DVF- 4.3.0 (page 718). If neither alarm occurs allow five
(5) FULL minutes BEFORE continuing to part d!
d) Call debug screen 1. Is VERR (right column, bottom) = 0?
Yes VERR = 0! See (ABOVE) procedure number DVF- 2.1.0 (
page 715).
No VERR = 1 OR more! Call debug screen 0. Ignoring Flow Error (TOP window), for one (1)
minute, watch the 2
nd
window down, Valve Error! Ignoring a ‘blink to 1’ that lasts less
than one (1) second, does Valve Error EVER = 1 for LONGER THAN two (2) seconds?
Yes Valve Error = 1 for LONGER THAN two (2) seconds! See procedure number
DVF- 4.3.0 (page 718).
No Valve Error = 0 OR ‘blinks to 1’ for less than one second! Proceed to
page
213, TROUBLESHOOTING VALVE ERRORS IN DIALYSIS PROGRAM
DVF- 4.3.0 VALVE ERROR = 1 LONGER THAN TWO SECONDS
Assuming all procedures were performed correctly, THREE (3) possible bad components (see COMPONENT
LIST below). Swap in each, one at a time, and in between return to Dialysis Program to test the new
component until debug screen 1’s VERR remains = 0 indicating the last component swapped in is the
problem.
COMPONENT LIST: 1) Actuator-Test Board; 2) Functional Board
1
; 3) Distribution board.
1
To prevent “Cond Offset Failure”, place the machine into T and C Mode (refer to OPERATING MODES,
page 19)).

 Loading...


