2008T Troubleshooting Guide
P/N 490292 Rev. A
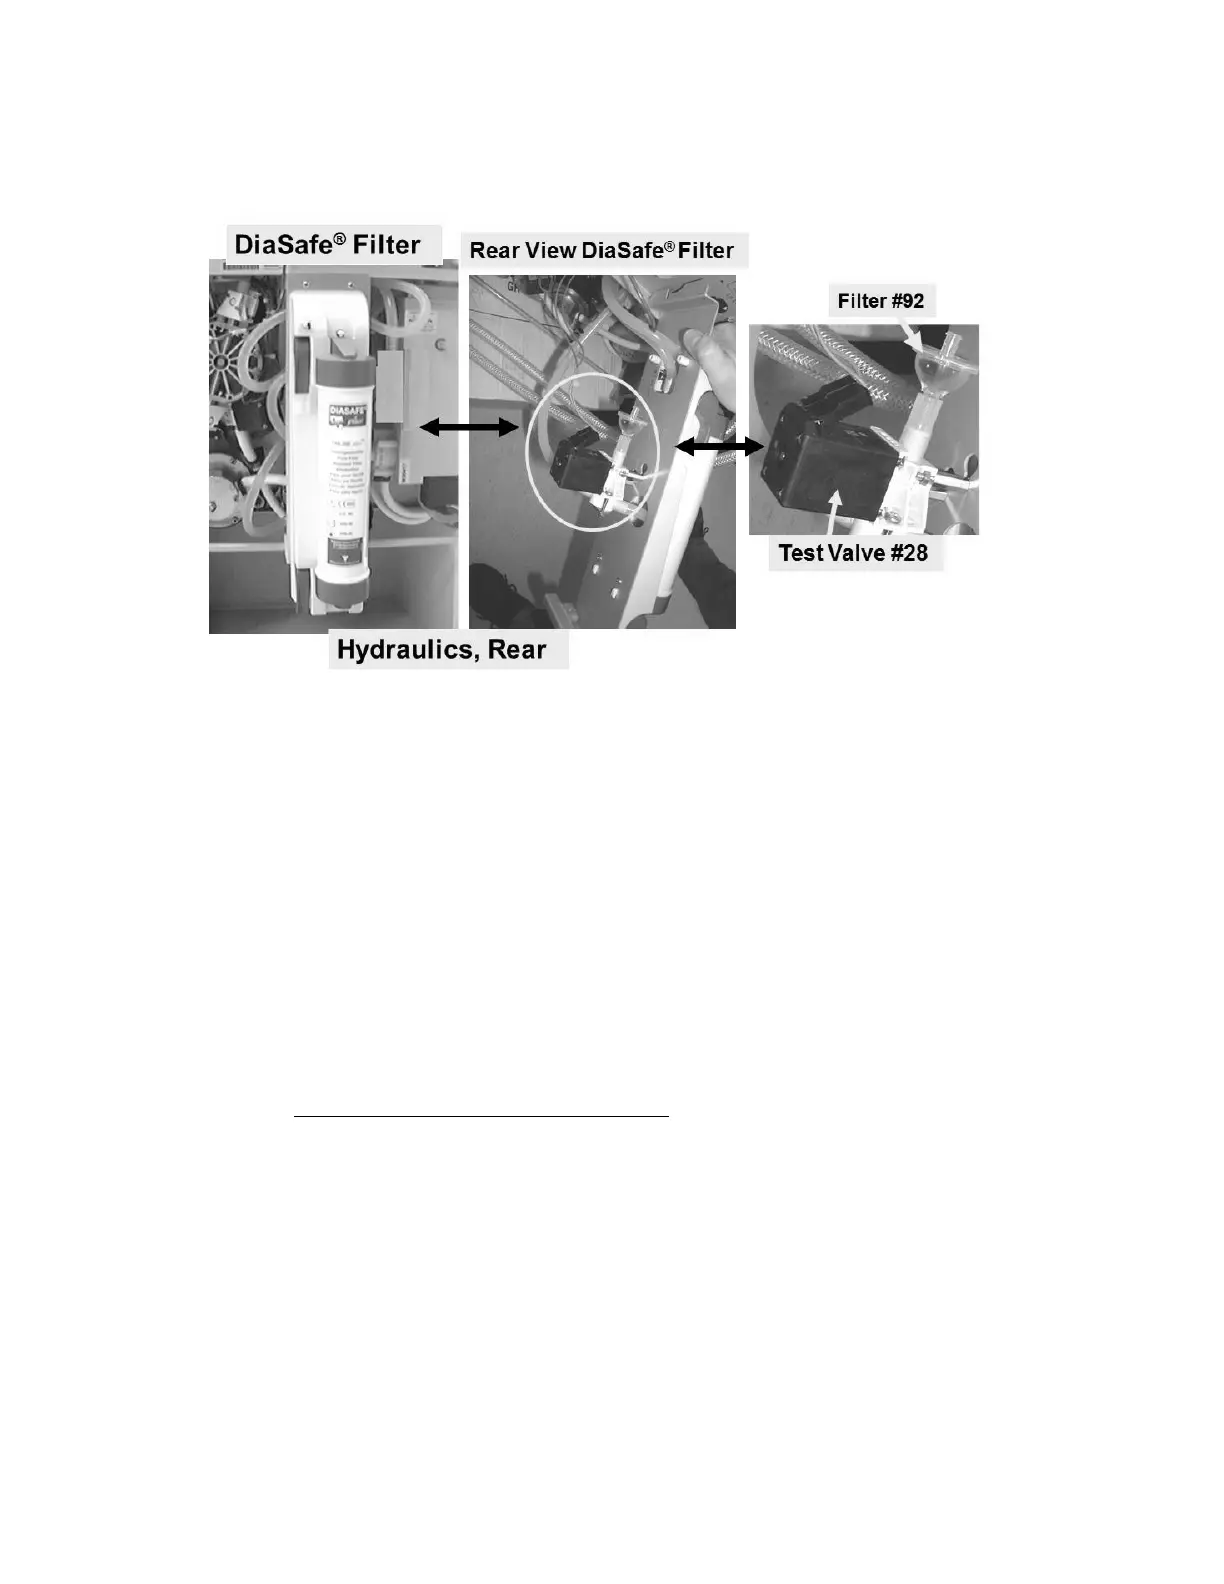
4. Per the Figure below, check the DiaSafe
®
filter’s headers. If no leaks continue to step #5.
5. Look for small leaks, from the tubing and tubing fittings, INSIDE the DiaSafe
®
housing! If no leaks
continue to step #6.
Figure 82 – DiaSafe
®
Filter / Housing Leak Tests
6. Per the Figure above, disconnect Filter #92’s* tubing from Test Valve #28 to see the valve nozzle. Fluid
output from the nozzle?
*NOTE Water inside Filter #92 does NOT NECESSARILY mean Valve #28 is leaking!.
Yes Valve #28 leaking! Proceed to
page 516, procedure number TMP- 9.0.0.
No Reattach Filter #92 then continue to step #7.
7. Allow three (3) minutes then REPEAT steps #2 through #6 to locate a potential VERY slow leak. If no
leaks are located continue to step #8.
8. If referred to INDUCED POSITIVE PRESSURE TESTS return to the procedure that brought you here as
NOTED.

 Loading...


