February 2013
6-12
ColorQube® 9303 Family
GP 4, GP 5
General Procedures/Information
3. Enter the Administrator User ID and Password.
4. Click on Properties.
5. Select General Setup.
6. Select machine software.
7. Select upgrades. Then check the Enabled check box.
8. Select manual upgrade, then browse. Select the .dlm file from the Upgrade directory.
9. Select install software.
NOTE: All network connectivity to the machine will be lost. Progress can be monitored
from the UI, Figure 2.
10. The machine will reboot before returning to a ready state.
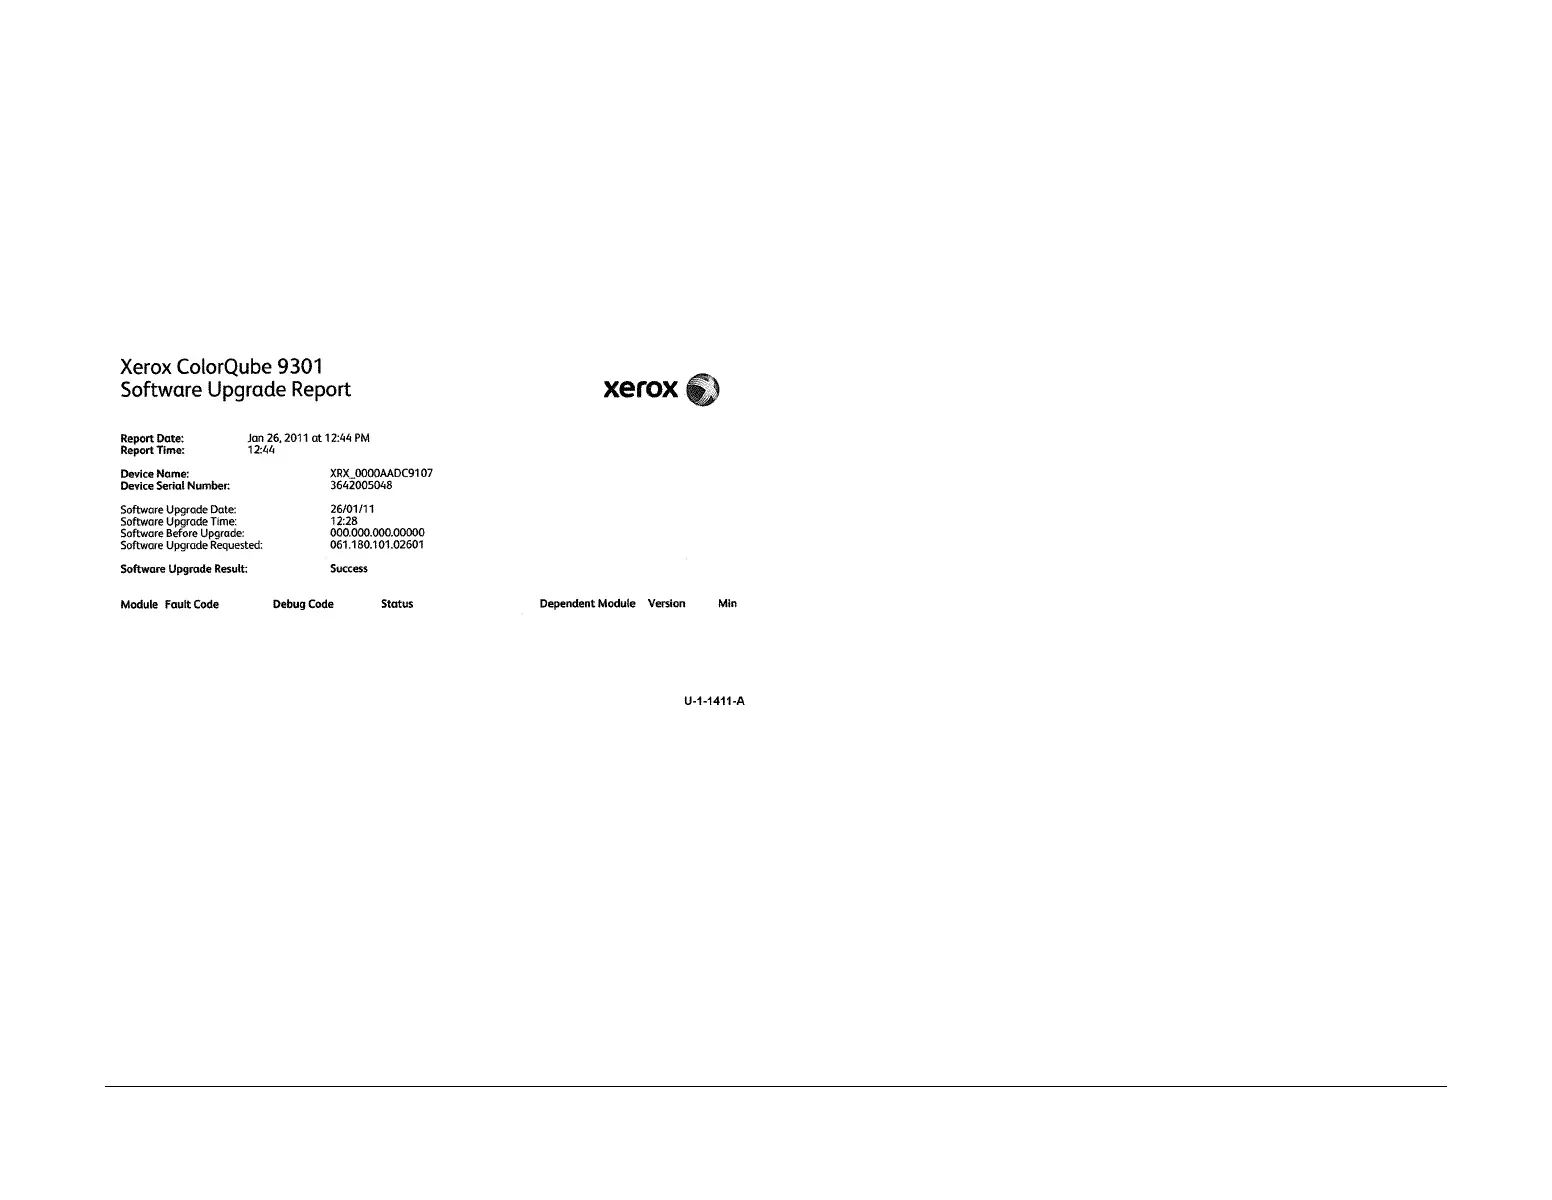
Figure 7 Software upgrade report
GP 5 Customer Administration Tools
Purpose
To gain access to customer administration tools.
How to Enter Customer Administrator Tools
Perform the following:
1. Switch on the machine, GP 14.
2. When the machine is ready, select login / out (key symbol) on the key pad or select guest
on the UI.
3. Enter User Name ‘admin’ (case sensitive).
4. Select Next.
5. Enter the Password ‘1111’ (default setting).
6. Select Enter.
7. Select machine status key (machine symbol key). To access the customer administration
screen.
When the machine is password protected. To access device setting, network setting and trou-
ble shooting. Perform the following:
1. Press and hold the # key, * key and the Stop key.
2. Enter the passcode 2732.
3. Select Enter.
4. Select machine status key (machine symbol key) and tools. To access the customer
administration screen.
NOTE: In service copy mode, the customer administration tools are also available.
NOTE: After entering customer administration tools, all existing copy jobs are cancelled. The
network controller will stop accepting jobs and a ‘Offline’ screen message is displayed. When
exiting service mode an ‘Online’ screen message is displayed.
The tools menu map is also available in the information pages. Select Machine Status /
Machine Information / Information Pages and select the Tools Menu Map.
The customer administration Tools menu contains the following features:
• Device Setting - Table 1.
• Service Setting - Table 2.
• Network Setting - Table 3.
• Account Setting - Table 4.
• Security Setting - Table 5.
• Troubleshooting - Table 6.
 Loading...


